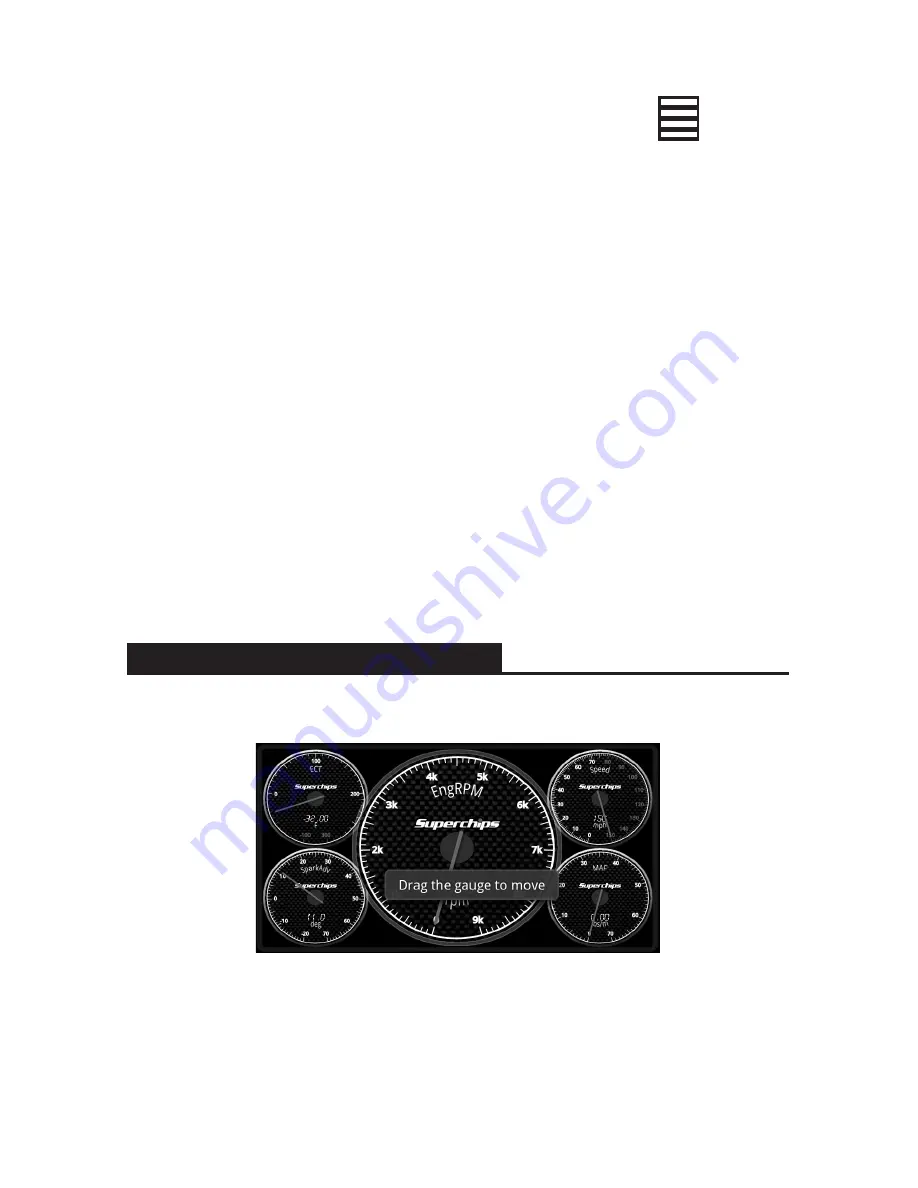
You can touch and hold each individual gauge for editing or customizing them to the
your individual tastes. The following instructions details those options.
Start Recording:
This feature saves the data to a .CSV format on the ARCHOS that
the user can save a copy to their PC for review at a later date. To record the data
the user would go into the gauge application, select the Menu Icon
then start
recording. The user will be prompted to enter the name for the Log.
At this point the user can customize the file name by touching the file name box and
entering the name with the ARCHOS keyboard. Select the Done Icon to move back.
Select ok to start recording.
Once you have completed your driving run select Menu Icon followed by stop
recording.
The recording has been saved to the VIVID.
The recorded file can then be saved to the PC by connecting via USB, selecting
and dragging down the status icon bar from the top of the ARCHOS screen
> USB
connected > Mount.
You will now be prompted with a drive pop-up on your PC screen. If you do not see a
pop-up dialog in a timely manner you will need to use Windows Explorer to browse to
the new drive on your computer. (Start > My Computer > Removable Disks)
Open the folder in the pop-up to explore the saved files. Select the Superchips folder
followed by the DAQ folder. These files can be opened in a spread sheet program and
or saved on your PC.
Note:
If you are recording a DAQ session in either the Gauges or DAQ and exit the
app it will automatically stop recording the information.
ADDITIONAL GAUGE OPTIONS
Move gauge:
Allows you to move the highlighted gauge around the screen by holding
the gauge with your finger and dragging it across the screen to the desired position.
Summary of Contents for ARCHOS43
Page 1: ...1 ...


