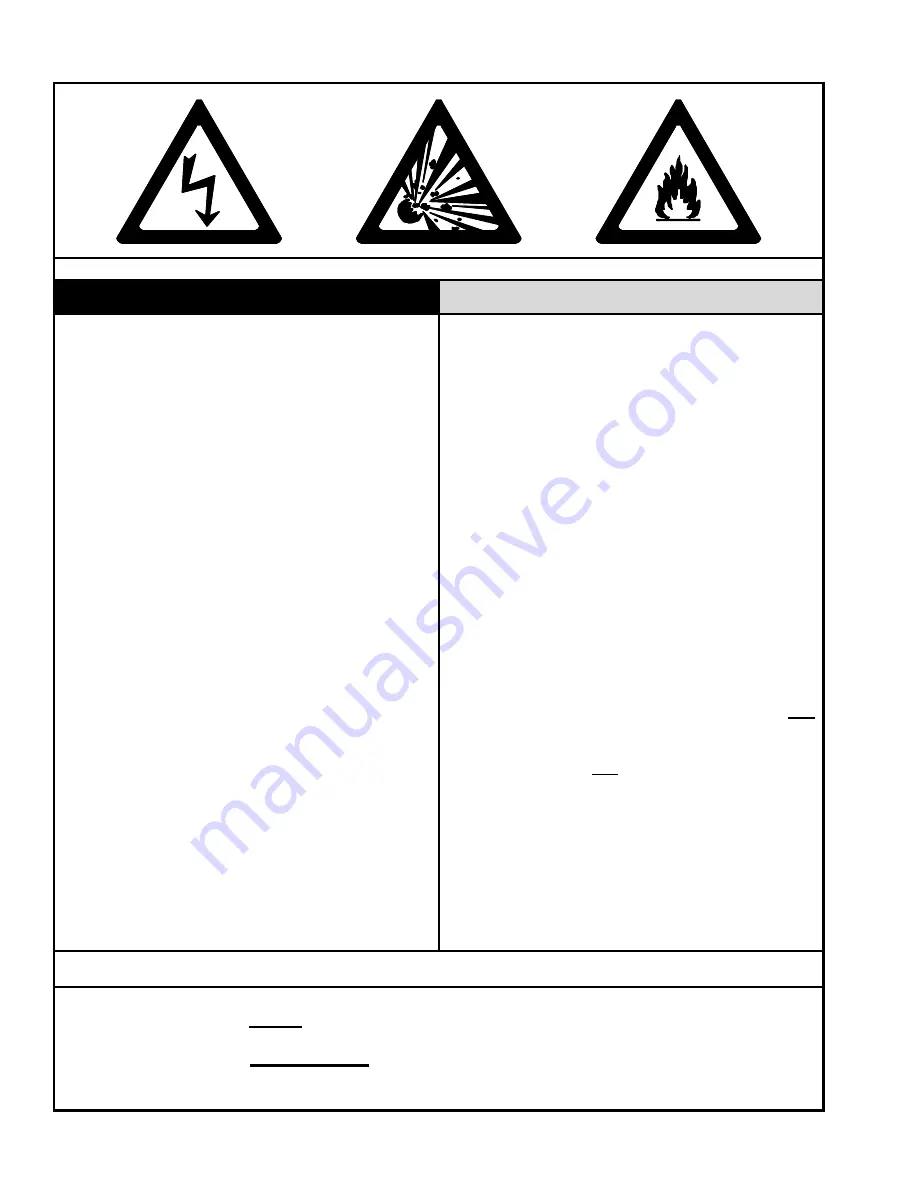
SunSpan Heaters A Series Installation, Operation & Maintenance Instructions Manual Download Page 2

GQ pg. 2

WARNINGS


Protect yourself and others by observing all safety information.

WARNING

CAUTION

FIRE OR EXPLOSION HAZARD

Can cause property damage, severe injury or

death.


Read manual carefully before installing, or
servicing this equipment, or serious injury or
death may result.


Check minimum clearance to combustibles to
make certain that heater is in a safe location.
Combustible items located too close to the
heater could cause a 

serious fire hazard

.  In

storage areas, signs for maximum permissible
stacking height to maintain clearance from the
heater to combustible materials must be
posted adjacent to the heater thermostats or in
the absence of such thermostats in a
conspicuous location.


Operating the heater in an atmosphere
containing combustible dust or flammable
vapors is dangerous and may potentially result
in injury or death.


Heaters must be oriented in such a way as to
maintain minimum clearances to vehicles
parked underneath them.


This heater expands and contracts with each
cycle.  The installation of the gas connection
and mounting hardware must accommodate
this movement; otherwise, a fire or explosion
hazard may occur.


This heater is equipped with an automatic
ignition and does not contain a pilot.  

DO NOT

attempt to light the burner manually, this could
result in serious personal injury or fire hazard.

MECHANICAL HAZARD


DO NOT

 use high pressure to test the gas

pipes with the burner still attached.  This will
cause damage to the controls within the
burner requiring them to be replaced.


If heater is being operated in an atmosphere
with a negative pressure or an atmosphere
containing contaminants, an outside
combustion air supply is required.  Failure to
provide outside combustion air may allow
excessive heat to back up to the blower wheel
and bearings severely shortening service life.


Correct inlet pressure is important to efficiency
and long lasting operation of the burner.


The burner, tubing, and accessories expand
and contract with each cycle.  The system
must be installed so that the mounting
hardware and gas line will accommodate
these changes.


All models of low-intensity heaters include a
turbulator, which 

must

 be located in the 

last

ten (10) feet (3.0 m) of the burner tube
[exception: 15-foot (4.6 m) units have the
turbulator in the first 10 feet (3.0 m).]


Before servicing the burner or removing the
cover panel, all electrical and gas supplies
must be disconnected.


Give consideration to construction such as
partitions, storage racks, hoists, etc., and their
relation to the installation of the heater.


The heater must be installed and serviced

ONLY

 by trained gas installation and service

personnel.

IMPORTANT


Failure to follow these instructions may result in injury or property damage.


Low-intensity heaters 

cannot

 be used in the following environments:  explosion-proof, or residential

living/sleeping quarters.


Low-intensity heaters 

may or may not

 be used in the following environments:  enclosed swimming

pool, process heating, or contaminated atmosphere applications.


NOTE: Contact factory if in any doubt.

Summary of Contents for A Series

Page 1: ...ows don t touch electrical switches extinguish any open flames evacuate the structure call your gas supplier immediately WARNING NOT FOR RESIDENTIAL USE Failure to comply with instructions could result in unsafe operation property damage personal injury and or death A gas fired appliance could expose you to substances in fuel or from fuel combustion which have been determined by the State of Calif...

Page 2: ... attached This will cause damage to the controls within the burner requiring them to be replaced If heater is being operated in an atmosphere with a negative pressure or an atmosphere containing contaminants an outside combustion air supply is required Failure to provide outside combustion air may allow excessive heat to back up to the blower wheel and bearings severely shortening service life Cor...

Page 3: ...and U tube configurations with component identification 11 COMBUSTION CHAMBERS components and specifications of combustion chambers 12 HEAT EXCHANGERS components and specifications of middle and exhaust end heat exchangers 13 COMBUSTION AIR SUPPLY application construction dimensions and illustrations 14 EXHAUST VENTING application construction dimensions and illustrations 15 WINDY CONDITION NOTES ...

Page 4: ...imum clearance of eight 8 feet 2 44 m from the floor to the heater in other sections of aircraft hangars such as offices or shops which may communicate with areas used for servicing and storage SECTION 5 4 5 4 specifies the heaters must be located so as to be protected from damage by aircraft or other objects such as cranes and moveable scaffolding In addition the heaters must be located so as to ...

Page 5: ...eaters are suitable for use when installed in accordance with the current Canadian Natural Gas and Propane Installation Code CSA B149 1 COMBUSTION AIR AND EXHAUST VENTING Vent terminal clearances shall be in accordance with the current Canadian Natural Gas and Propane Installation Code CSA B149 1 A horizontal vent shall not terminate less than 6 feet 1 83 m from a combustion air inlet or another a...

Page 6: ...8 135 40 140 41 145 42 150 44 48 122 48 122 82 209 70 189 12 31 82 209 155 45 160 47 165 48 170 50 175 51 58 148 58 148 92 234 80 203 12 31 92 234 C 180 53 185 54 190 56 195 57 200 59 68 173 68 173 102 259 90 229 12 31 102 259 MINIMUM CLEARANCES specified in these tables must be maintained to combustible and other materials which may be damaged by temperatures 90 F above 50 C above ambient room te...

Page 7: ... 5 9 5 2 9 8 2 4 1 0 3 13 5 4 1 11 5 3 5 6 1 8 1 0 3 90 27 4 90 95 26 28 12 0 3 7 10 0 3 0 8 2 4 1 0 3 14 0 4 3 12 0 3 7 6 1 8 1 0 3 95 29 0 100 105 29 31 12 5 3 8 10 5 3 2 8 2 4 1 0 3 14 5 4 4 12 5 3 8 6 1 8 1 0 3 95 29 0 110 115 32 34 13 0 4 1 11 0 3 4 12 3 7 1 0 3 15 0 4 6 13 0 4 1 9 2 7 1 0 3 100 30 5 120 35 13 5 4 1 11 5 3 5 12 3 7 1 0 3 15 5 4 7 13 5 4 1 9 2 7 1 0 3 100 30 5 125 37 14 0 4 3 ...

Page 8: ...USTION AIR SUPPLY SINGLE WALL 26 GA 044cm MINIMUM GALVANIZED SHEET METAL PIPE OR SCHEDULE 40 PVC SEAM TO BE AT TOP NOT SUPPLIED COMBUSTION CHAMBER 4 IN 10 2cm O D X 10 FT 3m LONG B VENT PIPE ADAPTOR ALL HANGING CHAINS MUST BE PLUMB AND VERTICAL IN ALL DIRECTIONS WHEN INITIALLY INSTALLED ROOF FLASHING NOT SUPPLIED VENT CAP MUST BE 6 IN 15cm HIGHER THAN SNOW DEPTH SUPPLY PIPING MUST NOT EXCEED AN EQ...

Page 9: ...NON COMBUSTIBLE VENTILATING METAL THIMBLE NOT SUPPLIED FOR NON COMBUSTIBLE WALLS ONLY 4 25 10 8cm DIA HOLE FOR 4 10 2cm O D PIPE ADD NON COMBUSTIBLE PROTECTION AROUND THE HOLE IF NECESSARY FOR ALL INDOOR VENT JOINTS USE RTV SEALANT TO PREVENT HOT FLUE GAS LEAKAGE INTO THE BUILDING USE A SHEET METAL PIPE AND CRIMPER FOR JOINING IDENTICAL SIZE SHEET METAL PIPES USE THREE 3 6 SHEET METAL SCREWS SMS P...

Page 10: ...r the first 10 feet 3 0 m 2 Each system can use a maximum of two 2 16 gauge 17 cm aluminized steel 90 elbows OR one 1 16 gauge 17 cm aluminized steel 180 U bend Elbows and U bends can not be used simultaneously in the same system 3 All tube sections of a unit must be mounted on the same horizontal plane For exceptions or other configurations consult factory 4 Special reflectors are available 90 el...

Page 11: ...3 7 C N L 4 C4 H2 H2 H6 H5 100 29 50 15 2 B N L 4 C2 C3 H2 H2 H2 H5 105 120 31 35 50 15 2 B N L 4 C4 H2 H2 H6 H5 125 37 50 15 2 B N only 4 C4 H2 H2 H6 H5 125 37 50 15 2 C L only 4 C4 H2 H2 H2 H5 130 200 38 59 50 15 2 C N L 4 C4 H2 H2 H2 H5 150 200 44 59 55 16 8 C N L 4 C4 H2 H2 H2 H6 H5 150 200 44 59 60 18 3 C N L 4 C4 H2 H2 H2 H2 H5 150 200 44 59 65 19 9 C N L 4 C4 H2 H2 H2 H2 H6 H5 150 200 44 59...

Page 12: ...minum reflector 2 hanger brackets GQC2 65 thru 85 MBTUH 20 and 25 ft MB units only 19 25 kW 6 1 and 7 6m MB only 65 thru 100 MBTUH 30 thru 50 ft natural gas units 19 29 kW 9 1 15 2m natural gas GQC3 65 thru 100 MBTUH 30 thru 50 ft propane gas units 19 29 kW 9 1 15 2m propane gas 10 ft 3m 16 ga 17cm aluminized titanium alloy steel tube 10 ft 3m aluminum reflector 2 hanger brackets 10 ft 3m 16 ga 17...

Page 13: ...m reflector 2 hanger brackets EXHAUST END HEAT EXCHANGER COMPONENTS GQH1 40 thru 60 MBTUH 20 ft unit 12 18 kW 6 1m 65 thru 85 MBTUH 20 and 25 ft propane MB units 19 25 kW 6 1 and 7 6m propane MB units GQH5 65 thru 200 MBTUH excluding 20 and 25 ft MB units 19 59 kW excluding 6 1 and 7 6m MB units 10 ft 3m 16 ga 17cm aluminized steel tube with H1 turbulator 10 ft 3m aluminum reflector 2 hanger brack...

Page 14: ...s which when combined with flame and exhaust products result in corrosive gasses or those under a negative pressure or high humidity areas combustion air must come from outdoors Outdoor air supply may be accomplished by bringing in air through piping from either the roof or wall as the drawings illustrate When combustion air is supplied from outdoors the heater must also be vented to the outdoors ...

Page 15: ...s N A 48 122 N A A heater vented directly outdoors is classified as Category III by the National Fuel Gas Code It may be vented through either the roof or wall singularly or in conjunction with no more than one other heater with a single thermostat To commonly vent more than two heaters consult the factory Use 4 in 10 2 cm I D single wall stainless or galvanized sheet metal pipe of not less than 2...

Page 16: ...FOR WINDY CONDITIONS STRAIGHT OR L CONFIGURATION NOLESSTHAN20FT 6 1m EXCEPT10 15FT 3m 4 6m MODELS U TUBE CONFIGURATION VIEW A NEAR LOADING DOCK AIRPLANE HANGAR DOORS OR OTHER WINDY AREAS FASTEN REFLECTORS TO HANGERS WITH LOOP STRAPS SCREWS AND KEPS NUTS REFLECTOR KEPS NUT HANGER SCREW LOOP STRAP VIEW A ...

Page 17: ...horizontal or with the heat exchanger angled above the combustion chamber as illustrated by the drawing below When radiant tubes are horizontal reflectors may be individually rotated from 0 to 30 degrees or from 0 to 45 degrees depending on the model installed Refer to CLEARANCE TO COMBUSTIBLES section HORIZONTAL ANGLED DO NOT EXCEED 7 5 19CM ...

Page 18: ...END EXHAUST END markings on the combustion and exhaust end tubes 2 Position a 2X4 in 5x10 cm block of wood on each of the far ends of both tubes One block of wood prevents damage to the connecting end that will be used to tap that tube into the other The other block of wood prevents damage to the other connecting end that is butted up to a nearby sturdy wall ALL WELD SEAMS MUST BE LINED UP TOGETHE...

Page 19: ...e or chain to the two 2 outer brackets and hoist the twenty 20 foot 6 1m section into the air Align the weld seam on top level the section and install the chain on the hangers 6 Repeat the steps for the next section s of tube and hoist it into the air Use the temporary ropes chains to maneuver the two 2 twenty 20 foot 6 1m sections together as close as possible ALIGN THE WELD SEAMS OF BOTH SECTION...

Page 20: ...end of the S hook through the last chain link and the other end through the tube reflector hanger IMPORTANT Crimp both ends of the S hook closed STEP 3 Identify all components in COMBUSTION CHAMBERS and HEAT EXCHANGERS sections of this manual Check the BASIC SYSTEM CONFIGURATIONS section of this manual for the general orientation of components matching the model number of your system Systems fifte...

Page 21: ...ket assemblies STEP 7 Slip the burner s tube into the burner coupler previously installed in Step 4 Once the burner is level straight and inserted against the center stop use 2 two 12 MULTI METAL Tek screws supplied with the coupling to fasten the burner to the coupling Insert the S hook of the burner safety chain into the center hole of the burner safety chain bracket and then crimp the hook clos...

Page 22: ...a 24 VAC thermostat The transformer relay is rated to operate only three heaters safely Failure to do so may cause serious bodily harm or property damage SEQUENCE OF OPERATION BURNER WIRING SCHEMATIC INTERCONNECTION DIAGRAM Thermostat calls for heat 120 VAC is applied to the blower and validation light PL 1 indicates power is ON Air flow switch closes contacts after it senses an increase in air pr...

Page 23: ...for heat When installing or servicing this heater wait at least 5 minutes between attempts for ignition GENERAL INSTALLATION NOTES If any of the original wire as supplied with the appliance must be replaced it must be replaced with wiring material having a temperature rating of at least 302 F 150 C and shall have a minimum size of 16 AWG HEATERS IN SERIES WITH A 120 VAC THERMOSTAT Locate the therm...

Page 24: ...oop arrangement as shown on drawing below It is important to maintain dimensions on drawing below Gas pressure at Test Point A cannot be more than 14 inches of water column in WC PSI 35 cm WC confirmed by actual field test Heater on or off Heater length Expansion Heater length Expansion HIGH INLET GAS PRESSURE 10 20 ft 3 1 6 1 m 1 1 in 2 8 cm 45 50 ft 13 7 15 2 m 2 1 in 5 3 cm 25 30 ft 7 6 9 1 m 1...

Page 25: ...ction Depress the dial on the gas valve and make sure the gas valve is in the ON position Turn on the electrical and gas supply and set the thermostat above the ambient room temperature to call for heat Refer to the ELECTRICAL SUPPLY AND THERMOSTATIC CONTROL section for proper sequence of operation If the heater does not operate normally refer to the BURNER TROUBLESHOOTING section to diagnose and ...

Page 26: ... up to full speed Remove the cover by removing the 4 sheet metal screws on top of the cover Remove the ignitor by removing ONLY the end where the vinyl tubing is attached to the ignitor bracket the fitting to which the vinyl tubing was connected the ignition lead wire from the ignition detection control and the sheet metal screw holding the ignitor bracket to the burner housing wall Remove the ign...

Page 27: ...r 4 Gas inlet pressure not correct See serial plate Gas inlet piping not sized correctly 4 Replace inlet gas piping with correct size pipe 5 Gas inlet pressure not correct See serial plate Gas supply regulator not set correctly 5 Adjust gas supply regulator to set inlet pressure to proper level See serial plate 6 Gas supply regulator sticking 6 Replace gas supply regulator 7 Combination gas valve ...

Page 28: ... 4 Burner core 15 Power cord strain relief bushing 5 Ignitor gasket 16 System validation light 6 Ignitor 17 Ignition detection control 7 Air flow switch exhaust tubing assembly with snubber and fittings 18 Burner tube holding bracket with screws 8 Air flow switch 19 Wire harness assembly 9 Burner cover 20 Gas manifold fitting at valve 10 Inlet combustion air collar 21 Gas sub orifice 11 Air orific...

Page 29: ...GQ pg 29 THIS PAGE INTENTIONALLY LEFT BLANK ...

Page 30: ..._____________________________________________ Phone __________________________________________________ SECOND Contact the Nearest Distributor Model No ______________________________________________ Unit Serial No ___________________________________________ Date of Installation ________________________________________ P O Box 80217 Rochester MI 48308 0217 Toll Free 1 866 664 3824 FAX 248 651 0357 E...

Reviews: