ENGLISH
XENON 2 FF 56
Rev.3.0
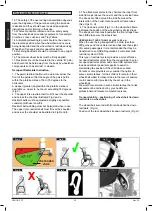
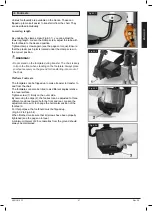
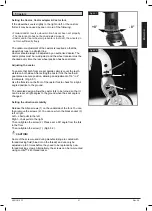
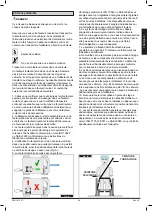
6.11 Crutch Holder
Crutch holder
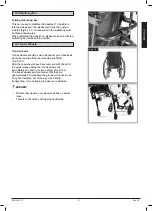
This device permits crutches to be transported directly on
the wheelchair. It has a Velcro loop to fasten crutches or
other aids, (Fig.6.11.1).
WARNING!
Never try to use or remove the crutches or other aids
while moving.
6.12 Anti-Tip Tubes
WARNING!
Sunrise Medical recommends anti-tip tubes are fitted for
all chairs.
When fitting anti-tip tubes, use a torque of 7 Nm.
Anti-tip tubes prevent the wheelchair from tipping
backwards, providing additional safety for new users and
for users familiarising themselves with the operation of
the wheelchair.
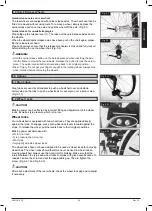
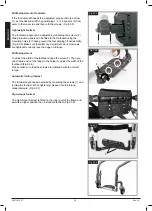
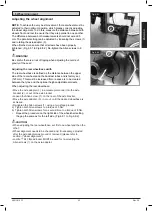
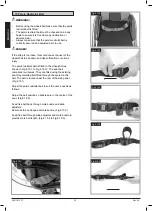
Plug in Type
Slotting the anti-tip tubes into the clamp
•
Press the rear button on the adapter for the anti-tip
tube in such a way that both release pins are pulled
inwards.
•
Slot the anti-tip tubes (1) into the anti-tip tube adapter.
•
Rotate the anti-tip tubes downwards, until the release
pin clicks into place in the clamp.
•
Fit the second anti-tip tube in the same way.
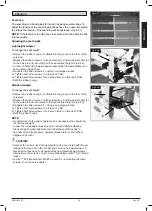
Adjusting the anti-tip tubes
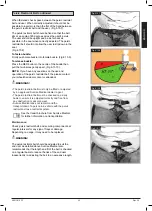
To achieve the correct ground clearance of approximately.
1“ to 2“ (25 mm to 50 mm), the anti-tip tubes must be set
higher or lower:
•
Push the release lever for the anti-tip tube in such a
way that both release pins are pulled inwards.
•
Move the inner tube upwards or downwards in the
height-adjustment holes.
•
Release the button.
•
Fit the second anti-tip tube in the same way.
•
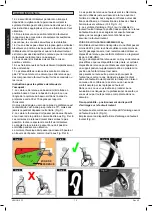
Both wheels must be at the same height. (Fig.6.12.1).
Fig.6.11.1
Fig.6.12.1
1
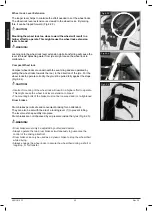
Fig.6.12.2
1
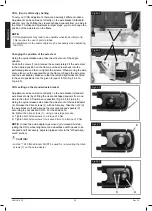
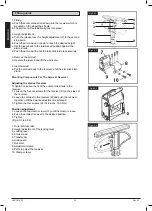
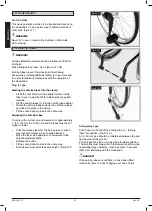
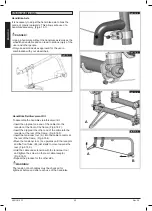
Swing-away Type
Push down on the top of the anti-tip tube, (1), to bring
them into position, (Fig.6.12.2).
A 30 - 50 mm gap should be maintained between the anti
tip wheels and the ground.
The anti-tips can also be swung into a forwards position.
The anti-tips must always be in the forward position when
negotiating large obstacles, (such as kerbs), to prevent
them from interfering with the manoeuvre.
DANGER!
If the anti-tip tubes are not fitted, or have been fitted
incorrectly, there is a risk of tipping over and of injury.

