DISMOUNTING THE BIKE
WARNING:
Do
NOT
attempt to dismount or remove your feet from the pedals until both the
flywheel and the pedals/crank have come to a complete stop. Failure to follow this
warning may lead to loss of control and/or serious injury.
Here are a few examples of how to safely and properly dismount the bike:
1.Reduce the pedal speed until the pedals/crank come to a complete stop.
2.Increase the resistance until the pedals/crank come to a complete stop.
3.Push and hold the resistance knob down to engage the Emergency Brake
function, hold until the pedals/crank come to a complete stop.
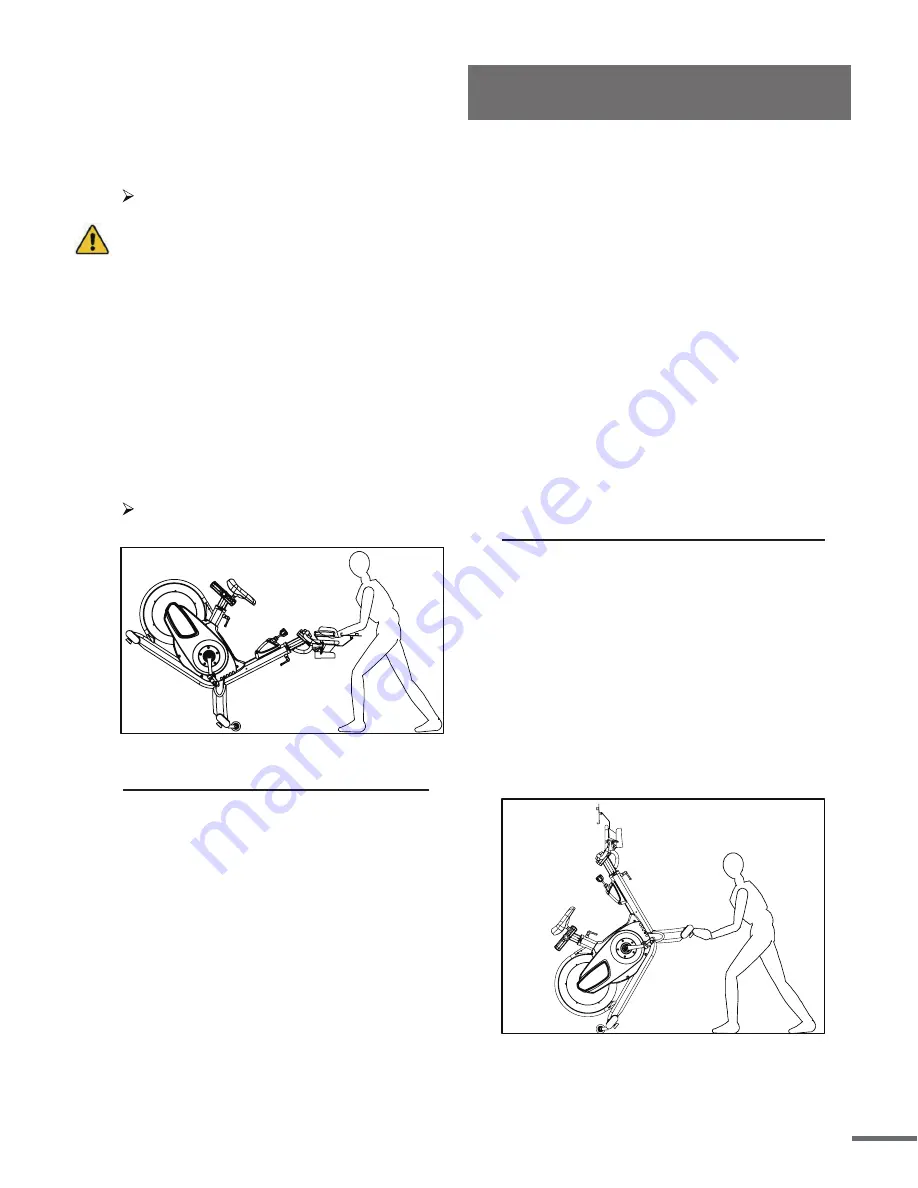
MOVING THE BIKE
NOTE:
When moving the bike, always move with caution as unexpected impacts
or dropping the bike may affect its operation.
User Instructions
1.To move the bike, first make sure that the
Handlebar (
NO. 89)
is properly secured.If
the handlebar is loose, tighten the Handlebar
Adjustment Knob (
NO. 41)
to secure it.
Next, stand at the front of the bike so that
you’re directly in front of the handlebars.
Firmly grasp and hold each side of the
handlebar, place one foot on the stabilizer and
tilt the bike towards you until the transportation
wheels on the front stabilizer touch the
ground. With the wheels securely on the
ground, move the bike to the desired location.
A. Wheels on the Front Stabilizer
B.Wheels on the Rear Stabilizer
1. Please squat down and grasp the
Front
Stabilizer (
NO. 104)
.One hand on the right and
another hand on the left.
2. Lift up the bike and stand up (the best angles
from stabilizer with ground is 50°.)
3. You can easily roll the bike in any direction.
4. Grasp the
handlebar (
NO. 89)
by your left
hand when you feel the wheels touch the ground.
5. Grasp the
handlebar (
NO. 89)
by your right
hand and put down the bike.
12


