v
34
6-5. Backup
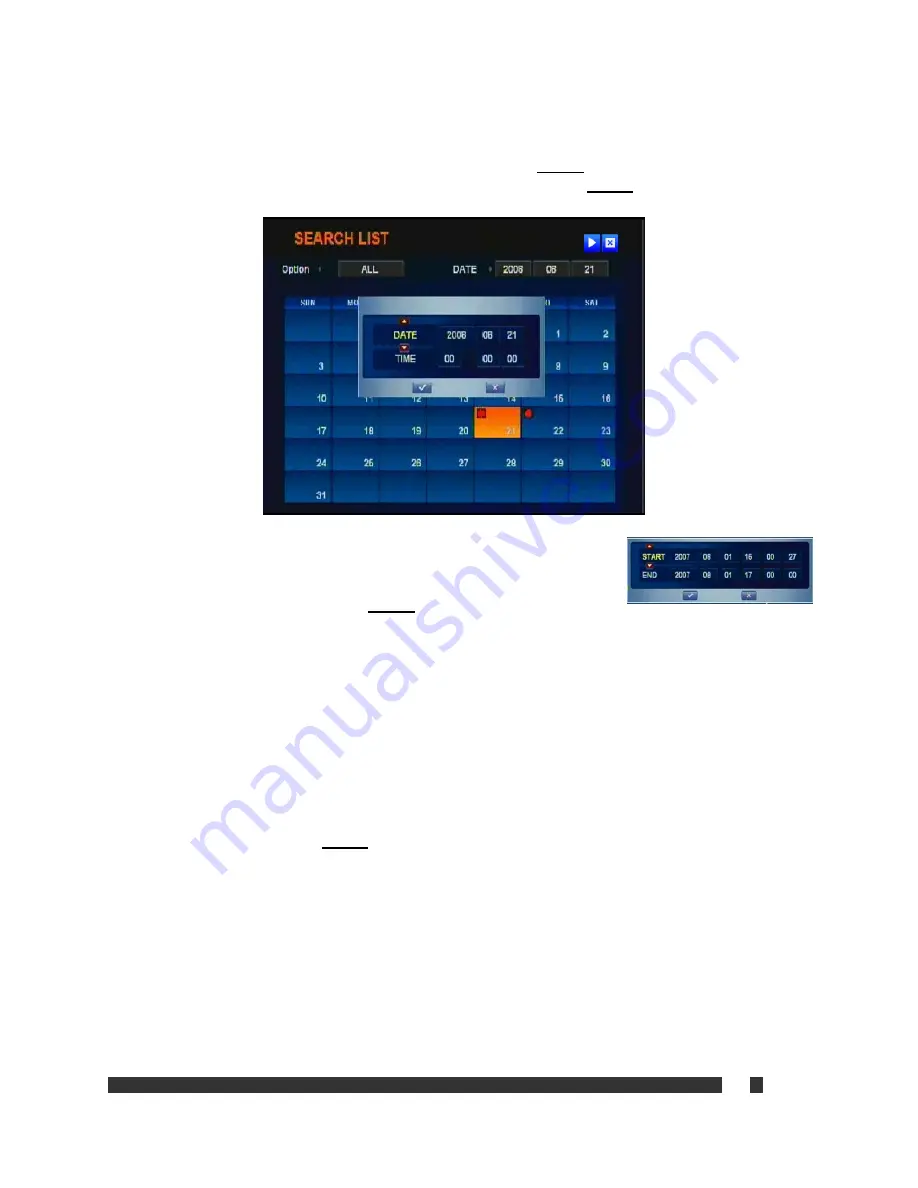
From search list, select desired option and date to search, and press
ENTER
. Then the Calendar can be browsed
by direction buttons. Make a change on date selection if desired, and press
ENTER
again. The following screen
displays:
From the above screen, press
COPY
on the Front Panel and
USB
button on the
remote controller. “START” and “END” will be prompted to set date and time to
backup, in order of year, month, day, hour, munite and second. Set desired time
range, move to the check mark, and press
ENTER
.
Note
: On H.264 DVR series
,
recorded data is managed in the unit of each hour. Copy start time and end time
should be within same hour frame. For example, if 9:50 AM ~10:05 AM needs to be backed up, the user must
perform copy twice: once for 9:50:00 AM ~ 9:59:59 AM, and then 10:00.00 AM ~ 10:05:00 AM.
Finally, the user will be prompted with the menu below, which displays free space of currently selected backup
device, size of selected data to copy, and available data per each channel.
Icons next to each channels indicates available video and audio data for the channel.
Choose channels to backup, and make sure SELECT size does not exceed FREE size.
Move to the check mark and press
ENTER
to finalize backup.
Note:
Backup File Player will be automatically copied to the CD with files. Files can be reviewed by Backup File
Player, and File_Player is also able to palyback those files; however, File_Player will create index on those copied
files to playback. Please refer to the description of File_Player on the software manual.
Summary of Contents for IRIS-L series
Page 16: ...v 16 4 2 DVR Menu Tree ...


