


- 53 -
DVD Player Operations
7
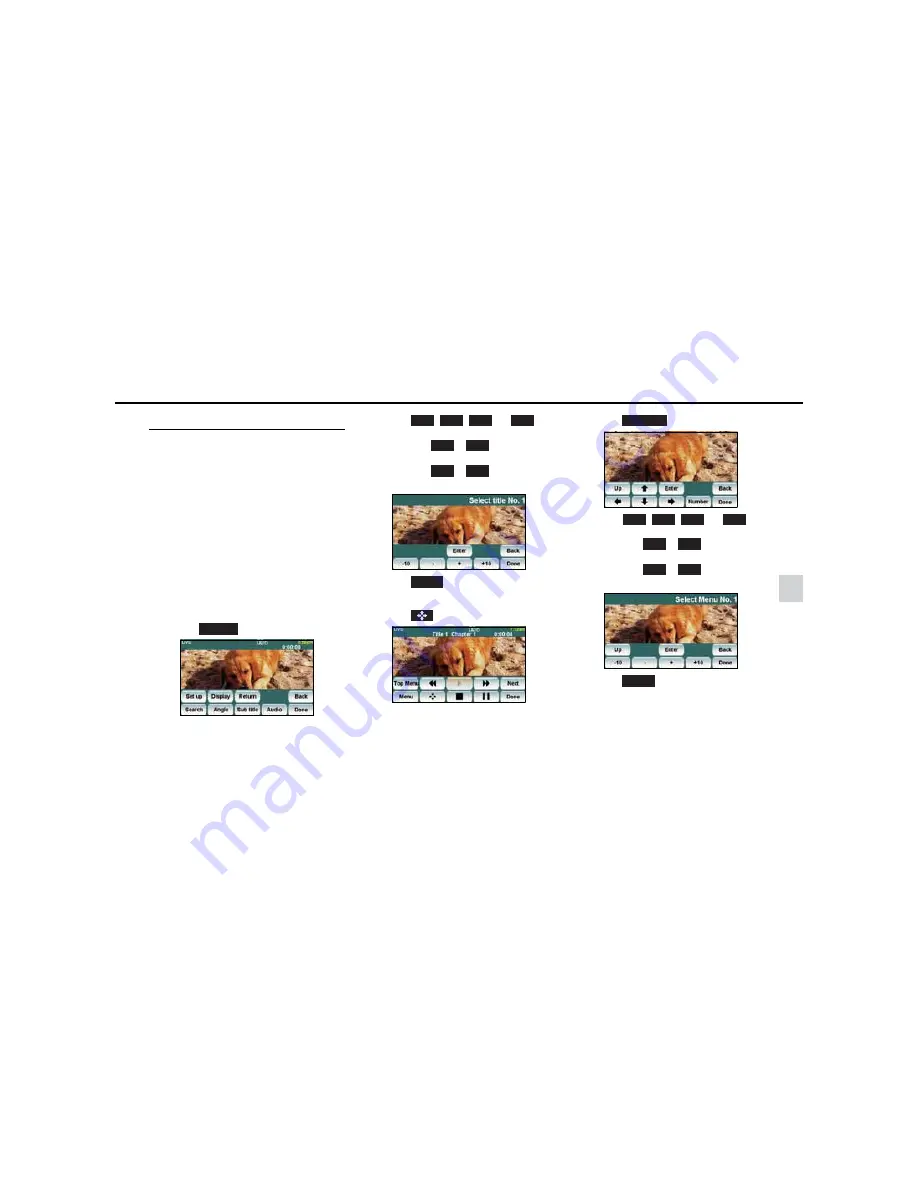
Finding a Desired Video
You can search for a desired video with a title,
chapter, or menu number (number assigned for
each content).
■
Finding by Chapter
(1) Press the [SELECT (Right)] or [SELECT
(Left)] button.
To the right:
Selects the next chapter.
To the left (pressing once):
Returns to the beginning of the chapter being
played.
To the left (Press two or more times):
Returns to the previous chapter.
■
Finding by Title Number
(1) Touch .
(2) Touch , , ,
or ,
and
enter the title number.
• If you touch
or
, the title number is
decreased or increased by one.
• If you touch
or
, the title number is
decreased or increased by 10.
(3) Touch .
■
Finding by Menu Number
(1) Touch .
(2) Touch .
(3) Touch , , ,
or ,
and
enter the menu number.
• If you touch
or
, the menu number
is decreased or increased by one.
• If you touch
or
, the menu number
is decreased or increased by 10.
(4) Touch .
Search
-
+
-10
+10
-
+
-10
+10
Enter
Number
-
+
-10
+10
-
+
-10
+10
Enter
Summary of Contents for AUDIO VIDEO & NAVIGATION SYSTEM
Page 1: ...AUDIO VIDEO NAVIGATION SYSTEM OWNER S MANUAL...
Page 81: ...79 Memo...
Page 82: ...80 Memo...
Page 83: ......


