


35
Game
The SRT 5020 enables you to play the popular game Tetris on your TV screen. To play Tetris:
1. If the
Main Menu
is not displayed, press
MENU
on the remote control.
2. If
the
Game
option is not highlighted, press
VOL
e
or
VOL
f
on the remote control until it is.
3. Press
OK
on the remote control.
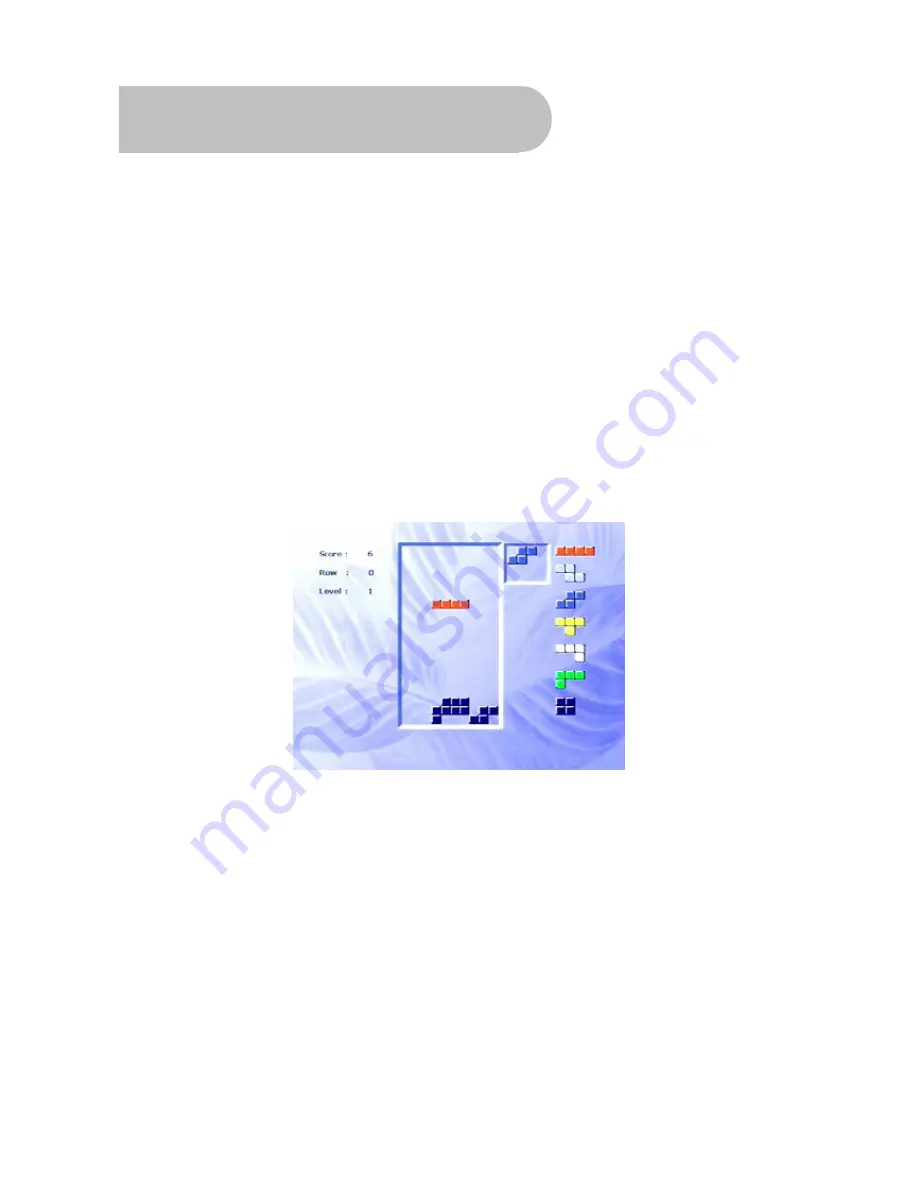
Tetris
The goal of Tetris is to orient a series of falling blocks so as to maximise the number of blocks that
can fit into a well. The game is over when the height of all the blocks matches the depth of the well.
Your score is the number of individual blocks you can fit into the well.
1. As the blocks drop, you can move them horizontally by pressing
VOL
e
or
VOL
f
. You can also
rotate a falling block by pressing
OK
or
CH
▲
and speed up the fall of a block by pressing
CH
▼
.
To help you determine how best to place the block that is currently falling, a preview of the
next block to fall is shown in the pane at the right of the screen.
2. To cancel a game, press
MENU
or
EXIT
.


