


15
14
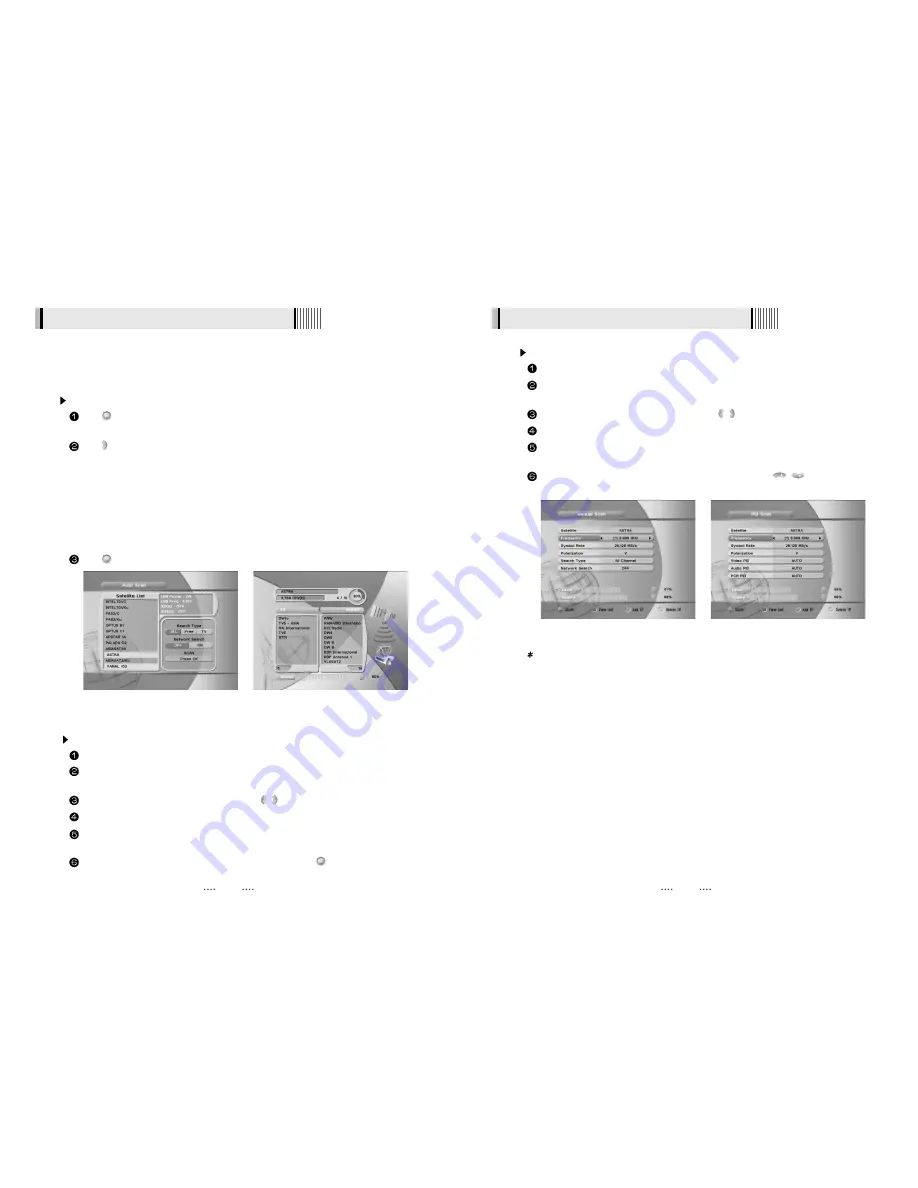
Manual Scan <Figure 6-6>
Select a transponder.
To change a transponder’s information (Frequency, Symbol Rate), use the
NUMERIC
buttons.
To change a transponder’s polarization, use the / keys.
To add a new transponder, press the
GREEN
button.
To delete a transponder, press the
YELLOW
button with the cursor next to the Frequency
parameter.
To search a transponder, set its different parameters and press
.
VOL
VOL
6.1 Getting Started
6.1 Getting Started
Package Identifier (PID) Scan <Figure 6-7>
Select a transponder.
To change a transponder’s information (Frequency, Symbol Rate), use the
NUMERIC
buttons.
To change a transponder’s polarization, use the / keys.
To add a new transponder, press the
GREEN
button.
To delete a transponder, press the
YELLOW
button with the cursor next to the Frequency
parameter.
To search a transponder, set its different parameters and press
/
. You can search
a specific channel of the transponder by setting its PID data (Video, Audio and PCR).
CH
CH
VOL
VOL
Note : If you cannot access programs after correctly completing a scan procedure,
please contact your seller or your installer.
<Figure 6-6>
<Figure 6-7>
Through this function, the receiver searches for all the available channels and saves them in
memory.
Auto Scan <Figure 6-4>
Press
on the names of the satellites that you want to scan under ‘Satellite List’. You
can select more than one satellite.
Press and set the ‘Search Type’ and ‘Network Search’ parameters.
- Search Type :
Decide for which channels to search (All channels/ Free channels only/ TV
channels only).
- Network Search :
Set ON to find more transponders (frequencies) through a Network
Information Table (NIT) scan. That is, when the broadcaster is sending
a NIT through a given transponder, the receiver will also scan for
transponders listed in the NIT and not otherwise recognized. (this can
happen when a transponder is new)
Press
under ‘SCAN’ to scan the selected satellites. <Figure 6-5>
VOL
3) Satellite Scan
<Figure 6-4>
<Figure 6-5>


