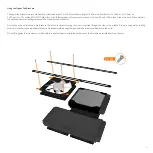
Replace the Upper Fan Brackets
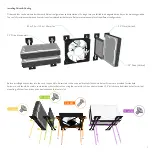
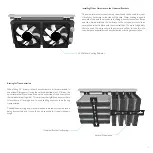
With the fan(s) attached to the 2 upper fan brackets return the assembly to
the case and secure it to the front and back panels using the 4 screws
supplied.
The position of the fan(s) can now be slightly adjusted by sliding them
across the brackets. When the position is acceptable, lock them in place
by fully tightening the screws.
Final connection such as fan power can now be made in preparation for
closing the case.
14
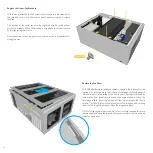
Replace the Top Panel
With all the hardware installed and cables connected, the top panel can be
replaced. To do this, ensure the 2 clips on front edge of the top panel fit
into the cutouts on the inside of the front panel. This is best achieved by
lowering the front panel onto the case at an angle as shown. Once the
front edge is flush, lower the back end of the top panel onto the thumb
screws. The thumb screws should locate with the top panel and rotating
them in a left-to-right direction will lock the top panel in place.
DO NOT over tighten the screws, only a few turns are required to secure
the top panel, and once the top and back panels are flush, there is no need
to tighten any further.
TC-M3x4

