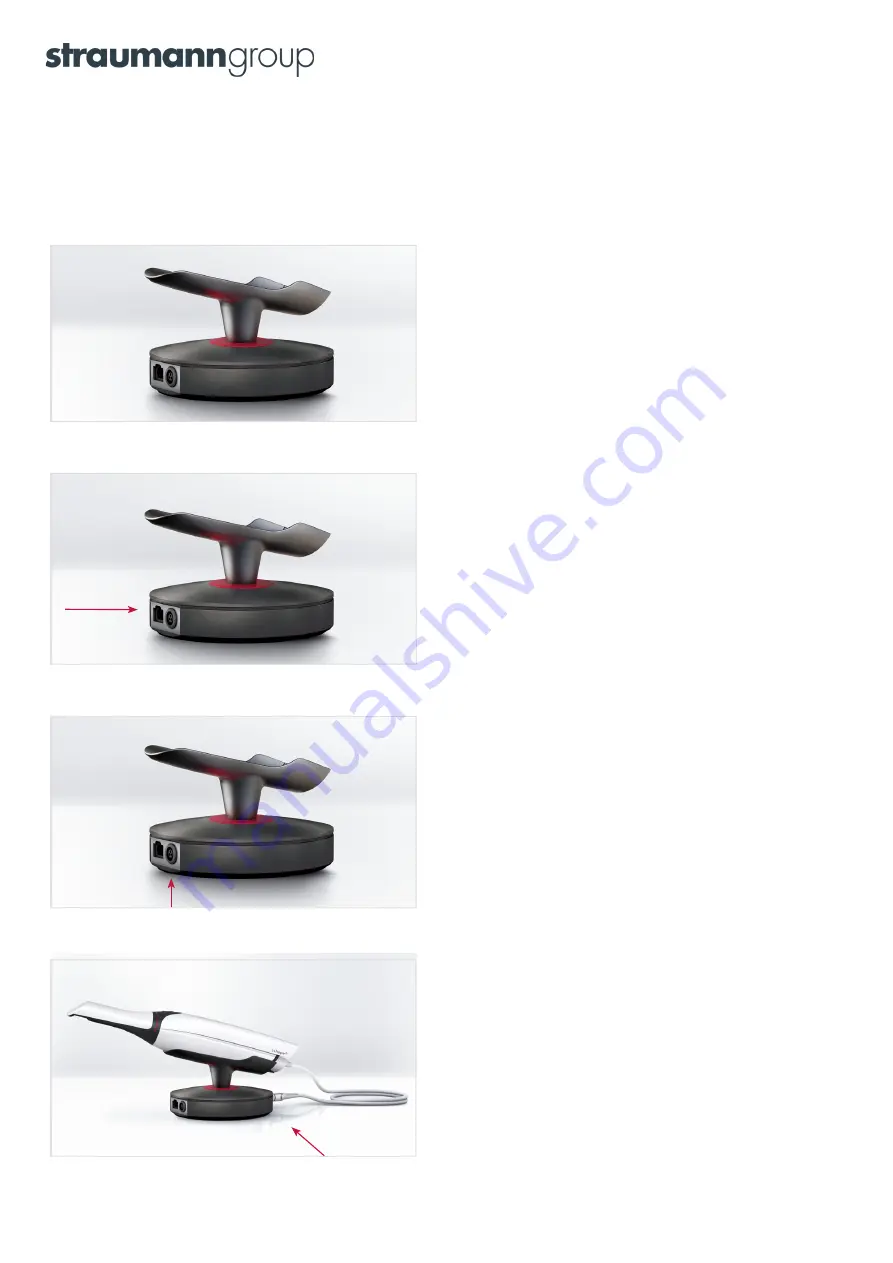
Starting up
for the first time
(connect/pair the scanner to POD & PC)
To start up the scanner for the first time, you will first need to connect and pair the scanner with both the POD and
the PC. Follow the procedure below.
Before you start:
Set the pod on a flat and horizontal surface,
optimally placed in relation to the patient chair and your work
position. Attach the protection tip to the scanner if not already
in place. It is easiest not to place the scanner onto the pod at
this time yet, because you may find it easier to lift the pod while
connecting cables in the following.
Step 1:
Connect the Ethernet cable to the pod. The cable goes into
the left connection socket on the back side of the pod (the side
that has two connection sockets). If you need to release the
Ethernet cable, press on the small tab on the top of the
connector.
Step 2:
Connect the power supply cable to the pod. This cable
goes into the connection socket next to the Ethernet cable
described in the previous step.
• To connect - Align the red orientation dots marked on the
socket and the plug, and then push the plug into the socket.
• To disconnect - Pull on the outer release sleeve.
• The indicator light next to the scanner connection socket will
light green.
Step 3:
Gently press the smart cord into the back of the scanner
until it clicks and thereby locked in the correct position. Connect
the other end of the smart cord to the pod as shown in the
picture.
3


