


TwinBox 230 Page 17/24
3. Select the type of file you wish to view (video, music, photo or recording) by pressing the
“
SWAP”
key.
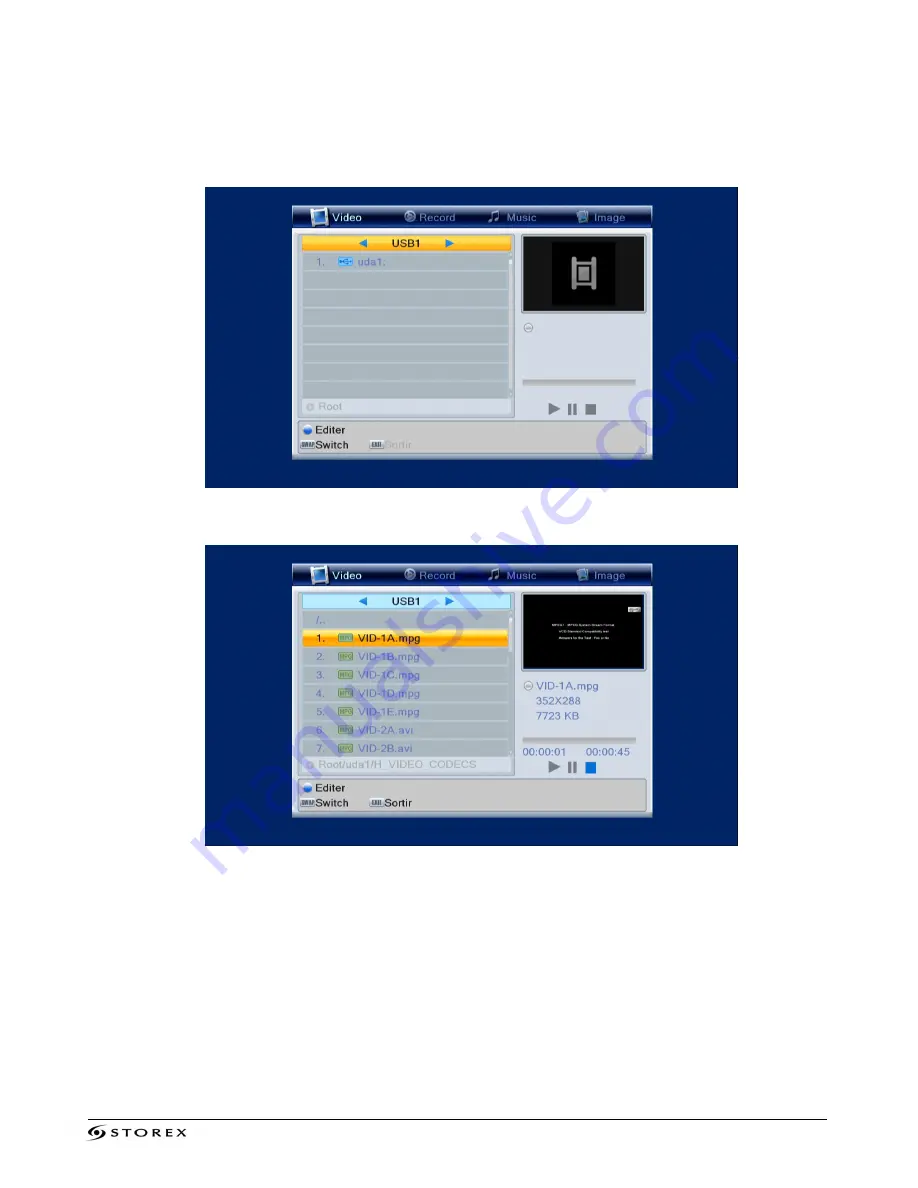
4. Press the
“ENTER”
key; select your peripheral device with the help of the
/
keys of
your remote control and then press
“ENTER”.
5. Select a file and then press
“ENTER”
to view it.