Configuring the Appliance
31
•
Netmask
: Enter the Netmask.
•
Gateway
: (
Static Routes only
) Enter the IP address of the next-
hop gateway through which outgoing traffic is routed.
6.
Click
Save
.
7.
Click
Return to Network Configuration
. You are returned to the
Network Configuration page.
8.
Click
Apply Configuration
. The routes added in the
Routing
configuration activated at boot time
section are activated.
Adding Temporary Routes
You can optionally add temporary routes in the
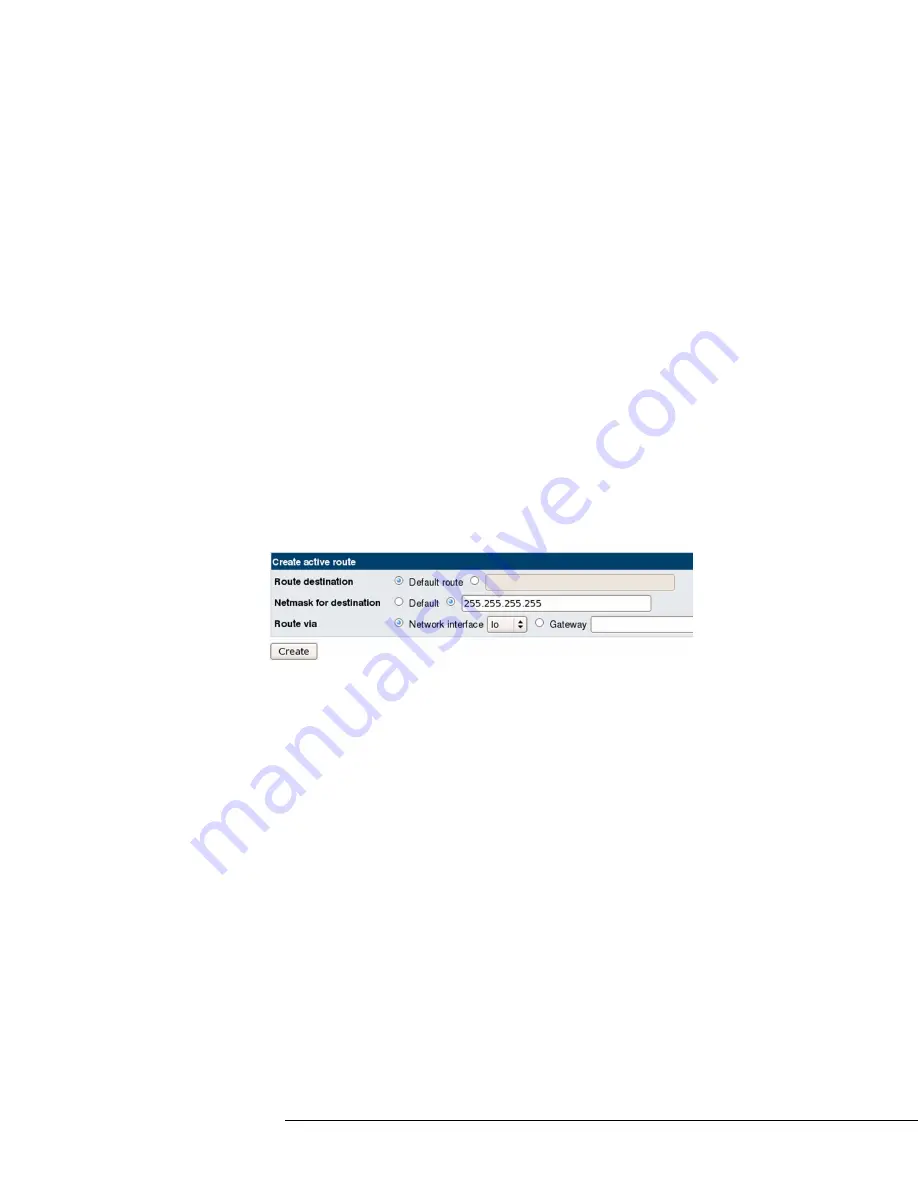
Create Active Route
section that only remain active until the network configuration is applied
or the appliance is rebooted. For example, you can create a temporary
route for testing, or for temporarily creating connectivity to a particular
network.
To add temporary routes
1.
Click
Routing and Gateways
. The Routing page opens.
2.
Configure the following settings in the
Create Active Route
section:
•
Route Destination
: Select whether the route uses the
Default
Route
for the selected interface, or enter the IP address of the
network to which the route belongs.
•
Netmask for Destination
: Select whether the route uses the
Default
Netmask for the selected interface or enter the netmask.
•
Route Via
: Select the
Network Interface
through which outgoing
traffic is routed, or enter the next-hop
Gateway
through which
outgoing traffic is routed.
3.
Click
Create
.


