Component Features:
1. Device List
Display the connected print server within the network.
2. Control Buttons
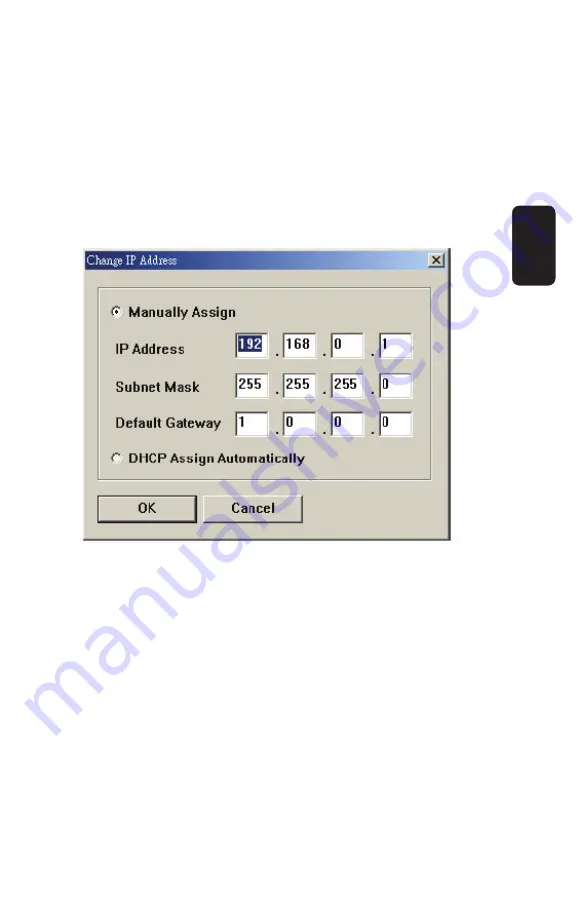
Change IP Address
: Click this button to bring up the
following dialog box, allowing you to change the IP Address.
In this dialog box, you can select either Manually Assign or
DHCP Assign Automatically. When completed, click OK.
Update Firmware
: Click this button to update the
fi
rmware
of the selected print server.
Show Web Setup:
Click this button to open your web
browser and launch the Con
fi
guration Utility.
Alternately, you can double-click the print server in the Device
List to launch the Con
fi
guration Utility.
Factory Reset:
Click this button to reload the factory set-
tings of the print server.
•
•
•
•
ENGLISH
ENGLISH-9
Summary of Contents for COM-280
Page 1: ......
Page 3: ...CONTROLS Front View Rear View ENGLISH ENGLISH 3 ...
Page 17: ...ABOUT This screen displays the information of the print server ENGLISH ENGLISH 17 ...
Page 22: ...6 Click OK to leave the LPR for TCP IP Printing Properties window ENGLISH ENGLISH 22 ...
Page 32: ...Click Next Click Finish ENGLISH ENGLISH 32 ...
Page 35: ...ENGLISH ENGLISH 35 ...
Page 43: ......
Page 45: ...CONTROLES Panel frontal Panel trasero ESPAÑOL ESPAÑOL 3 ...
Page 59: ...ACERCA DE Despliega información del servidor de impresión ESPAÑOL ESPAÑOL 17 ...
Page 64: ...6 Presione OK para salir de la ventana de propiedades de impresión TCP IP ESPAÑOL ESPAÑOL 22 ...
Page 68: ...7 Windows le preguntará si desea imprimir o no una página de prueba ESPAÑOL ESPAÑOL 26 ...
Page 74: ...9 Presione OK y Next 10 Presione Finish ESPAÑOL ESPAÑOL 32 ...
Page 79: ...5 Establezca un nuevo Puerto Estándar TCP IP 6 Presione Next ESPAÑOL ESPAÑOL 37 ...


