


INSSBF0708
BEFORE YOU BEGIN
Ductwork may have a direct impact on fan performance. Therefore, we are proposing the following recommendations.
Ducts
We highly recommend the use of rigid ducts. Flexible ducts increase air restriction, resulting in poor fan performance and increased
noise levels (sones). If flexible ducts must be used, they should be stretched as much as possible to avoid sagging.
GOOD PERFORMANCE – PVC and galvanized steel ducts: these types of ducts greatly reduce static pressure* resulting in optimum airflow.
The fan will not have to work as hard to ventilate, using less energy as a result. The noise levels will be at their lowest.
MEDIUM PERFORMANCE – Flexible aluminum ducts: an affordable option that ensures good fan performance. However, the ridges on
these types of ducts restrict airflow, compromising performance levels.
POOR PERFORMANCE – Vinyl ducts: these types of ducts are low-priced, but have a lot of ridges. Moreover, their flexible construction
restricts airflow, resulting in higher noise levels.
* Static pressure: airflow resistance that must be overcome by the fan to induce air movement
.
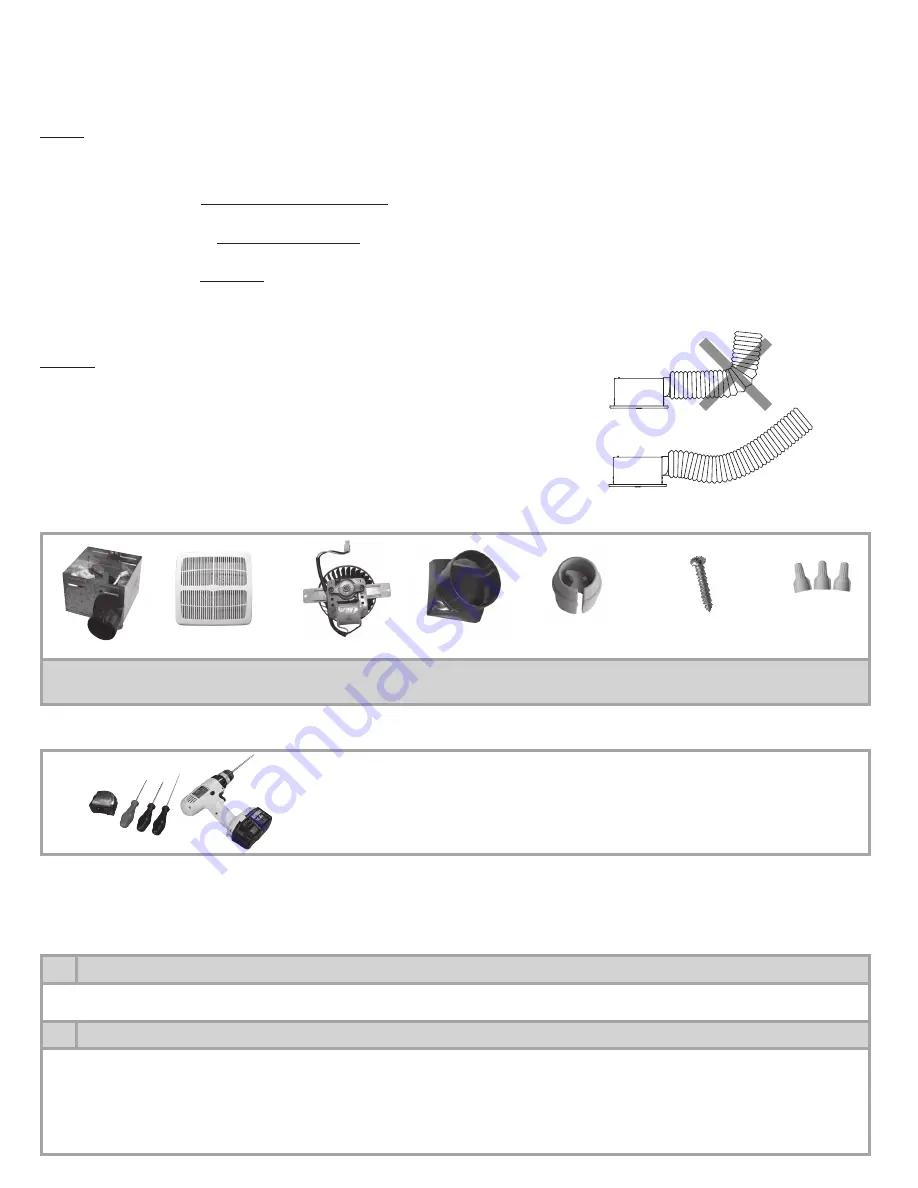
Elbows
An ideal installation would have no elbow at all, but since most realistic applica-
tions require 1, 2 or even 3 elbows, we recommend the following instructions.
The first elbow must be installed at least 70 cm (27 1⁄2 in) from the fan and have a
wide angle to facilitate airflow.
An elbow installed too close to the fan or having a sharp angle (90 degrees or
less) could cause a backflow of air into the fan.
COMPONENTS
Housing
Grille
Motor*
Back draft
damper*
Cable clamp
Wood screw #10
1 in (x2)
Wire
connectors
(x3) (marettes)
*If the fan is not preassembled, refer to appendix 1.
TOOLS
• Measuring tape
• Phillips screwdriver
• Flat head screwdriver
• Robertson screwdriver
• Drill (optional)
INSTALLATION
Note: The fan can be wall-mounted. However, this installation could impede the proper operation of the back draft damper and, therefore, the unit’s per-
formance.
1
PREPARATION
Before proceeding to the installation, plan ahead by taking into consideration the required clearances, ductwork and electrical wiring
involved. Make sure it will not impact on the existing wiring.
2
SPACING
The fan can be installed on a joist or truss. It can exceed the lower part of the joist or truss by
1/2 in or be level with it.


