10
Heatmaster
ss
G Series Furnace Operating Manual
Ping an address with a higher number than 192.168.1.101 as your
router is less likely to assign an address within this range. We
suggest a number between 200-250. Only change the last three
numbers in the address as shown on Figure 5.
Figure 6
Figure 5
Change These
192.168.1.101
(Antenna/Mount)
(b)
(a)
(c)
Secure the antenna mount (a) to the back corner of the furnace
by driling 3/16” holes through the back corner post of the
furnace, using the antenna mount holes as a template for the
hole locations.
Rivet the mount to the corner post, using the supplied rivets.
Mount the wireless access point (b) to the top of the anntena
post using the supplied pipe clamp. Turn the wireless access
point so that it’s facing the direction of your home wireless
signal.
Drill a 5/8” hole through the back of the furance at (c) to route
the cable that will be coming from the wireless access point to
the network jack that’s inside the back cabinet of your furnace.
Zip tie the cable to the anntena post.
MOUNTING THE WIRELESS ACCESS RADIO
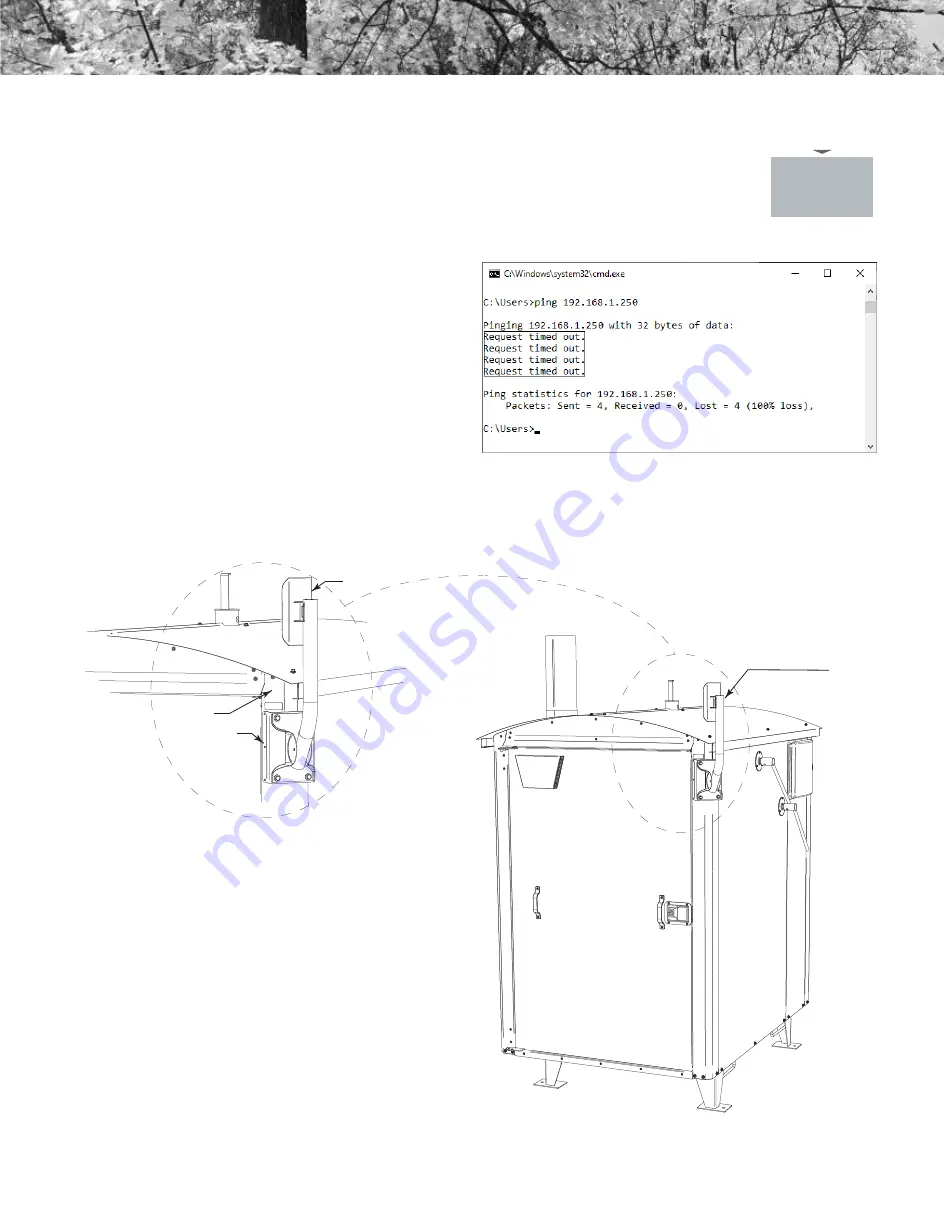
You may need to try a few different numbers before you will
find an available address. Once you find an IP address that is
available you will see a message saying “Request timed out”,
as shown in Figure 6.
Write down this IP address (in our case 192.168.1.250).
This will be the address we will assign to your furnace in the
“Addressing Your Furnace” step of this instruction.


