UUssiinngg tthhee TTVV TTuunneerr SSooffttw
waarree
1
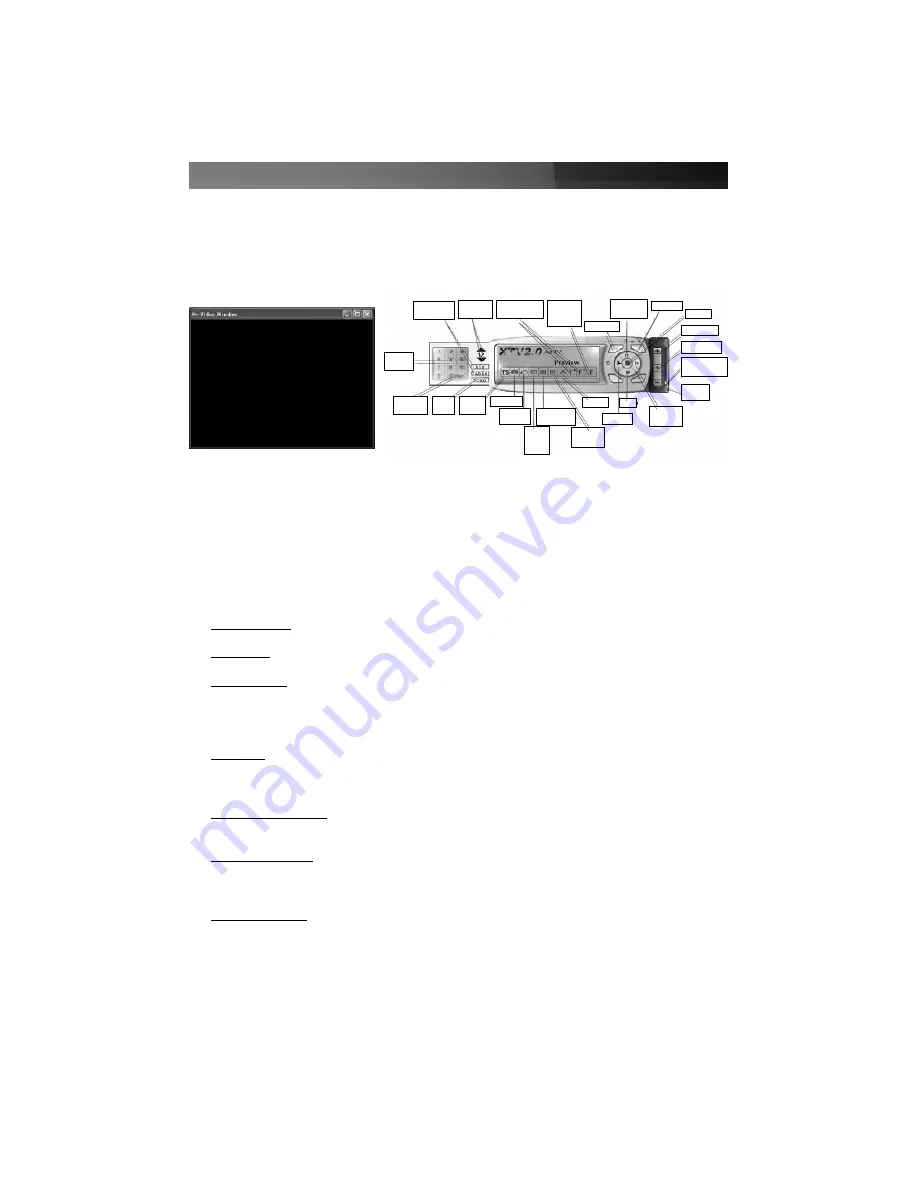
. Double-click on the
XTV2.0
icon, located on the desktop. This will prompt the following to be
displayed:
2
. To customize the
Video Window
, move the mouse pointer over the video window and right-click
to get the following setup options:
320x240
,
640x480
,
720x480
,
720x576, full screen
and
Always On Top.
Select the desired resolution, as well as whether or not you want the
Video
Window
to remain on top of all other applications.
You can also switch to full screen operation by double-clicking the
Video Window
. Double-click
on the display area again to return to the initial view.
3
.
Channel Input
: After you select the channel number, click
Enter
to confirm the Channel input
4
.
Auto Scan
: Scan all TV Channels
5
.
Time Shifting
: Clicking on
Time Shifting
will pause the display, but will keep recording. When
you click the
Continue Playback
button, it will playback from the pause time point. To stop video
playback, click the
Stop
button.
6
.
Snapshot
: When selected, the
Snapshot
function will capture the image that is displayed within
the Video Window.
7
.
Video Source Select
: TV Tuner/Composite video/S-Video selection
8
.
Schedule Capture
: You can choose
One Time
,
Several Days
or
Every Week
scheduled
recording. After you edit the schedule, please click
Add
to put the selection into your list,
followed by
Save
, before you quit.
9
.
Channel Preview
: Allows you to preview the available channels. This function is active in TV
mode only.
Instruction Manual
11
Channel
Up/Down
Air/ Cable
Selection
+/- Favorite
Channels
Favorite
Channel
Switch
Backward
Pause
Playback
Forward
Record
Volume Up
Mute on/off
Volume
adjustment
Volume
Down
Continue
Playback
Stop
Playback
Options
Channel
Preview
Schedule
Recording
Video
Source
Select
Channel
Input
Last
Channel
Snapshot
Time
Shifting
Auto
Scan
Channel
Confirm


