background image

Instruction Manual

6

Software Configuration

1.  Once the Installation an ICON on your computer’s Desktop will be created called 

“Viva Station”, click this ICON to launch the software.

2.  Upon Launch the Software will prompt you to select the device and the source 

import.  Select “HD Capture Device” as the Device.  For the Source Input Select the 

type of device you are capturing (HDMI®, Component etc.) 

3.  You will now see your video source displayed in the Viva Station Window.

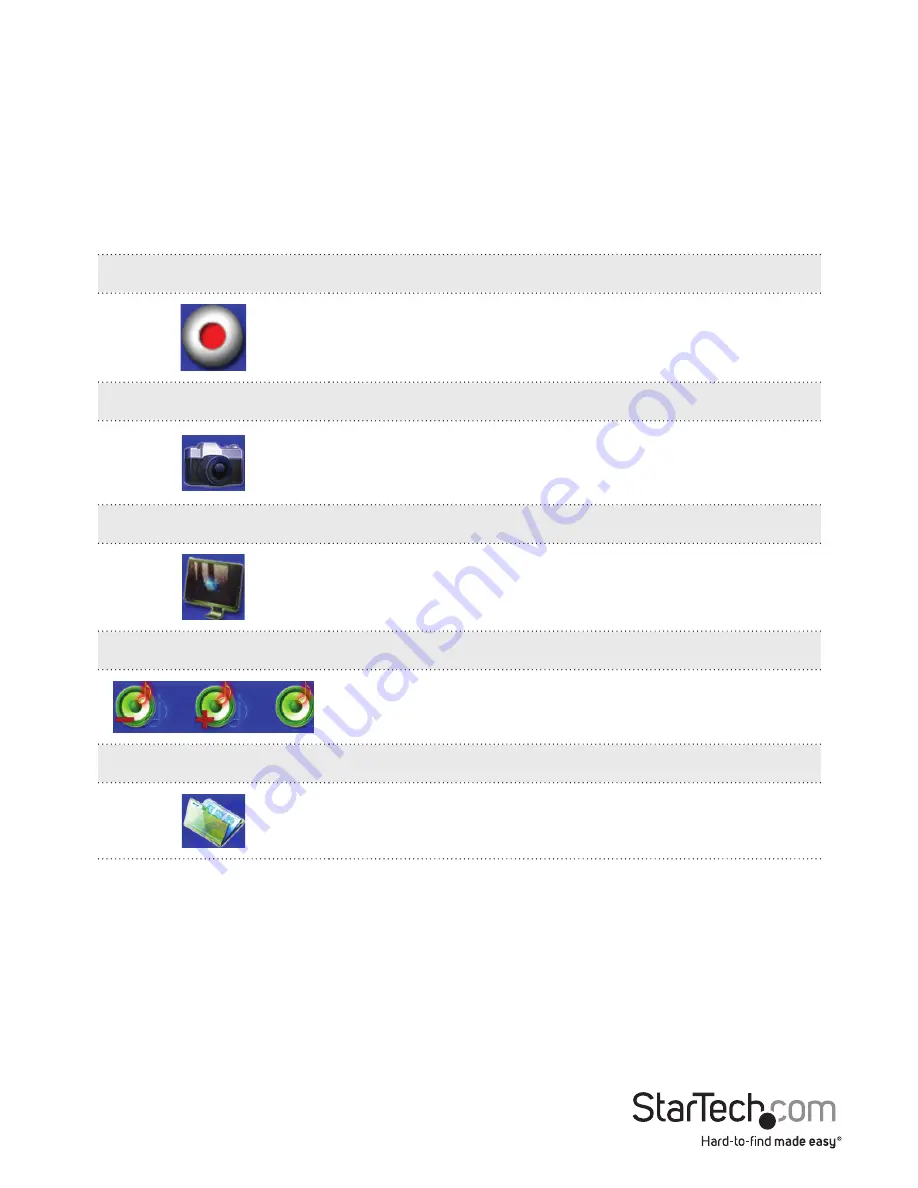
Record

To Record Video to your computer click the Red 

record button on the Option Bar 

Click this button again to stop recordin

SnapShot

To take a save an image the video source on your 

computer click the SnapShot button on the  

Option Bar

Ration

To toggle between available Aspect Rations select 

the Ration Button on the Option Bar

Volume Control

You can adjust volume using the Volume Buttons on 

the Option Bar

Playback

The Playback Option allows you to access files that 

have already been saved.

Summary of Contents for USB2HDCAP

Page 1: ...e startech com FR Guide de l utilisateur fr startech com ES Gu a del usuario es startech com IT Guida per l uso it startech com NL Gebruiksaanwijzing nl startech com PT Guia do usu rio pt startech com...

Page 2: ...eceiving antenna Increase the separation between the equipment and receiver Connect the equipment into an outlet on a circuit different from that to which the receiver is connected Consult the dealer...

Page 3: ...ual i Table of Contents Introduction 1 Packaging Contents 1 System Requirements 1 Hardware Installation 3 Software Installation 3 Software Configuration 6 Specifications 8 Technical Support 9 Warranty...

Page 4: ...a multitude of audio video devices to your computer quickly and easily This USB capture device supports NTSC and PAL systems and comes complete with an easy to use video capture software suite allowi...

Page 5: ...ruction Manual 2 NOTE This Device can caputre at 1080p at 30 50 60 frames per second Live Video output will always display at 30 frames per second This Product will not record digitally encrypted cont...

Page 6: ...specific prompts as these steps will be performed during software installation Software Installation After Hardware Installation the Found New Hardware Wizard will open click Cancel to close the windo...

Page 7: ...Instruction Manual 4 4 Select Quick Installation from the Menu that appears The Installation will begin 5 Select Typical Installation and click Install...

Page 8: ...apture Click the Start Button 7 You will be asked to select the language for installation select your desired Language and click OK 8 Follow the Prompts to complete the VivaStation Installation when p...

Page 9: ...nent etc 3 You will now see your video source displayed in the Viva Station Window Record To Record Video to your computer click the Red record button on the Option Bar Click this button again to stop...

Page 10: ...ording Video Source Select Video source to change the Input Select the type of device you are capturing HDMI Component etc Additional Settings Settings provides a more complex visual interface to adju...

Page 11: ...y Standards NTSC PAL M PAL 60 PAL Video Encoding MPEG4 H 264 Connectors 1x HDMI 19 pin Female 1x Component Video 3 x RCA Female 1x S Video 4 pin Mini DIN Female 1x Stereo Audio 2 x RCA Female 1x USB M...

Page 12: ...returned for repair or replacement with equivalent products at our discretion The warranty covers parts and labor costs only StarTech com does not warrant its products from defects or damages arising...

Page 13: ...ts and we quickly deliver them wherever they need to go Just talk to one of our tech advisors or visit our website You ll be connected to the products you need in no time Visit www startech com for co...

Reviews: