Instruction Manual
6
Surface-Mounting Method 2:
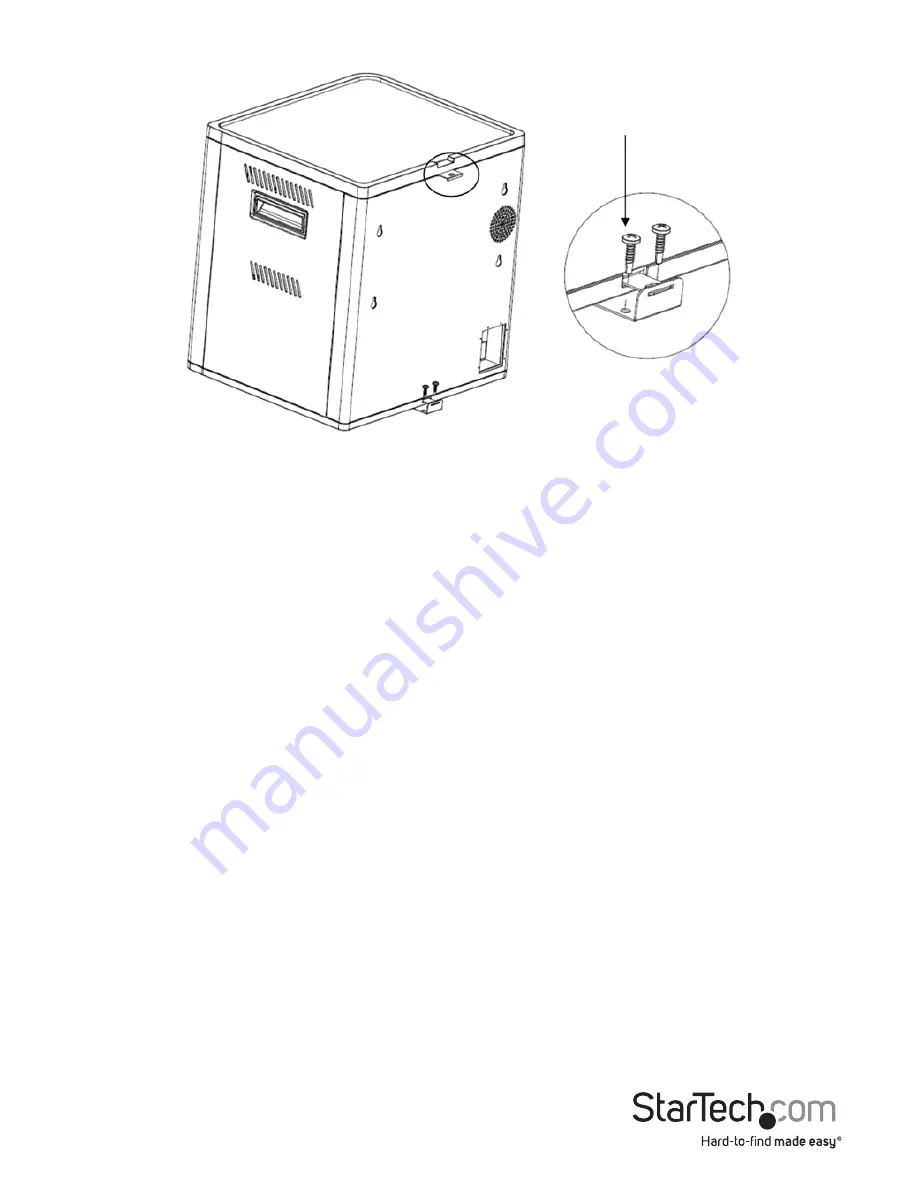
The ST10CSU2A also includes a separate Desk Mount Bracket.
1. Secure the Desk Mount Bracket to a surface as desired using the included screws.
2. Align the bottom of the ST10CSU2A over the secured bracket, and gently slide the
bracket into the indent on the bottom of the ST10CSU2A.
3. Once in position, the integrated bracket on the rear-lower center position of the
ST10CSU2A (Mentioned in Method 1) can be pushed inward, locking the Desk
Mount Bracket firmly into place with the ST10CSU2A.
4. Attach a lock to the integrated bracket by looping it through the hole. This prevents
the bracket from sliding backward, ensuring the bottom Desk Mount Bracket
remains in a locked position and attached to the ST10CSU2A.
5. For easy removal, disconnect your lock, pull the integrated bracket outward, and the
Desk Mount Bracket will become dislodged from the bottom of the ST10CSU2A.
Stacking Multiple Units
The ST10CSU2A includes 4x Stacking Screws, which allow you to horizontally or
vertically stack multiple units together.
Note:
Do not attempt to stack the ST10CSU2A while your tablet devices are connected
or stored inside. Ensure the Power Switch is set to the “Off” position and remove the
Power Cord from the ST10CSU2A.
1. Gently lift and remove the gray protective layer on the top surface of the


