background image

Connecting the Enclosure to a Computer

This product has been tested with Windows 98/98SE, ME, 2000, XP, 2003 Server, and
Mac OS 9.0.x, 9.2.x, and X. Other operating systems may also support this device;
consult your documentation or a computer service professional for details on whether this
product will work with your operating system and configuration.

When used with the Windows operating systems noted above, the drive enclosure is
“hot-swappable” which means the drive can be connected and disconnected while the
computer is running and will be immediately accessible to the user like any other hard
drive.

1. Place the enclosure near the computer you wish to use.

2. Using the provided USB 2.0 data cable, connect one end to the USB connector 

on the rear panel of the enclosure. Connect the opposite end of the cable to an 
available USB port on the back of the computer or a powered USB hub. The LED
indicator on the rear panel of the enclosure should light to indicate power.

3. Connect the external 12V power adapter (included) to the device. Once connected, the

power light (located on the end of the enclosure opposite the power switch) will light.

4. The drive should be ready to use and will be visible under 

My Computer 

(Windows) 

or on the desktop (Mac OS).

Disconnecting the Enclosure from a Computer

1. Ensure that any programs that have accessed the drive are closed.

2. You may wish to use your operating system’s safe removal feature:

In Windows

: If available, it is recommended that you use the Safely Remove Hardware

application to notify the operating system that the device is about to be unplugged.
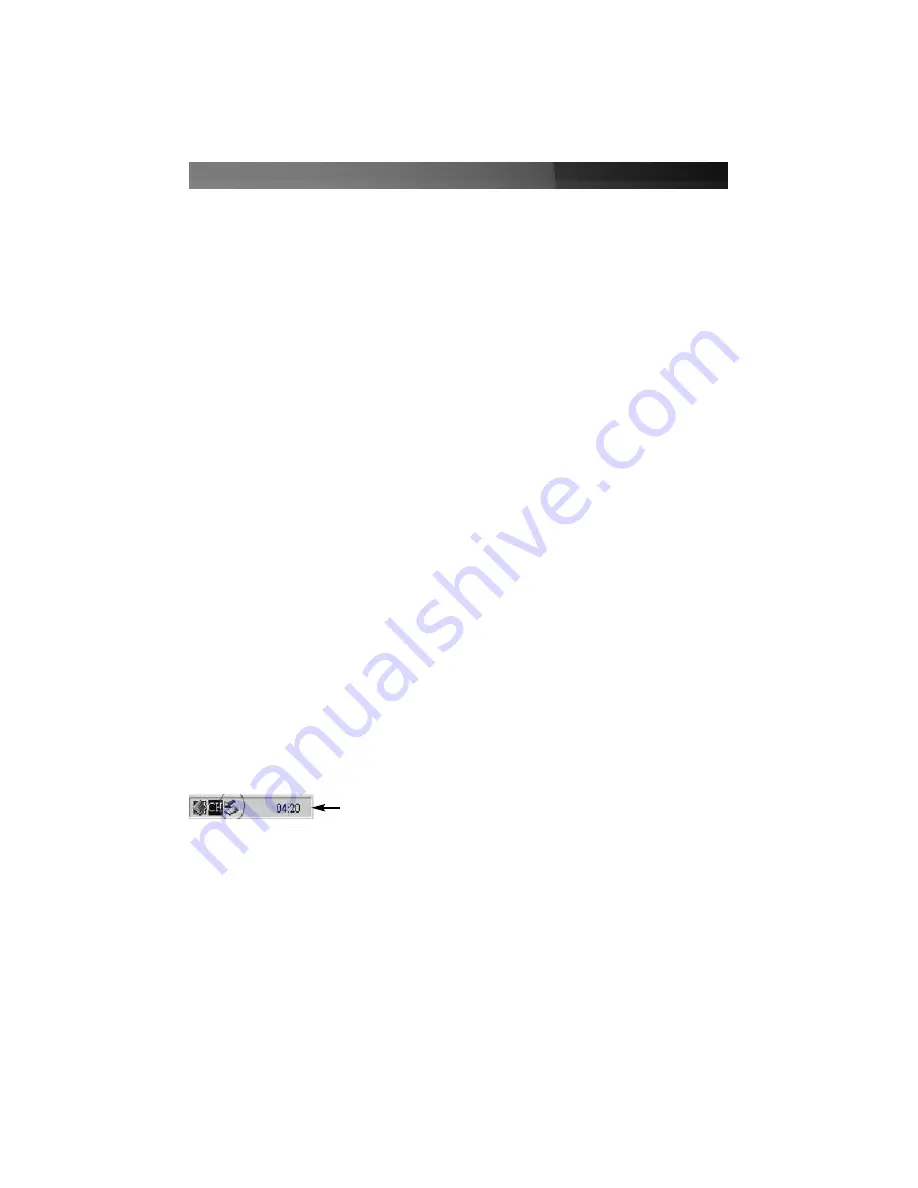
Check to see if the Safely Remove Hardware icon appears in the notification area (see
below):

To notify the operating system about removing a Plug and Play device, click on the Safely
Remove Hardware icon. This will open a notification bubble with a list of devices that are
currently attached to the system. Click on the removable hard drive, in order to stop the
device so that it can be unplugged.

In Mac OS

: you can drag the icon for the drive to the trash to “eject” it and stop it safely.

3.You can now safely remove the USB 2.0 data cable from the enclosure.

Instruction Manual

3

Safely Remove Hardware icon

Summary of Contents for SATCASE35U2

Page 1: ...InfoSafe Mobile Drive Enclosure SATCASE35U2 Instruction Manual Actual product may vary from photo External USB 2 0 3 5 Hard Drive Enclosure...

Page 2: ...uipment and receiver Connect the equipment into an outlet on a circuit different from that to which the receiver is connected Consult the dealer or an experienced radio TV technician for help U Us se...

Page 3: ...Instruction Manual 3 Please Note Front LED cable must be connected for proper drive operation...

Page 4: ...nstallation 2 Installing a Hard Drive in the Enclosure 2 Installing Drivers Windows 98SE 2 Connecting the Enclosure to a Computer 3 Disconnecting the Enclosure from a Computer 3 Troubleshooting 4 Spec...

Page 5: ...minum finish Includes 12V power adapter Backwards compatible with the USB 1 1 standard USB 2 0 computer interface required to achieve maximum data transfer speeds B Be ef fo or re e Y Yo ou u B Be eg...

Page 6: ...de the hard drive into place until there is a snug fit between the tray and the hard drive Do not use excessive force to avoid damaging the drive and the enclosure 4 Gently insert the tray into the en...

Page 7: ...ower adapter included to the device Once connected the power light located on the end of the enclosure opposite the power switch will light 4 The drive should be ready to use and will be visible under...

Page 8: ...gh power My computer recognizes the hard drive but I cannot read any of the files Depending on your operating system you may need to format or partition the hard drive to make the drive and its data a...

Page 9: ...interface is required for maximum data transfer rates Actual data transfer speeds will vary by configuration Interface Connections Internal 1 x 15 pin 3 5 SATA hard drive interface External 1 x USB 5...

Page 10: ...5USB_LP Low Profile 2 Port USB 2 0 PCI Card PCI420USB 4 Port USB 2 0 PCI Card PCI425USB Value 4 Port USB 2 0 PCI Card PCI625USB2I Value 6 Port USB 2 0 PCI Card CB2U2F 2 Port USB 2 0 and 2 Port IEEE 13...

Page 11: ...replacement with equivalent products at our discretion The warranty covers parts and labor costs only StarTech com does not warrant its products from defects or damages arising from misuse abuse alte...

Page 12: ...ts cables server management solutions and A V products and serve a worldwide market through our locations in the United States Canada the United Kingdom and Taiwan Visit www startech com for complete...

Reviews: