


Instruction Manual
18
P
Pa
arrttiittiio
on
n C
Co
on
nffiig
gu
urre
ed
d V
Vo
ollu
um
me
es
s
This chapter explains how to partition volumes after configuring them with the SiI 4726
Manager software. The end-user must partition volumes for the host computer’s operating
system prior to storing data on the volumes. Please refer to the operating system
documentation for further guidance.
1. Right-click the
My Computer
icon and select
Manage
from the pop-up window.
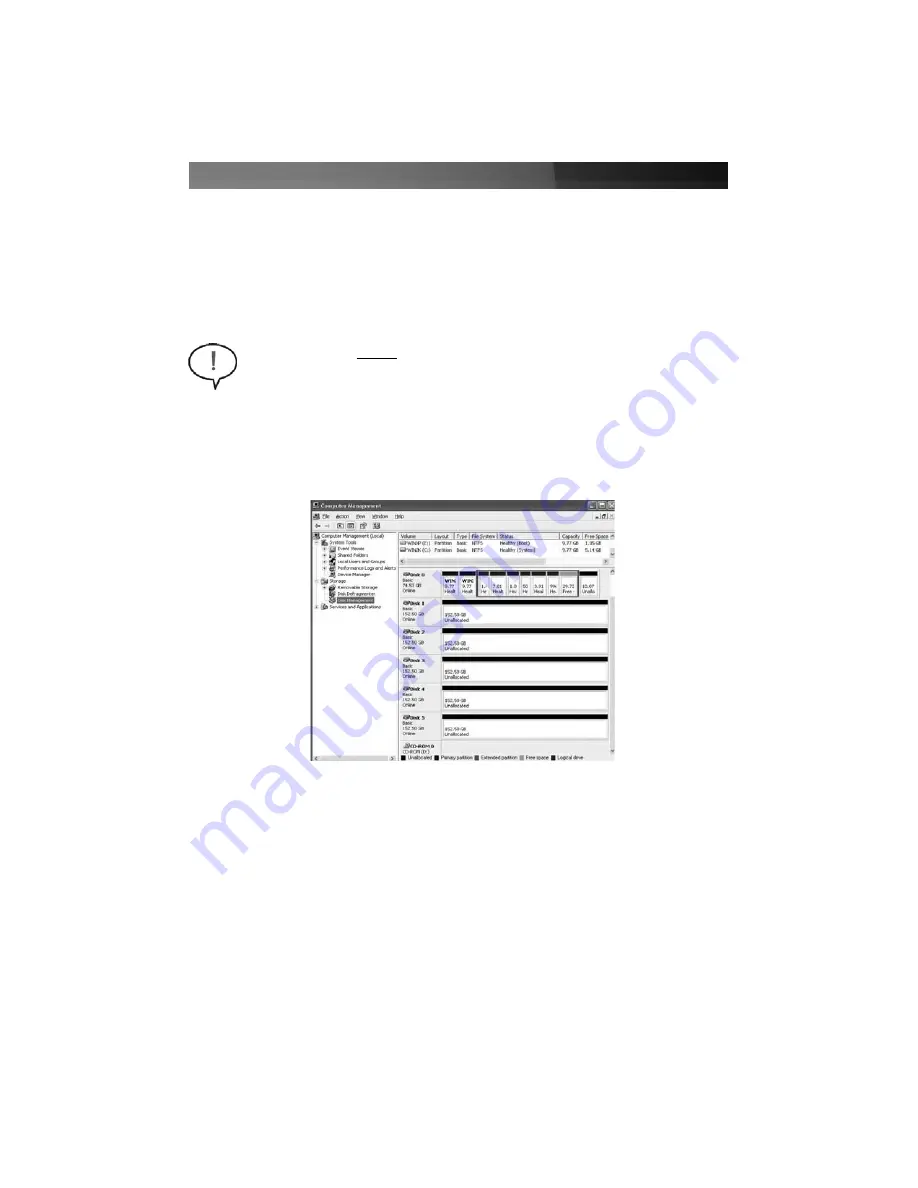
2. From the
Computer Management
window select
Disk Management
under
Storage
to open
Windows Disk Manager
.
Windows
Note
: Before reconfiguring a volume, back up the data and delete previously
defined partitions.
Do not, however, delete the partition that represents the
SteelVine processor (the “Not Initialized” disk with no capacity allocated to it).
After the new volumes are configured and partitioned, the backed up data can
be restored to the new configuration.
Note
: The Disk numbers in the Windows Disk Manager may be different from the Volume
numbers shown in the
SiI 4726 Manager Status
window, the
Basic Configuration
Wizard
, and the
Advanced Configuration Wizard
. Be sure to select the correct disk
based on the expected disk capacity to create a partition.
3. Right-click on the configured disk’s unallocated space and select
New Partition
. If the
New Partition
option is not available, select the disk and initialize it first. To do this,
right-click on the disk item and select
Initialize Disk
.
4. The
Partition Wizard
will launch. Click
Next
to begin.
5. Select the
Primary
or
Extended
option and click
Next
.
6. Specify the partition size. By default, the partition occupies the entire volume. Click
Next
to proceed.


