Instruction Manual
3
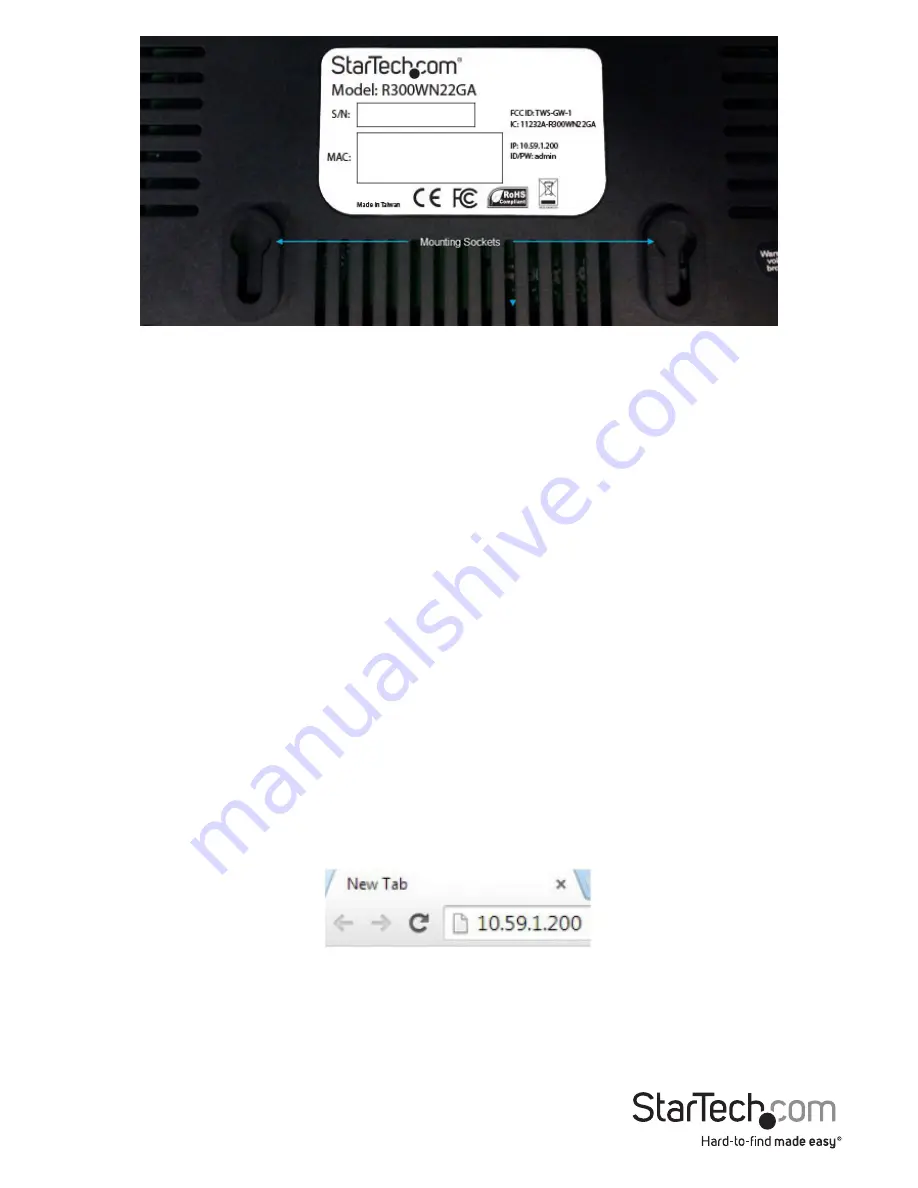
2. The distance between the two mounting sockets on the back of the Network Switch
is approximately 106mm. Mark the distance on the wall, making sure your marks are
straight and level.
3. Depending on the mounting surface, use the appropriate tools and hardware to
install mounting screws into the surface. There should be a gap of approximately 2
mm between the head of the screw and the wall surface.
4. Place the Access Point so that the wide openings of the mounting sockets are over
the screw heads. Slide the case downward so that the screw heads slide into the
narrow slots.
5. Connect an Ethernet cable from the WAN port on the Access Point (AP) to your ISP
modem (Cable, DSL, etc.).
6. Connect a second Ethernet cable from your computer to one of the LAN ports on
the AP.
7. Connect the power adapter to the DC jack on the AP and wait approximately 30
second for the unit to initialize.
Note:
If the message Error: 0001 appears on the LCD screen, the AP did not detect a
connection on the WAN port, please check your cabling.
8. Open your preferred web browser, enter the IP address of the Access Point (Default:
10.59.1.200
) into the address box and press Enter.
9. Login to the web GUI with your username / password (Default:
admin / admin
) and
click Login.


