Instruction Manual
4
Hardware installation
Install a drive on the PCIe card
Warning! Drives and PCIe cards should be handled carefully, especially when they’re
transported. If you’re not careful with your drives, you may lose data as a result. Make
sure that you’re properly grounded by wearing an anti-static strap when you install
any computer component. If an anti-static strap isn’t available, touch a large, grounded
metal surface for several seconds to discharge any built-up static electricity.
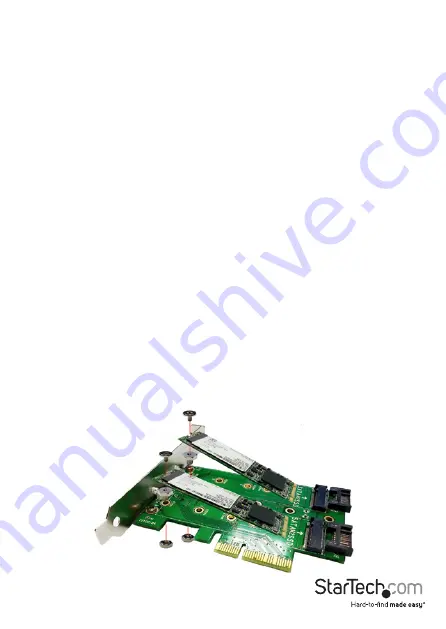
1. The card features drive-installation mounting holes at different intervals (30 mm,
42 mm, 60 mm, and 80 mm) to support all M.2 drive sizes. To determine which
mounting hole to use, place your M.2 drive next to the card and note the drive-
installation holes that match the height of your drive.
2. Fasten a standoff and a nut to the adapter card at the mounting-hole location(s)
that match(es) the length of your drive.
3. Gently slide the M.2 connector on your drive into the corresponding connector on
the adapter card.
Note: The connector on your drive is keyed so that it only fits one way.
4. Repeat steps 2 and 3 for each of your M.2 drives.
Note: Two SATA drives can be installed to the top side of the adapter card, while one
PCIe drive can be installed on the bottom side of the adapter card.
5. Place one of the included M.2 mounting screws in the drive-mount standoff and use
a screwdriver to tighten the screw and hold your M.2 drive in place.
6. If necessary, repeat step 5 for a second and third drive.
7. To remove a drive, use a screwdriver to remove the M.2 mounting screw that is
holding the drive in place and gently pull the drive out of the adapter card.
SATA M.2 drive-installation diagram (top side)


