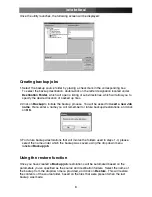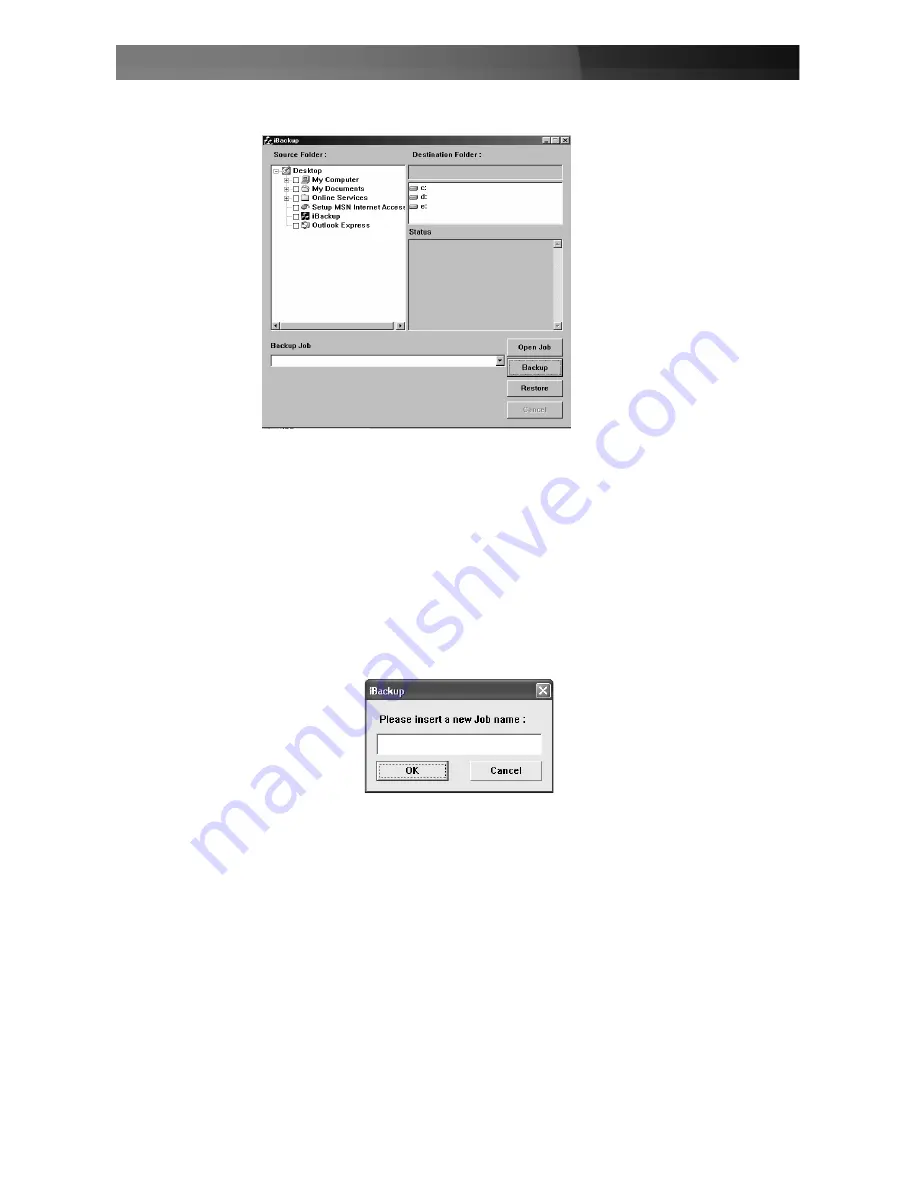
Once the utility launches, the following screen will be displayed:
Creating backup jobs
1. Select the backup source folder by placing a checkmark in the corresponding box.
To select the backup destination, double-click on the letter designation located under
Destination Folder
, which will open a listing of sub-directories, which will allow you to
specify the desired location of backed up files.
2. Click on
Backup
to initiate the backup process. You will be asked to
insert a new Job
name
. Here, enter a name you will remember for future backups/restorations, and click
on
OK
.
3. For future backups/restorations that will involve the folders used in steps 1-3, please
select the name under which the backup was saved, using the dropdown menu
labelled
Backup job
.
Using the restore function
Once you have created a
Backup job
, restorations will be automated based on the
parameters you’ve specified as the source and destination folders. Select the name of
the backup from the dropdown menu provided, and click on
Restore
. This will restore
the contents of the source folder, based on the files that were present when the last
backup was made.
Instruction Manual
4


