14
To view manuals, videos, drivers, downloads, technical drawings, and more visit www.startech.com/support
8.
Use a
Phillips Screwdriver
to tighten all of the
Screws
.
Warning!
Do not over-tighten the
Screws
. If you encounter
resistance while you’re tightening the
Screws
, stop tighten-
ing. Failure to do so could result in damage to the
Monitors
.
9.
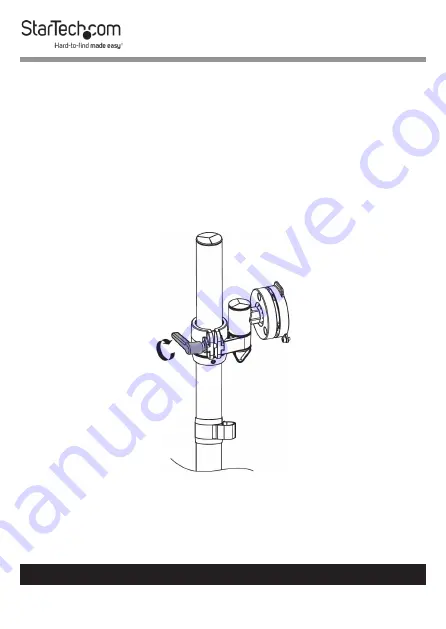
Tighten the
Height-Adjustment Knob
on each of the
VESA
Mounts
.
(Figure 10)
Note:
The
Height-Adjustment Knob
has a ratchet feature.
Freely rotate the
Height-Adjustment Knob
by pulling it
away from the
VESA Mount
and rotating it to the desired
position.
10.
Slide the
Collars
up the
Lower
and
Upper Poles
so that
each
Collar
sits flush with the corresponding
VESA Mount
.
11.
Tighten the two
Flat-Head Screws
that are located on each
Collar
, using the
3 mm Hex Key
with Screwdriver Tip
.
14
Figure 10


