background image

Manual Revision: 12/04/2018

For the latest information, technical specifications, and support for 

this product, please visit www.StarTech.com/ARMDUALWALL.

FR:

 Guide de l’utilisateur - fr.startech.com

DE:

 Bedienungsanleitung - de.startech.com

ES:

 Guía del usuario - es.startech.com

NL:

 Gebruiksaanwijzing - nl.startech.com

PT:

 Guia do usuário - pt.startech.com

IT:

 Guida per l’uso - it.startech.com

ARMDUALWALL

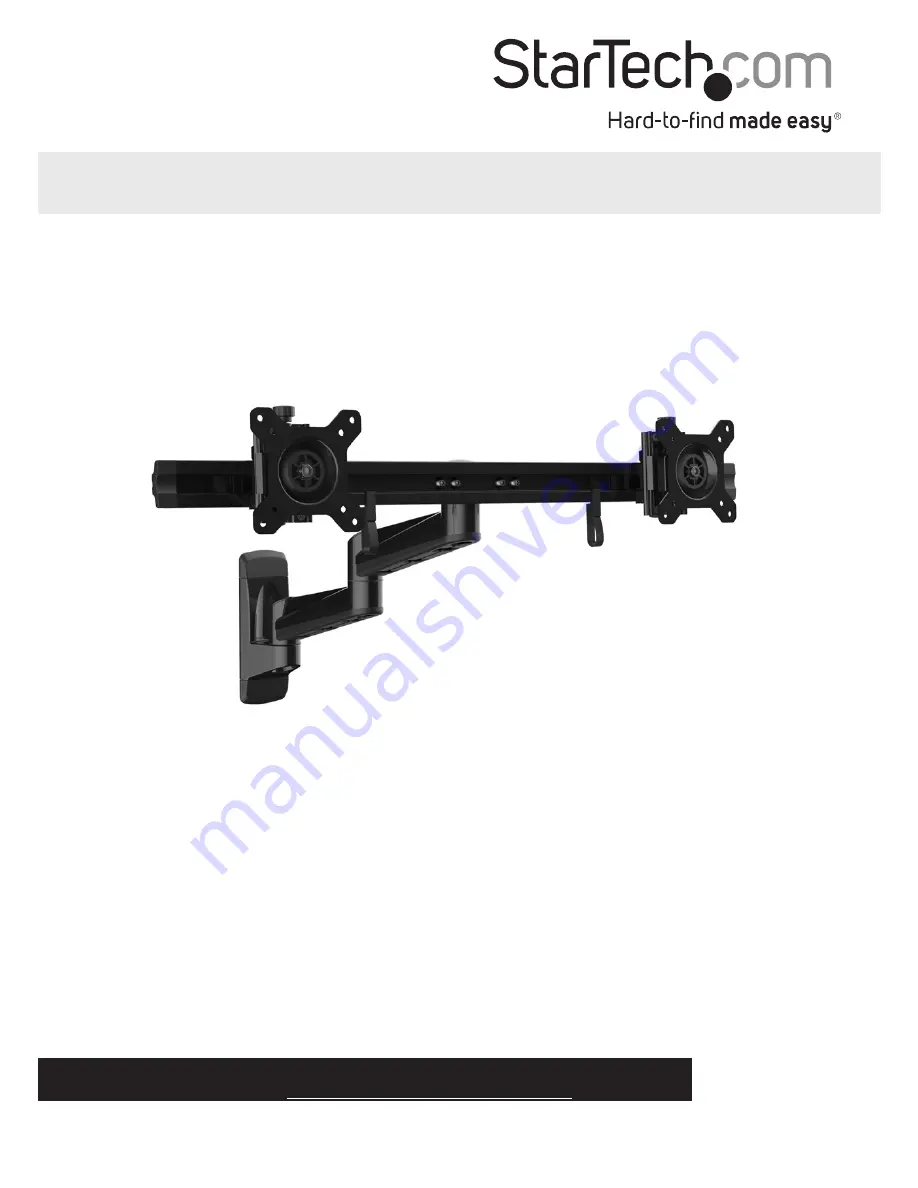
Dual-Monitor Wall Mount

*actual product may vary from photos

Summary of Contents for ARMDUALWALL

Page 1: ...w StarTech com ARMDUALWALL FR Guide de l utilisateur fr startech com DE Bedienungsanleitung de startech com ES Gu a del usuario es startech com NL Gebruiksaanwijzing nl startech com PT Guia do usu rio...

Page 2: ...Tech com Where they occur these references are for illustrative purposes only and do not represent an endorsement of a product or service by StarTech com or an endorsement of the product s to which th...

Page 3: ...Assemblez ce produit conform ment aux instructions Lisez tout le manuel et assurez vous que vous comprenez les instructions avant de commencer assembler et utiliser ce produit Ne d passez pas la capac...

Page 4: ...tions 2 Package contents 3 Requirements 6 Installation 7 Attach the wall plate to the wall 7 Attach the mounting arms 9 Attach the crossbar 12 Mount the monitors 14 Attach the VESA monitor mounts to t...

Page 5: ...Instruction manual 1 Product diagram VESA monitor mount VESA monitor mount Crossbar Cable management clip Mounting arm Mounting arm Wall plate Product dimensions 15 183 5 mm 70 mm 360 rotation 640 mm...

Page 6: ...l 2 Technical specifications Type of measurement Measurement VESA 75x75 100x100 RATED LOAD 5 kg 11 lb per monitor mount ROTATION 3600 TILT 150 to 150 SCREEN Between 381 mm and 610 mm 15 in and 24 in S...

Page 7: ...Instruction manual 3 Package contents Wall plate Qty One Plastic covers Qty Two Mounting arms Qty Two VESA monitor mounts Qty Two Crossbar Qty One Crossbar cap Qty One 2 1 3 4 6 5...

Page 8: ...Instruction manual 4 M4x12 mm screws Qty Eight M4x30 mm screws Qty Eight Spacers Qty Eight Cable management clips Qty Two Hex key Qty One Mounting arm retainer Qty One 8 7 9 10 11 12...

Page 9: ...Instruction manual 5 M8x16 mm screws Qty Three Mounting arm washers Qty Three Mounting arm caps Qty Two Wall plate retainer Qty One Level Qty One M8x60 mm screws Qty Four 13 14 15 16 17 18...

Page 10: ...Instruction manual Qty One 19 20 21 Requirements Two monitors that are compatible with one of the VESA mounting hole patterns that ARMDUALWALL supports A Phillips type screwdriver Requirements are su...

Page 11: ...o so may result in personal injury and or equipment damage The wall should be capable of supporting at least four times the weight of the mounted equipment Warning The mounting hardware included with...

Page 12: ...he wall 4 Follow the appropriate steps for the type of wall that you re attaching the wall plate to and attach the wall plate to the wall figure 2 figure 2 5 Slide the plastic covers over the ends of...

Page 13: ...mounting arm washer 4 Insert an M8x16 mm screw through the wall plate retainer mounting arm washer and into the mounting arm figure 5 5 Use a Phillips type screwdriver to tighten the screw into place...

Page 14: ...unting arm caps over the joint in the mounting arm figure 6 figure 6 7 Place the second mounting arm over the projection in the other mounting arm figure 7 figure 7 Wall plate Mounting arm Mounting ar...

Page 15: ...into the mounting arm figure 8 11 Use a Phillips type screwdriver to tighten the screw into place Warning Do not over tighten the screw If you encounter resistance while you re tightening the screw st...

Page 16: ...the crossbar retainer 4 Insert an M8x16 mm screw through the washer crossbar retainer and into the crossbar figure 11 5 Use a Phillips type screwdriver to tighten the screw into place Warning Do not...

Page 17: ...Instruction manual 13 4 Snap the crossbar cap into the crossbar figure 12 figure 12 Crossbar Crossbar cap...

Page 18: ...the mounting holes on the back of the monitor 3 Line up the VESA monitor mount with the spacers or the mounting holes on the back of the monitor 4 Insert the M4x12 mm screws or the M4x30 mm screws th...

Page 19: ...ossbar figure 14 Note If you encounter resistance as you slide the VESA monitor mount into a mount holder remove the VESA monitor mount from the mount holder and look to see if either of the screws in...

Page 20: ...rn the knobs at the top of each of the VESA monitor mounts figure 16 To lock the mounting arms in place use the hex key to turn the screw in each of the mounting arms clockwise figure 17 To increase o...

Page 21: ...7 Organize your cables 1 Attach the cable management clips to the crossbar 2 Route the cables along the crossbar 3 Snap the cables into the cable management clips figure 18 figure 18 Cable management...

Page 22: ...ned for repair or replacement with equivalent products at our discretion The warranty covers parts and labor costs only StarTech com does not warrant its products from defects or damages arising from...

Page 23: ...ts and we quickly deliver them wherever they need to go Just talk to one of our tech advisors or visit our website You ll be connected to the products you need in no time Visit www startech com for co...

Reviews: