-
22
-
7. Preventing and Removing Paper Jams
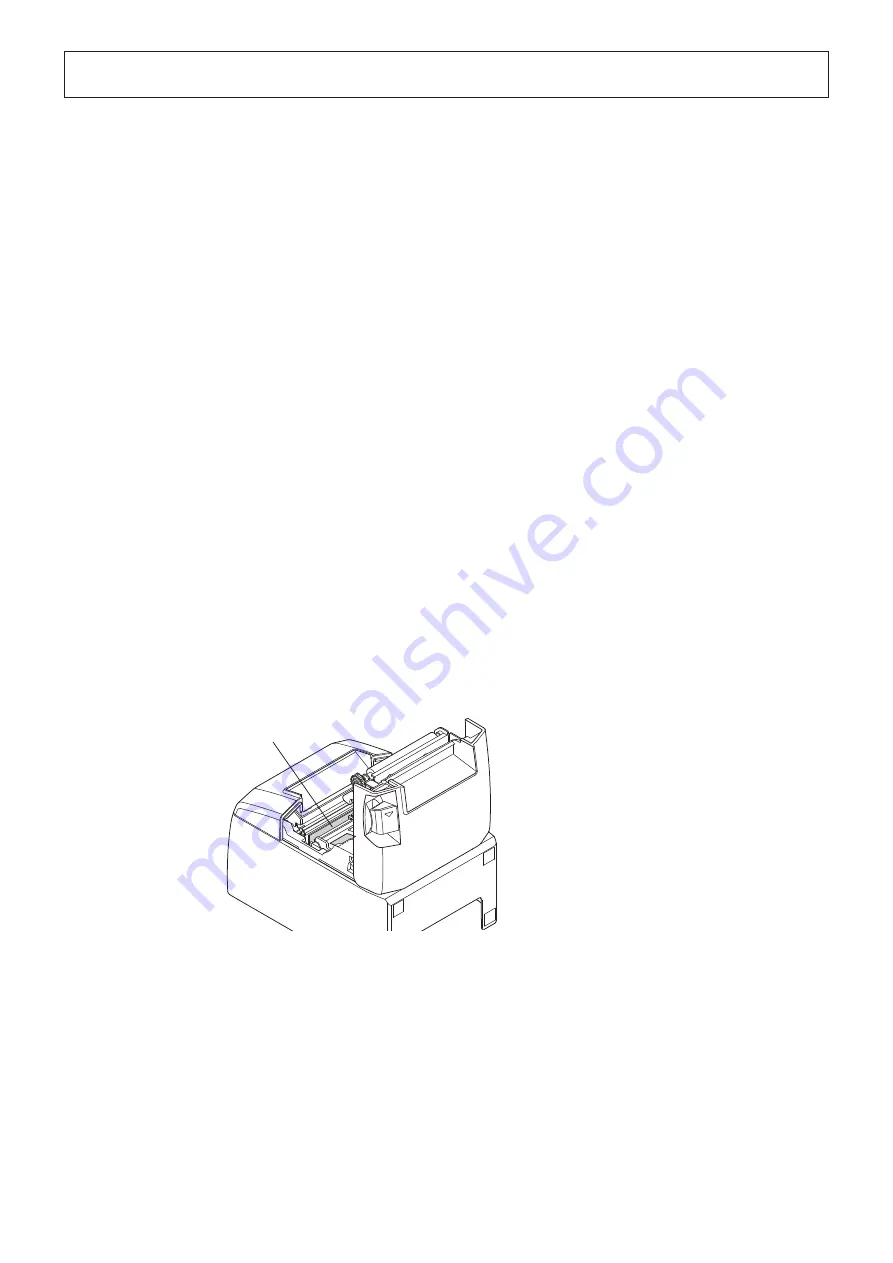
Thermal head
7-1. Preventing Paper Jams
l
To avoid paper jams and other problems, feed the paper at least 1 mm (8 dot lines) before printing.
l
If you want to use the cutter, to avoid paper jams and other problems, we recommend a margin of at least 5 mm
from the end of the printed area to the cutting position.
l
When you set the paper roll into the printer, do not pull out the end of the paper at an angle.
l
Do not touch the paper roll when the printer is printing or feeding paper or before the cut operation has finished
completely.
l
Holding or pulling the paper while it is being fed may cause paper jams, improper cutting, or improper line breaks.
l
Do not remove the paper while it is being cut. This can cause a paper jam.
7-2. Removing Paper Jams
If a paper jam occurs, remove the paper according to the procedure given below.
(1) Turn the power switch off.
(2) Open the rear cover.
(3) Remove the jammed paper.
(4) Load the paper roll straight, and gently close the rear cover.
(5) Turn the power switch on.
Make sure that the ERROR lamp is not lit.
Note 1: If you cannot open the rear cover, see section 6-3, “Releasing the Cutter Lock”.
2: Because the thermal head is hot immediately after printing, do not touch it.
3: Do not pull on the paper with the rear cover closed. Doing so may cause damage to or deformation of
parts such as the thermal head and the rubber roller.
4: Push on both sides of the rear cover to close it securely.
Pushing the center section of the cover may cause only one side of the cover to be closed completely.
If the rear cover is not closed completely, the printer may not print.


