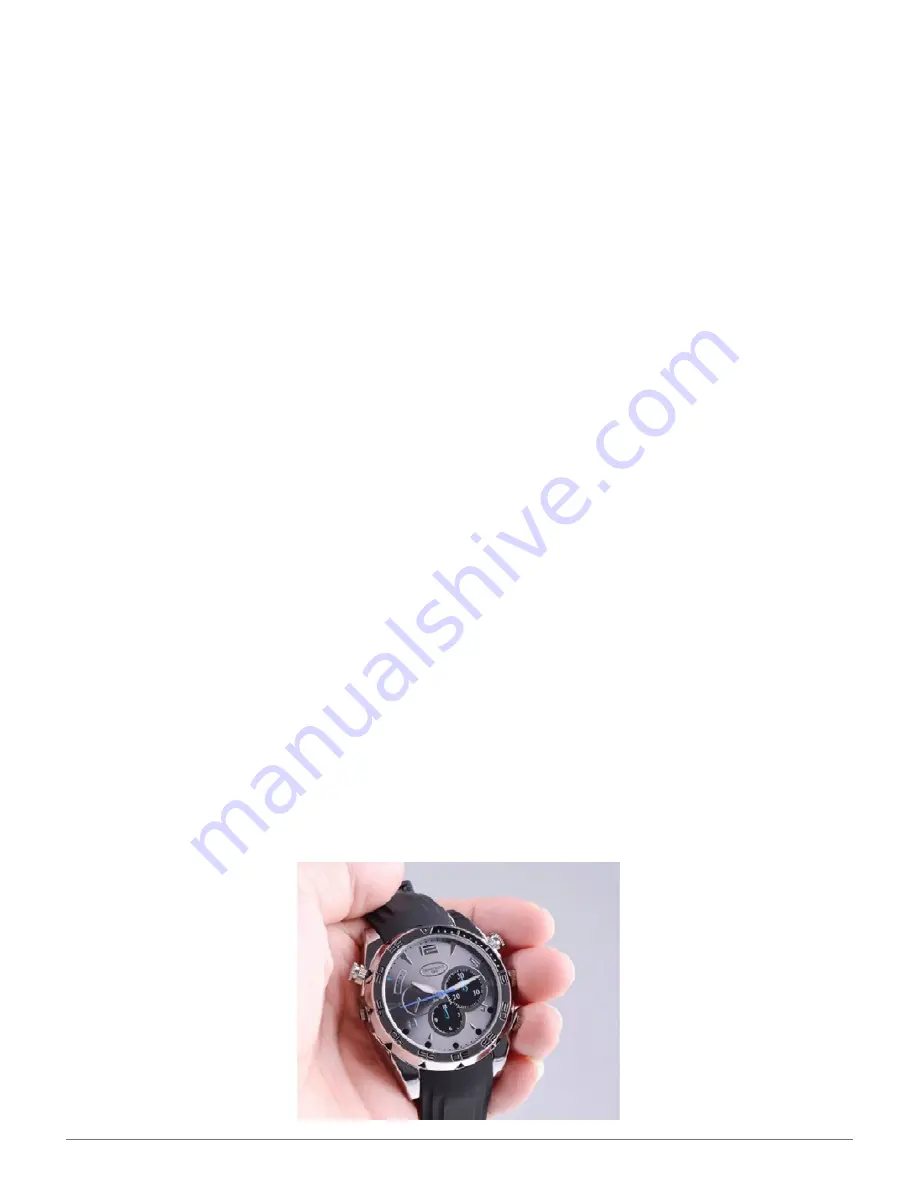
HD SPY WATCH WITH NIGHT VISION USER GUIDE
5
If you don’t want the date and time superimposed on the picture, you can disable the
data stamp on subsequent recordings Follow the instructions for setting the date and
time above but enter the letter “N” as in “no” instead of the “Y” at the end of the text in
the file. For example, the file would read:
2016.09.30 10:30:00 N
When the date and time are not superimposed on the picture, you can check the file
directory on your computer for the information.
Note:
The camera default is to superimpose the date and time on the picture. If you
don’t do anything with the camera out of the box, an incorrect date and time will likely
appear until you change the setting.
Quick Start Video Recording
Assuming the camera is charged, it shouldn’t take more than a few seconds to start
recording video.
1. Press and hold the button on the watch periphery at 2 o’clock for about 2 seconds.
A tiny blue LED atop the “12” on the clock face will light up, then flash three times to
confirm that recording has started. The LED remains unlit during video recording.
2. To pause the recording double tap the same 2 o’clock button. The blue LED will
glow steadily indicating that the recording has been saved, and the camera is now in
Standby mode.
3. To resume recording, press the 2 o’clock button once. The LED will flash three
times indicating that a new recording has begun.
4. To turn off the camera while recording or from Standby mode, simply hold down
the 2 o’clock button for more than 2 seconds.


