8
• Setting Frequency
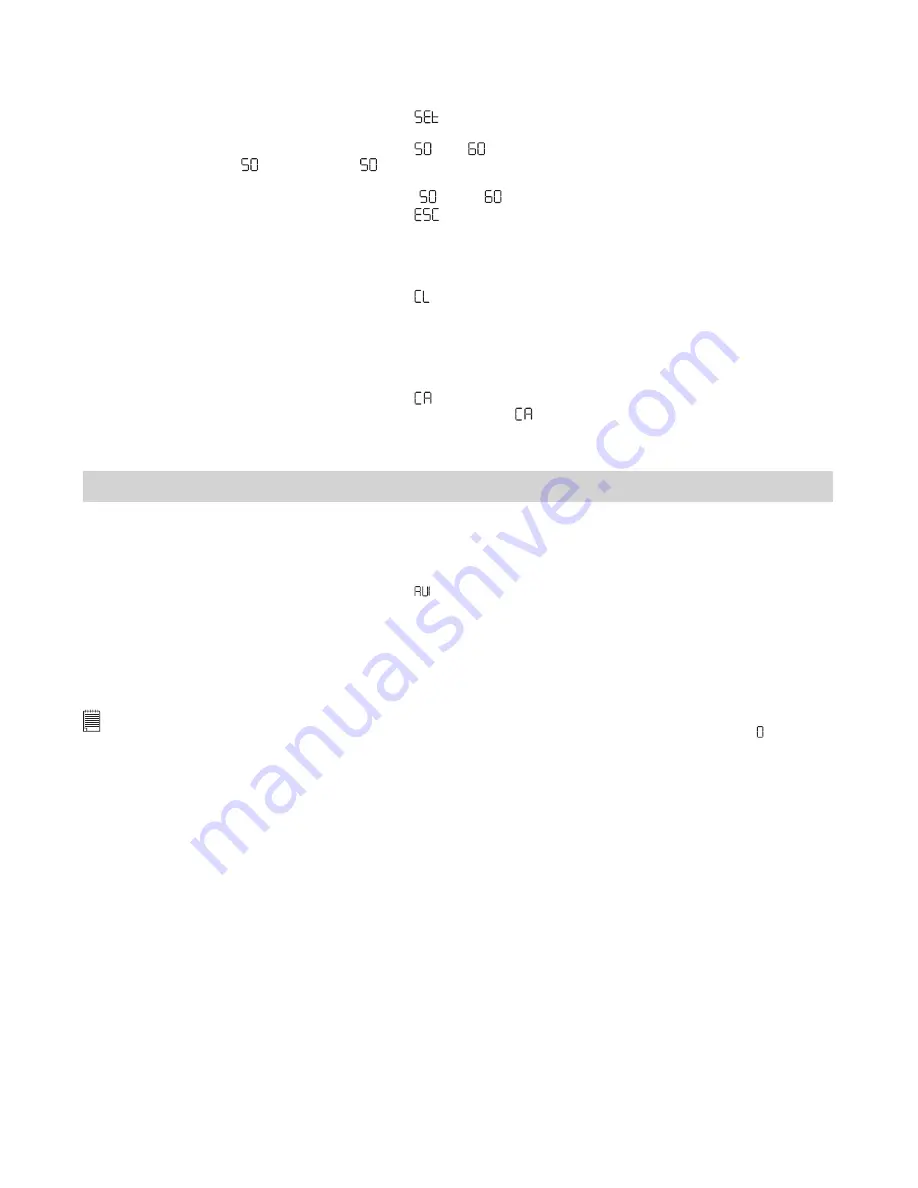
In order to take a better indoor picture, the camera needs to be set to suit the correct lighting frequency.
For US, set the frequency to 60Hz; 50Hz for Europe.
1. Open the camera cover, then turn on the camera.
2. Press the Mode button repeatedly until the “
” icon displays on the LCD display.
3. Press the Shutter button to enter into Set-up mode.
4. Press the Mode button repeatedly until the “ ” or “ ” icon displays on the LCD display.
If the camera is in “ ” setting, the “ ” icon will appear on the LCD display when you scroll through the
setting options; and vice versa.
5. Press the Shutter button to switch between “ ” and “ ”.
6. Press the Mode button repeatedly until the “
” icon displays on the LCD display.
7. Press the Shutter to exit to Still image mode.
• Deleting the Last Picture
1. Open the camera cover, then turn on the camera.
2. Press the Mode button repeatedly until the “ ” icon displays on the LCD display.
3. Press the Shutter button to delete the last picture.
4. The camera will return to Still image mode after deleting the last picture.
• Deleting All Pictures
1. Open the camera cover, then turn on the camera.
2. Press the Mode button repeatedly until the “ ” icon displays on the LCD display.
3. Press the Shutter button to activate this feature, and the “ ” icon will blink on the LCD display.
4. Press the Shutter button again to confirm deleting all pictures.
5. The camera will return to Still image mode after deleting all pictures.
4 Recording Video Clips
Use the Video mode to record video clips. You can record video clips without audio feature, and the
resolution is set to 320x240 pixels automatically. You can record a video clip up to 40 seconds each time,
while the actual length of video clip varies according to the scene complexity.
1. Open the camera cover, then turn on the camera.
2. Press the Mode button repeatedly until the “ ” icon displays on the LCD display.
3. Press the Shutter button to start recording a video clip. The LCD display shows the recorded time in
second.
4. Press any button to stop recording.
5. The camera will save the video clip into the internal memory. But the camera can not save the video clip
if there is not enough memory left.
6. The camera returns to Still image mode.
NOTE:
• The camera can not record video clips when the number of pictures can be taken on the LCD display is “ ”.
• Deleting video clips is the same as deleting pictures. Please refer to “
Deleting the Last Picture
” and “
Deleting All
Pictures
” on page 7 for details.
Summary of Contents for QX-O
Page 1: ...User s Manual qx o ...


