


Quick Start Using A Phone / Tablet / Computer
Overview of steps:
1. Connect phone / tablet / computer directly to the Herpstat using Wi
-
Fi via Access Point Mode.
2.
Enter the Device Configuration and set your desired settings. (This can be done later in the full Admin Page
after exiting the Access Point mode)
3. Enter in your home router
’
s SSID and PASSWORD
.
4. Submit the changes which will exit the Access Point mode.
5. Connect your phone / tablet / computer back to your home network.
6. Identify the IP address given to the Herpstat and enter that into your web browser.
7. Continue with email setup and enable other desired features.
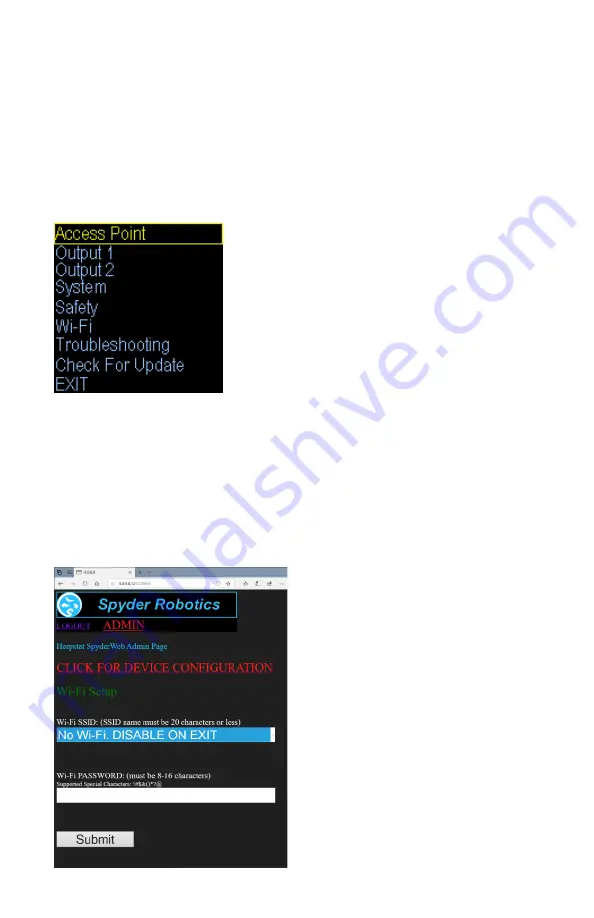
Press and hold the Enter button (three beep sequence) to display the initial menu screen. This main
screen allows you to quickly enable the Access Point mode which will turn on the Herpstat’s Wi-Fi
connection. Press the Enter button to start up the Access Point.
Use your phone / tablet / computer
and open its Wi
-
Fi connections page. Make sure you have Wi
-
Fi enabled on
your phone and allow it to search for devices.
You will see a connection labeled Herpstat.
Select it to connect.
Note: If you have previously setup the Herpstat the connection will be the device name you gave it.
The default password is: spyderadmin
(all lowercase)
Note: If you previously changed the Herpstat Admin Password then use that password to connect.
Phones / Tablets:
Typically at this point you will get a notification that asks you to sign in to the network.
Select that option
to open the browser that will display the Access Point mode options
.
Computer:
Once
you connect it will automatically bring up the browser window with the Herpstat config. If the
browser doesn’t open then manually open your browser and navigate to the ip address of: 8.8.8.8


