23
IP Camera User Manual
4.7
Security Configuration
4.7.1
User Admin
Go to the Security
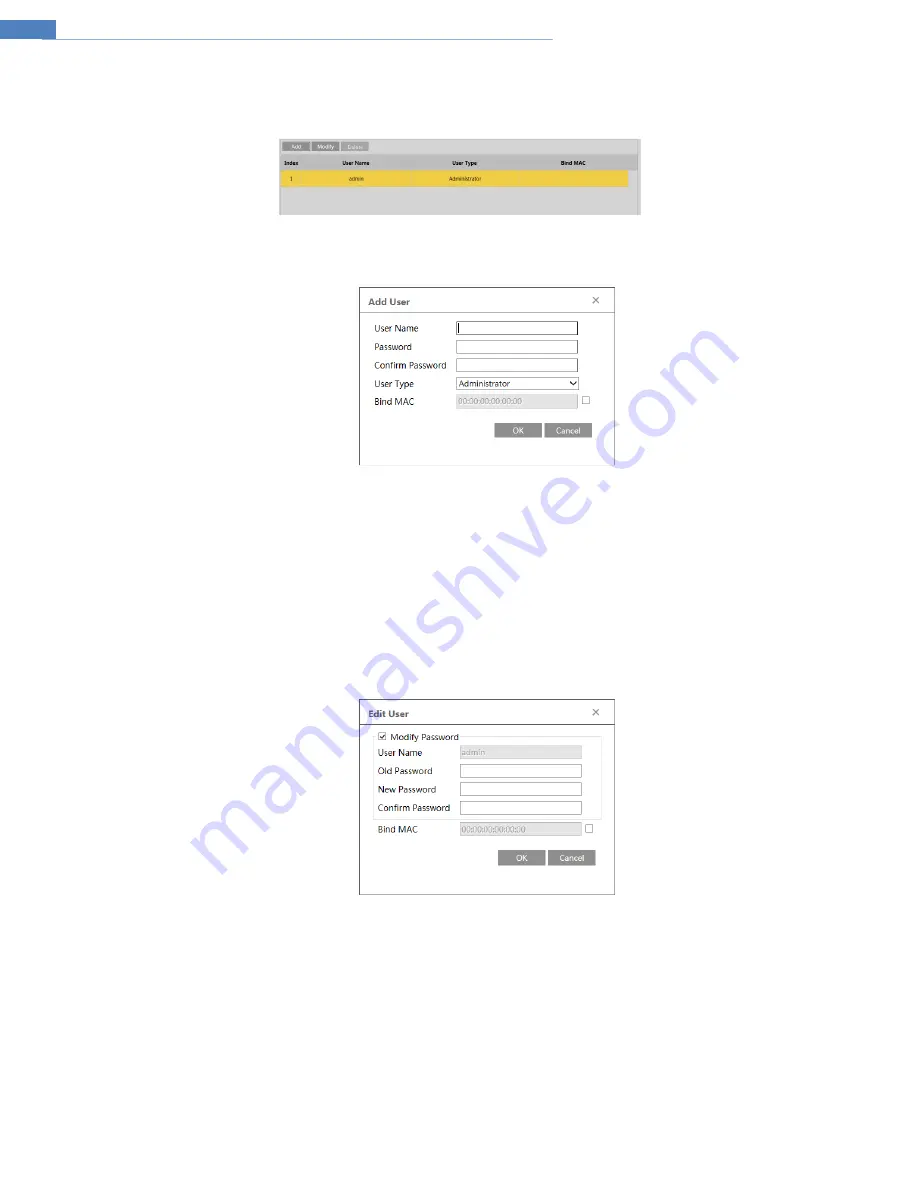
User Admin interface shown below.
Add user:
1.
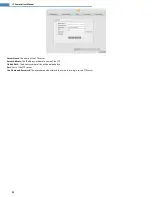
Click “Add” button to pop up the following dialog box.
2.
2.
Enter user name in “User Name” textbox.
3.
Enter letters or numbers in “Password” and “Confirm Password” textbox.
4.
Choose the user type. Administrator has all permissions. Normal user can only view the live video. Advanced user has the same permissions
as an Administrator except for: user admin, backup settings, factory reset, and upgrading the firmware.
5.
Enter the Mac address of the PC in “Bind MAC” textbox. If this option is enabled, only the PC with the specified Mac address can access the
camera for that user.
6.
Click “OK” and then the newly added user will be displayed in the user list.
Modify user:
1.
Select a user to modify the password and the Mac address if necessary in the user configuration list box.
2.
The “Edit user” dialog box will pop up by clicking the “Modify” button.
2.
3.
Enter the old password of the user in the “Old Password” text box.
4.
Enter the new password in “New password” and “Confirm Password” text box.
5.
Enter the computer’s MAC address as necessary.
6.
Click the “OK” button to save the settings.
Note
: To change the access level of a user, the user must be deleted and added again with the new access level.
Delete user:
1.
Select the user to be deleted in the user configuration list box.
2.
Click the “Delete” button to delete the user.
Note
: The default administrator account cannot be deleted.


