


28
28
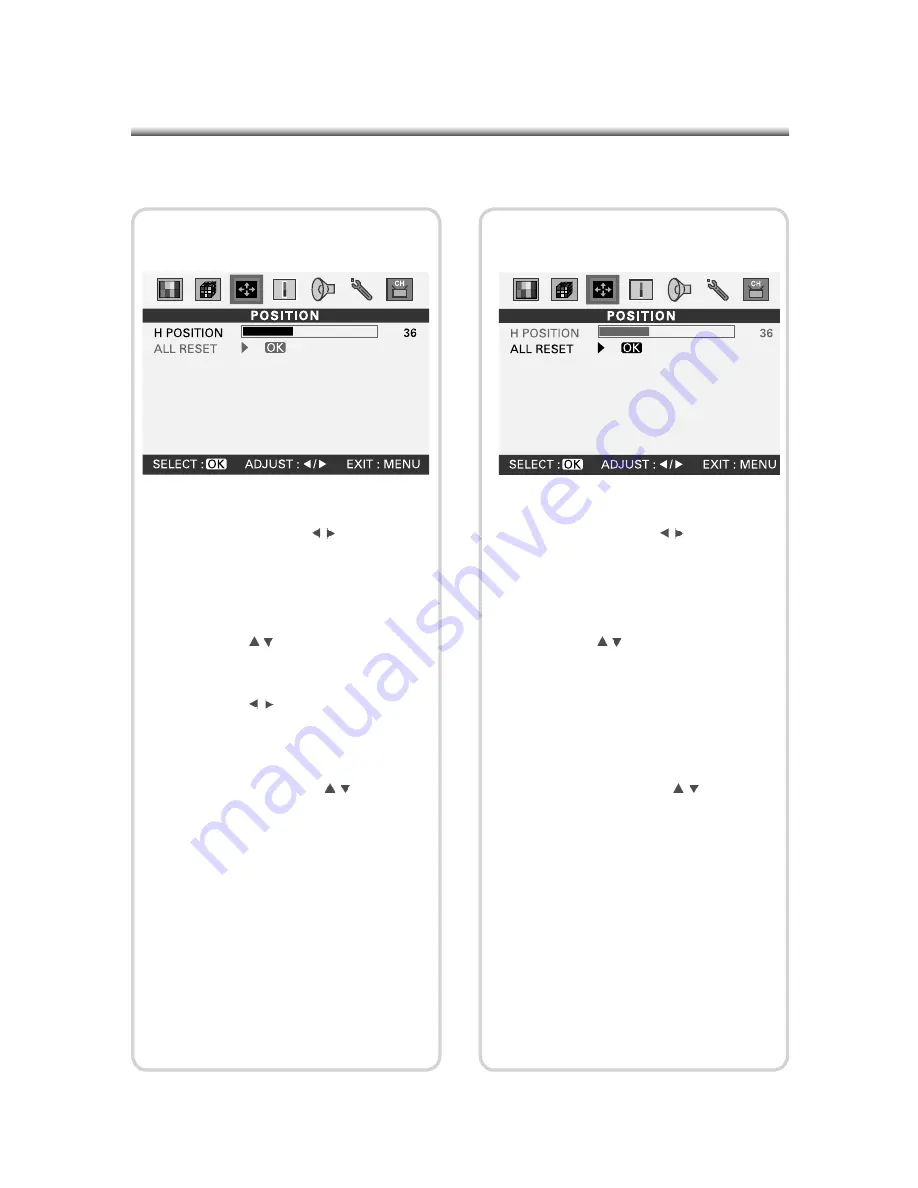
3. Position Settings
(1) Press the (MENU) button on the Panel or
on the Remote Control to enter the Main
Menu and press the ( ) button on the
Remote Control or (-VOL+) on the panel
to select the “POSITION” settings.
(2) Press the (OK) button to enter “POSI-
TION” settings.
(3) Press the ( ) button on the Remote
Control or (-PROG+) on the panel to
select the “H POSITION” option.
(4) Press the ( ) button on the Remote
Control or (-VOL+) on the panel to adjust
the horizontal position.
(5) To continue setting other “POSITION”
sub-items, press the ( ) button on
the Remote Control or (-PROG+) on the
panel to select the desired option. After
setting is complete, press the (MENU)
button to return to the Main Menu.
3-1 H Position Settings
(1) Press the (MENU) button on the Panel or
on the Remote Control to enter the Main
Menu and press the ( ) button on the
Remote Control or (-VOL+) on the panel
to select the “POSITION” settings.
(2) Press the (OK) button to enter “POSI-
TION” settings.
(3) Press the ( ) button on the Remote
Control or (-PROG+) on the panel to
select the “ALL RESET” option.
(4) Press the (OK) button to restore the de-
fault settings of all options under “POSI-
TION” Settings.
(5) To continue setting other “POSITION”
sub-items, press the ( ) button on
the Remote Control or (-PROG+) on the
panel to select the desired option. After
setting is complete, press the (MENU)
button to return to the Main Menu.
3-2 All Reset


