-62-
For Machines Mfg. Since 5/11
13" x 40" Heavy 13
®
EVS Lathe
M A I N T E N A N C E
Maintenance Schedule
Cleaning & Protecting
Regular cleaning is one of the most important
steps in taking care of this lathe. We recommend
planning a cleaning routine into the workflow
schedule, so that adequate time is set aside to do
the job right.
Typically, the easiest way to clean swarf from
the bed ways and chip drawer is to use a wet/dry
shop vacuum that is dedicated for this purpose.
Small chips left over after vacuuming can be
wiped up with a slightly oiled rag. Avoid using
compressed air to blow off chips, as it may drive
them deeper into moving surfaces and could
cause sharp chips to fly into your face or hands.
All unpainted and machined surfaces should be
wiped down daily to keep them rust-free and in
top condition. This includes any surface that is
vulnerable to rust if left unprotected (especially
any parts that are exposed to water-soluble
coolant). Typically, a thin film of oil is all that is
necessary for protection.
For optimum performance from this machine,
this maintenance schedule must be strictly
followed. We strongly recommend all operators
make a habit of following the daily maintenance
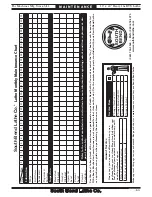
procedures. Use the chart provided on
Page 63
to help ensure this is done.
Ongoing
The condition of machine components should be
carefully observed at all times to minimize the
risk of injury or machine damage. If any of the
conditions below are observed, stop the lathe
immediately, disconnect power, and correct the
condition before resuming operations:
•
Loose mounting bolts or fasteners.
•
Worn, frayed, cracked, or damaged wires.
• Guards
removed.
•
STOP button not working correctly or not
requiring you to reset it before starting the
machine again.
•
A reduction in braking speed or efficiency.
•
Oil level not visible in the sight glasses.
•
Coolant not flowing out when coolant switch
is
ON
and the valve is open.
•
Damaged or malfunctioning components.
Daily, Before Operations
•
Check/add headstock oil (
Page 64
).
•
Check/add gearbox oil (
Page 66
).
•
Check/add apron oil (
Page 67
).
•
Check/add coolant (
Page 71
).
•
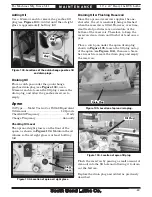
Lubricate the ways (
Page 68
).
•
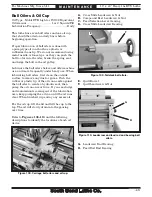
Add oil to the ball oilers (
Page 69
).
•
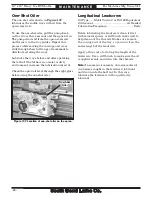
Clean/lubricate the leadscrew (
Page 68
).
•
Disengage the feed selection lever on the
apron (to prevent crashes upon startup).
•
Ensure carriage lock bolt is loose.
Daily, After Operations
•
Depress STOP button and shut
OFF
the
master power switch (to prevent accidental
startup).
•
Vacuum/clean all chips and swarf from bed,
slides, and chip drawer.
•
Wipe down all unpainted or machined
surfaces with an oiled rag.
Monthly
•
Drain and clean the coolant tank, then add
new fluid (
Page 71
).
Annually
•
Change the headstock oil (
Page 64
).
•
Change the apron oil (
Page 67
).
•
Change the gearbox oil (
Page 66
).
•
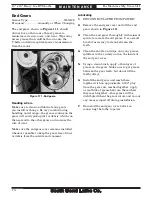
Lubricate end gears (
Page 70
).
•
Check/level bedway (
Page 22
).
!
Always disconnect power
to the machine before
performing maintenance.
Failure to do this may result
in electrocution or accidental
startup injury.
Summary of Contents for SB1051
Page 136: ...Printed In U S A TS14550...

