background image


QMS Document                Venue  Hub  – Digital  I/R  Instructions               Page 

3

 of 

7


Version:  3.0                                                                                              16/08/2016 


3.


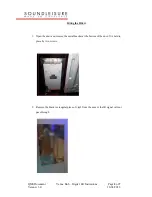
Attach the metal  bracket which holds the IR Receiver and hold  it in place. Ribbon 

cables on right hand side. 


4.


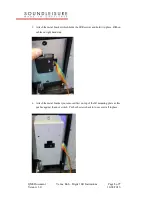
Attach the metal bracket you removed first on top of the IR mounting  plate as this 

pushes against the door switch   Put both screws back in to secure it all  in place. 


Summary of Contents for venue

Page 1: ... software version v4 8 or higher The IR kit will not work on older software To check software version on the amplifier switch the machine on and look at the LCD display It will display the software version on boot up To check software version on the SLE 1026 board look for a white label near the EEPROM If you cannot see the version on any labels the SLE 1026 will require updating When installing t...

Page 2: ... 2 of 7 Version 3 0 16 08 2016 Fitting the IR kit 1 Open the door and remove the metal bracket at the bottom of the door It is held in place by two screws 2 Remove the black rectangular piece of vinyl from the door or the IR signal will not pass through ...

Page 3: ...2016 3 Attach the metal bracket which holds the IR Receiver and hold it in place Ribbon cables on right hand side 4 Attach the metal bracket you removed first on top of the IR mounting plate as this pushes against the door switch Put both screws back in to secure it all in place ...

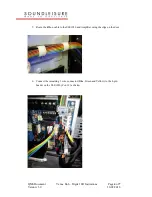
Page 4: ...ructions Page 4 of 7 Version 3 0 16 08 2016 5 Route the ribbon cable to the SLE1026 and Amplifier using the clips on the door 6 Connect the remaining 3 wire connector Blue Green and Yellow to the 4 pin header on the SLE 1026 Con 13 as below ...

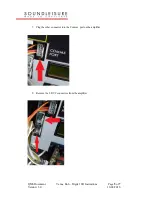
Page 5: ...QMS Document Venue Hub Digital I R Instructions Page 5 of 7 Version 3 0 16 08 2016 7 Plug the other connector into the Comms port on the amplifier 8 Remove the 2 RVC connectors from the amplifier ...

Page 6: ...th new batteries please call for support Receiver Not Flashing When a button is pressed on the remote the receiver should flash If it doesn t check the wiring to the receiver check the mounting position and make sure that you are within range Approx 3 Metres The receiver needs to be in the line of sight of the remote control It may not detect a signal if you are stood side on Receiver Flashes But ...

Page 7: ...nput there is no audio signal coming into the amp Also check that the audio and speaker cables are wired correctly If these steps are correct reboot the machine and let the machine boot back up with the RVCs turned off On reboot the amp should detect the IR board For further technical assistance please contact Sound Leisure Digitech department 0845 230 1775 digitech soundleisure com ...

Reviews: