9
(GB)
6
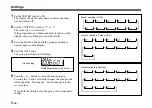
When the desired group appears, press the SET button
again.
The group selected is fixed.
The tuner now enters the wireless channel setting mode,
and both of the TV channel number and 2-digit number
flash on the display.
7
Press the + or – button to select the desired wireless
channel.
The wireless channels change in the order listed on the
table of the group on the “Wireless Microphone System
Frequency List” supplied with this manual.
8
When the desired wireless channel appears, press the
SET button.
The display stops flashing and the selected group and
wireless channel are now stored in memory.
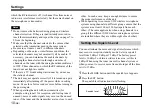
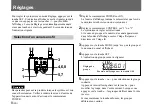
Display example for U66 model
Channel setting
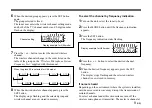
To select the channel by frequency indication
1
Turn on the unit, select the tuner to be set.
2
Press the MODE button until the frequency indication
appears.
3
Press the SET button.
The frequency indication starts flashing.
4
Press the + or – button to select the desired channel
frequency.
5
When the desired frequency appears, press the SET
button.
The display stops flashing and the selected wireless
channel is now stored in memory.
If noise is heard
Depending on the environment where the system is installed,
outside noise or radio wave may disrupt the transmission of
certain channels.
To select a channel under this circumstance, turn off the
wireless microphone or transmitter. Then select a channel at
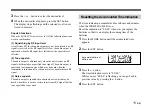
When the group 00 is selected for U66 model
Display example for U66 model
Summary of Contents for WRR-862A
Page 20: ...16 GB ...
Page 52: ...16 DE ...


