21
2. PCG-V505 Series Disassembly
Step 2
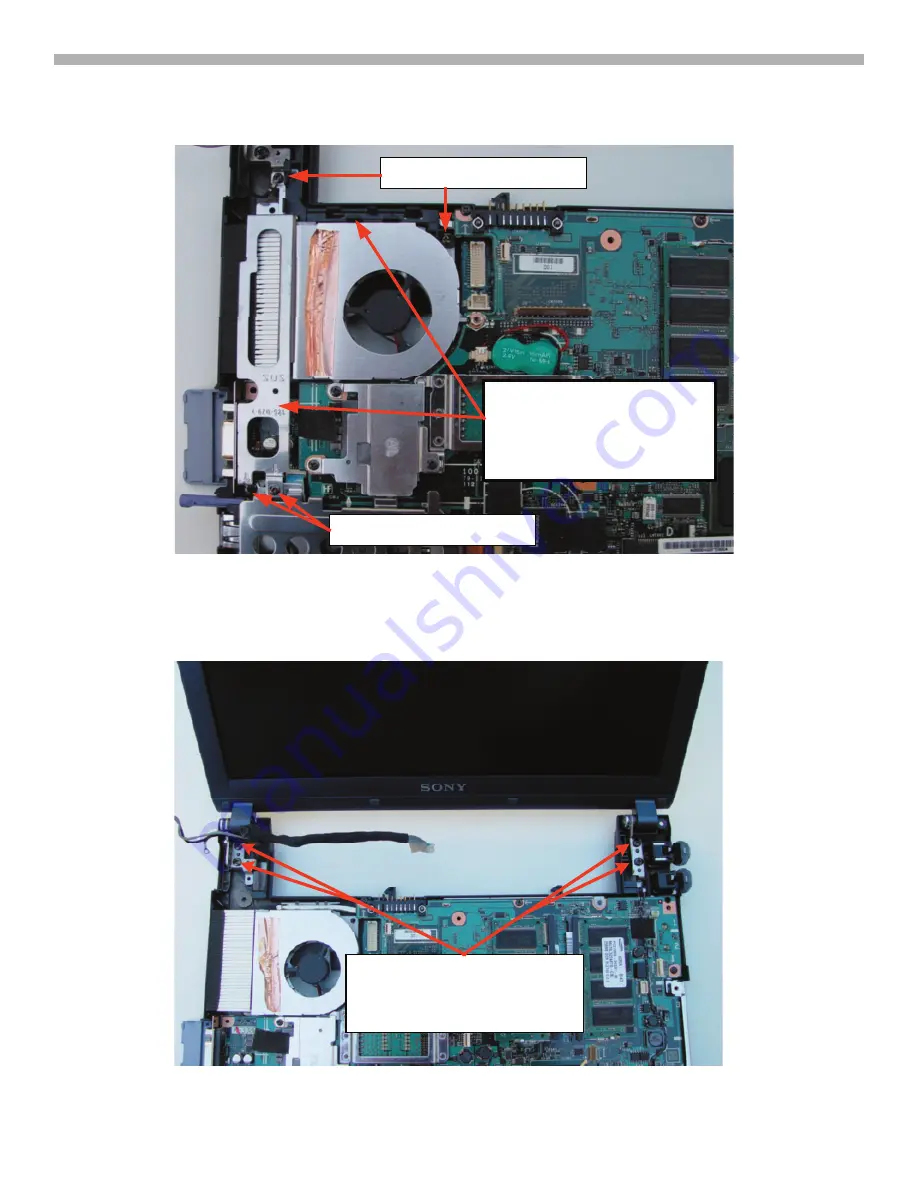
: Remove the 4 screws (B3) securing the ground cable at the LCD hinge and the plastic and metal
brackets as shown in Figure 2-13. Lift the plastic bracket out first (the one that secured the LCD harness) and
then the metal bracket.
REMOVE 2 SCREWS (B3)
REMOVE 2 SCREWS (B3)
ONCE SCREWS HAVE BEEN
REMOVED, LIFT OUT PLASTIC
LCD CABLE BRACKET AND
BOTTOM METAL BRACKET
FIGURE 2-13 - LCD PANEL REMOVAL (step 2)
Step 3
: Referring to Figure 2-14, remove the 4 screws (B13) securing the LCP panel hinges to the chassis.
Remove the LCD panel and set aside.
REMOVE 4 SCREWS (B13)
LIFT LCD PANEL OUT
FIGURE 2-14 - LCD PANEL REMOVAL (step 3)


