


Installing the Printer Driver
5
Installing the Printer
Driver
1
Connect the UP-DX100 to your computer.
2
Turn on the UP-DX100.
3
Turn on the computer and log on as the system
administrator.
The [Found New Hardware Wizard] dialog box
opens.
If the [Found New Hardware Wizard] dialog box
does not open, perform one of the following
procedures.
1
On the [Start] menu, click [Control Panel].
[Control Panel] opens.
2
Double-click [System].
The [System Properties] dialog box opens.
3
Click the [Hardware] tab, and then click the
[Device Manager] button.
The [Device Manager] window opens.
4
Double-click [Universal Serial Bus controllers].
5
Select [USB Printing Support], and on the
[Action] menu, click [Uninstall].
6
Restart your computer.
When Windows XP restarts, the [Found New
Hardware Wizard] dialog box opens.
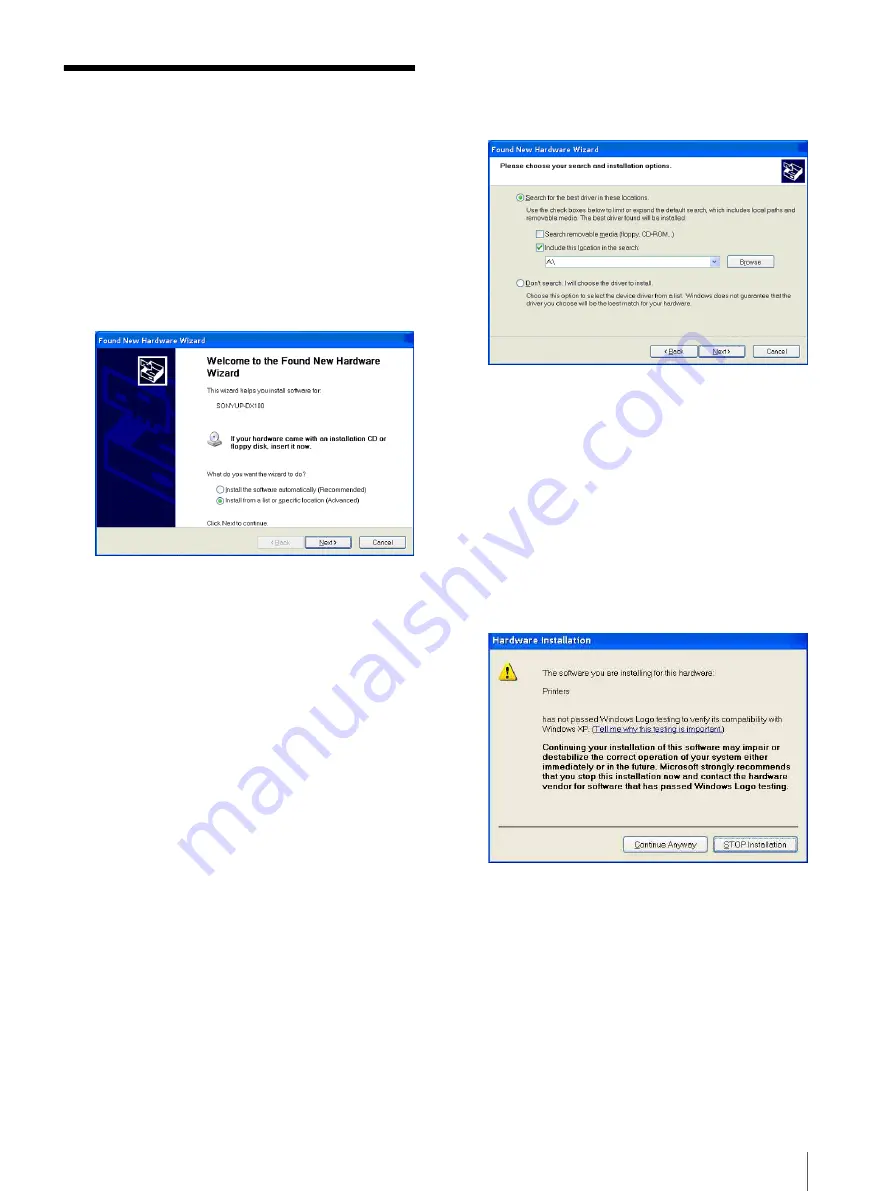
4
Select [Install from a list or specific location
(Advanced)], and then click the [Next] button.
The screen changes as follows.
5
Insert the provided “SONY DIGITAL COLOR
PRINTER UP-DX100” CD-ROM into the
CD-ROM drive.
6
Select [Search for the best driver in these locations],
and then select the [Include this location in the
search] check box.
7
Click the [Browse] button, select the [Driver] folder
in the [Win2X] folder on the CD-ROM, and then
click the [Next] button.
The screen changes as follows.


