25
Operation
Making Full-Size Image
Printouts
Print a full-size image on a single piece of paper.
(This is known as “full-size image.”) The operations
described here constitute the basic procedure for
making a printout.
Check
Make sure to complete the following before
performing operations. If you have not, see the
reference page. The settings are retained when
the printer is turned off.
• All video equipment, etc. is connected. (page 15)
• Ensure that the appropriate ink ribbon/paper set
is being used and that they are correctly loaded.
(See pages 17, 18, and 20.)
• Select the input signal. (page 22)
• Set the printer to print full-size images. (page 31)
• Select the appropriate memory page. (page 30)
• Check the sharpness. (page 58)
1
Turn on the video monitor and the printer.
2
Display the video from the video input source
on the monitor.
This operation is done using the controls of
the connected video equipment.
3
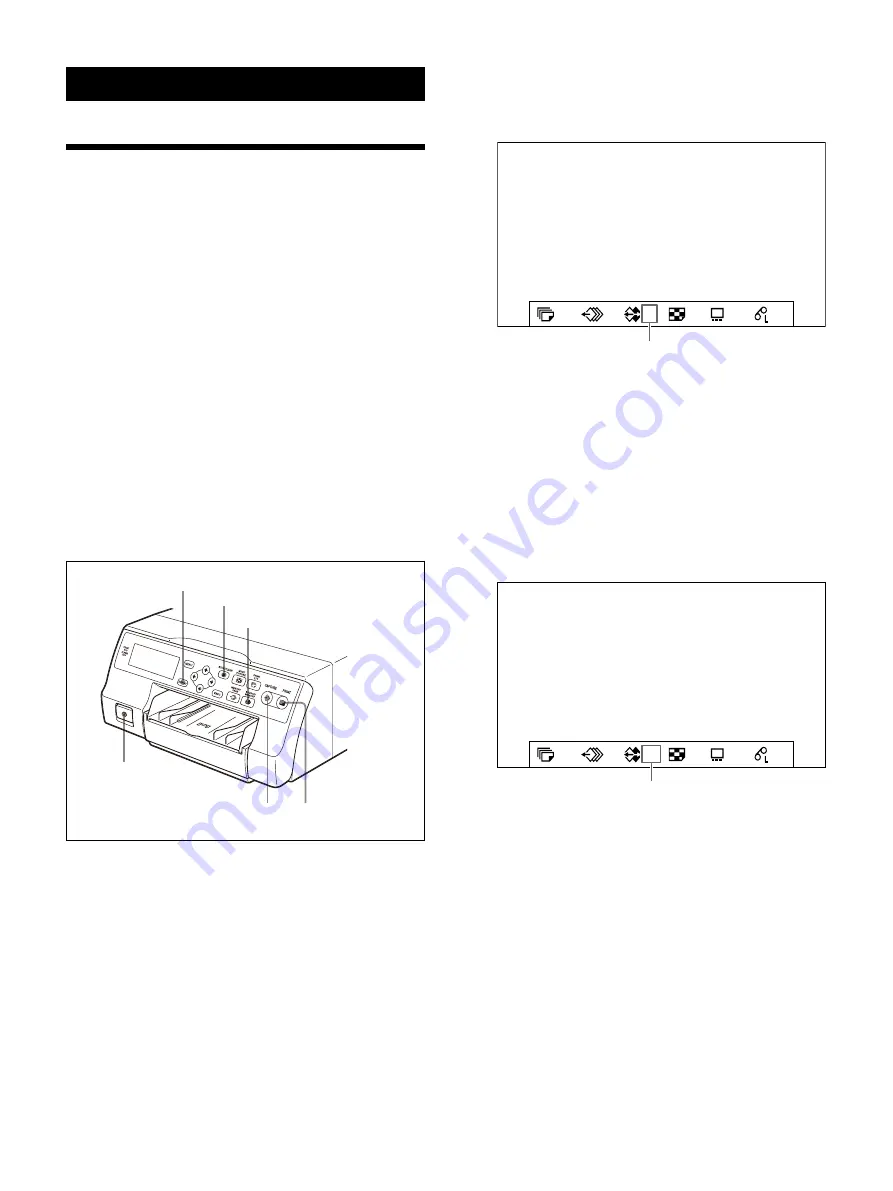
Press the CAPTURE button at the instant the
image appears on the screen.
The image is captured into memory.
The memory image is displayed on the video
monitor.
You can select the mode for automatically
switching source images to show on the video
monitor. For details, see “Setting the image
displayed on the video monitor after capture”
To change the image captured in memory
To display the source image when the
memory image is displayed on the screen,
press the SOURCE/MEMORY button.
Press the CAPTURE button at the instant
the image you want to print appears on
the screen.
The previous image in memory is replaced
with the new one.
4
Press the PRINT button.
The printing time depends on the printer
settings.
The progress is displayed while printing.
4
3
1
STOP/CLEAR button
DISPLAY button
SOURCE/MEMORY button
1
A
S
2ı
50
1
Shows that an image from the source equipment
is currently displayed on the screen.
1
A
M
2ı
50
1
Shows that an image captured in memory is displayed
on the monitor.
Summary of Contents for UP-27MD
Page 90: ......


