46
Chapter 3 Using the Web Administration Screen
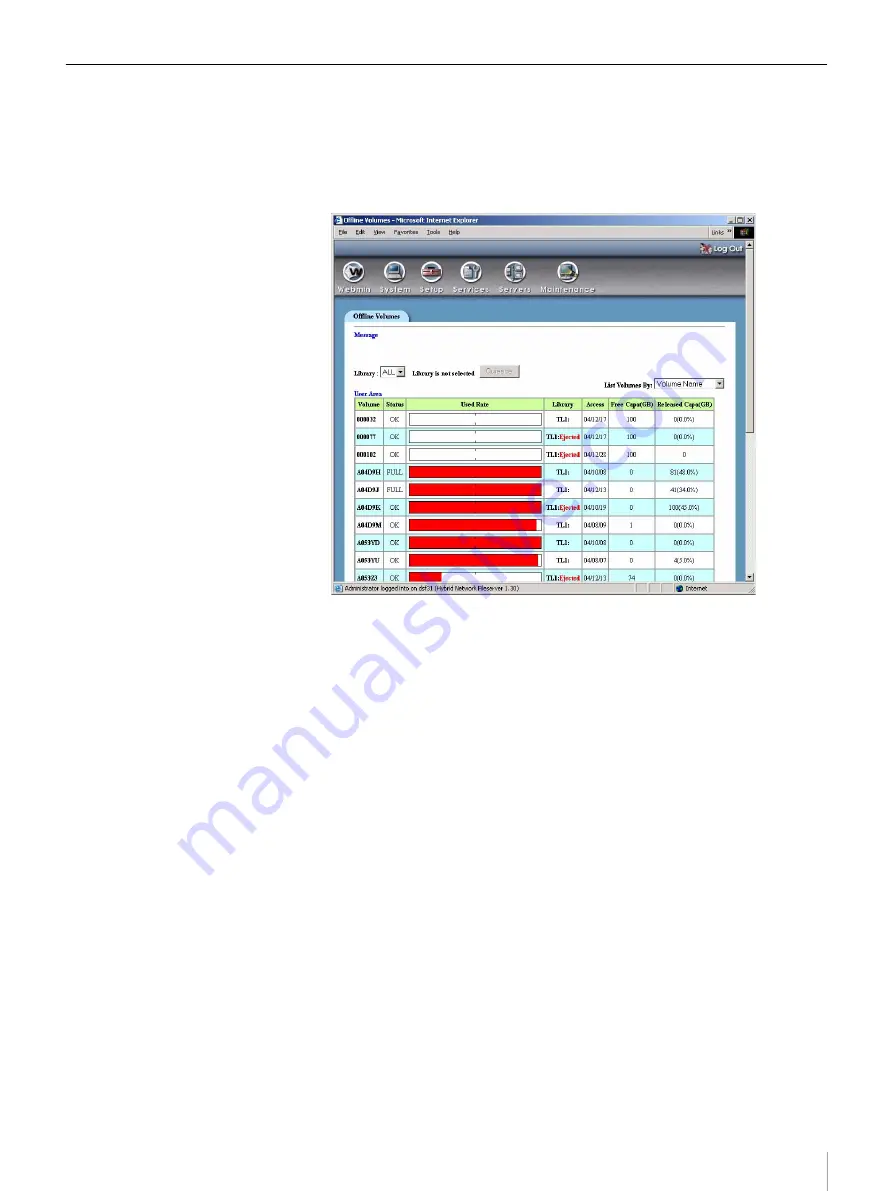
Offline Volumes
From the [Offline Volumes] screen, you can eject a volume in use from a
library, and then perform offline management on the volume. Also, you can add
a volume that has been moved to offline or a new volume to a library.
For details on the offline management function, see “Offline Volume
Management” in Chapter 5, “Daily Maintenance” (page 65).
[Library] selection
Use it to select a library for ejecting or adding a volume. By default, it is set to
[ALL] and so all volumes are displayed. When no library is selected, you cannot
eject or add a volume.
[Quiesce]/[Activate] buttons
When a library is selected, this button becomes active.
The [Quiesce] button allows you to deactivate a library when you want to eject
or add a volume.
The [Activate] button activates a library that has been deactivated. At this
moment, if a new volume is added, the volume identification is performed. You
cannot add a media that is different from the built-in tape drive.
[List Volumes By] menu
Use this menu to sort volumes according to the selected order.
• Volume Name: Sorts by volume name
• Last Access Time: Sorts by access time of volume, starting from the oldest
Volume list display
• User Area: The user can freely eject or add a volume
• System Area: A volume cannot be ejected or added unless the volume is
malfunctioning
• Scrap Volume: Replace with a new volume immediately
• Volume Duplication Area: This appears when the HNF VDM function is
enabled. The user can freely eject or add a volume.


