5
Getting Started
Getting Started
Step 2
Setting up the remote commander
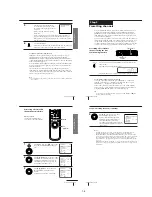
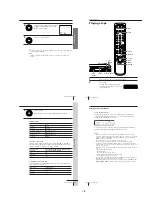
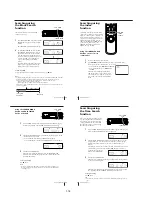
Inserting the batteries
Insert two R6 (size AA) batteries by
matching the + and – on the batteries
to the diagram inside the battery
compartment.
Insert the negative (–) end first, then
push in and down until the positive
(+) end clicks into position.
Using the remote commander
You can use this remote
commander to operate this
VCR and a Sony TV. Buttons
on the remote commander
marked with a dot (•) can be
used to operate your Sony TV.
If the TV does not have the
g
symbol near the remote sensor,
this remote commander will
not operate the TV.
To operate
the VCR
a Sony TV
Set
TV/VIDEO
to
VIDEO and point at the remote sensor on the VCR
TV and point at the remote sensor on the TV
Notes
• The TV/VIDEO button selects the TV’s input source (either aerial in or line in). The
button does not control this VCR.
• With normal use, the batteries should last about three to six months.
• If you do not use the remote commander for an extended period of time, remove
the batteries to avoid possible damage from battery leakage.
• Do not use a new battery with an old one.
• Do not use different types of batteries.
Remote sensor
TV/VIDEO
6
Getting Started
Step 3
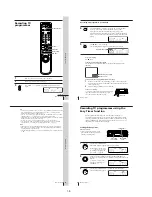
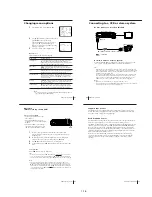
AERIAL IN
AERIAL IN
Mains lead
to mains
AERIAL OUT
Aerial cable (supplied)
: Signal flow
1
Disconnect the aerial cable from your TV
and connect it to AERIAL IN on the rear
panel of the VCR.
2
Connect AERIAL OUT of the VCR and
the aerial input of your TV using the
supplied aerial cable.
3
Connect the mains lead to the mains.
If the 3-pin plug does not fit into the mains outlet, detach the plug
by loosening the screw, then use the 2-pin plug inside.
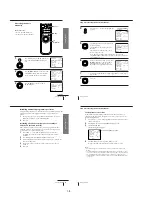
Connecting the VCR
Connect the aerial to your VCR and TV as shown below to watch TV
programmes and VCR pictures on your TV. In addition, if your TV has
audio/video (A/V) input jacks, we recommend you connect the VCR to
your TV using an audio/video cable to get a better picture and sound.
Connecting the aerial
OUT
IN
AERIAL
IN
OUT
AERIAL
7
Getting Started
Getting Started
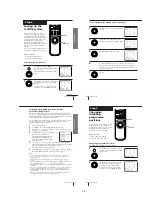
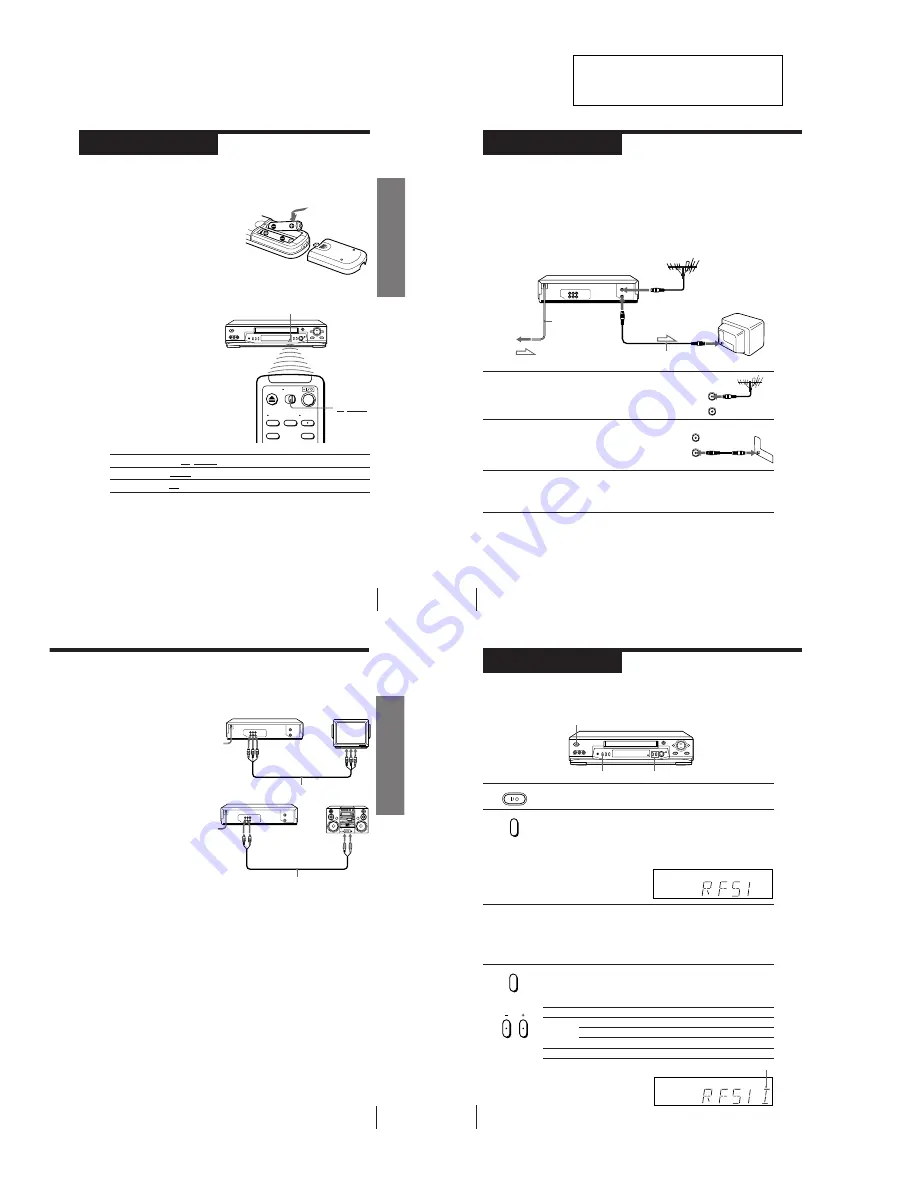
Additional connections
Note
• To play a tape in stereo, you must use either
one of the connections shown below.
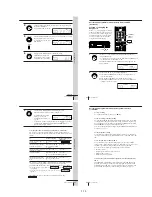
To a TV that has audio/video input jacks
This additional connection improves
picture and sound quality. Connect the
TV as shown on the right.
To a stereo system
You can improve sound quality by
connecting a stereo system as shown on
the right.
LINE IN
Audio/video cable (not supplied)
LINE OUT
LINE IN
LINE AUDIO OUT
Audio cable (not supplied)
SECTION 1
GENERAL
This section is extracted from
SLV-ED919MI Instruction Manual.
(3-065-580-11)
8
Getting Started
Step 4
Tuning your TV to the VCR
If you have connected your VCR to the TV using the audio/video cable, skip
this step.
If your TV colour system and TV system are
Select
PAL
I
I
D/K
K
B/G
G
NTSC
M
M
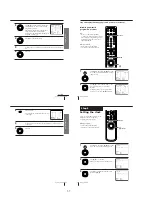
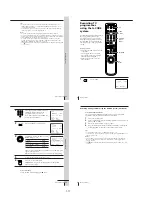
1
Press
?/1
ON/STANDBY to turn on the VCR.
2
Press RF CHANNEL on the VCR.
The factory-preset RF channel flashes in the display window for
about three seconds.
Press RF CHANNEL again while the RF channel is flashing.
The VCR signal is output through this channel to the TV.
3
Turn on your TV and select a programme position for the VCR picture.
This channel will now be referred to as the video channel.
Some TVs reserve a programme position, such as “0”, for a VCR. In
this case, select the reserved programme position for the VCR
picture. Refer to your TV’s instruction manual for details.
4
Press RF CHANNEL.
The TV system indicator appears in the display window.
Press P/– to select the correct TV system.
Selected TV system
ON/STANDBY
RF CHANNEL
SP
APC
PROGRAM
RF CHANNEL
SP
APC
P/–
RF CHANNEL
?/1
ON/STANDBY
SLV-ED115/ED215/ED313/ED515/ED616/ED815/ED817/ED818/ED915/ED919/EZ111/
EZ212/EZ414/EZ715/EZ717
1-1


