


16
4
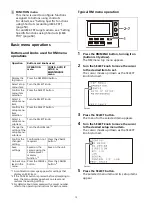
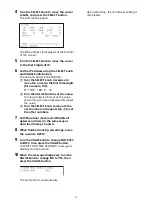
Turn the SELECT knob to move the cursor
to LAN, and press the SELECT button.
The LAN menu appears.
The MAC address is displayed at the bottom
of the screen.
5
Turn the SELECT knob to move the cursor
to the first 3 digits of IP.
6
Set the IP address using the SELECT knob
and VALUE knob/button.
The default setting is 192.168.0.10.
Turn the SELECT knob clockwise to
move the cursor to the first three digits
(for example, 192).
Turn the VALUE knob to set the value.
Turning clockwise increases the value,
and turning counterclockwise decreases
the value.
Turn the SELECT knob to move to the
next number and repeat step
to set
the other numbers.
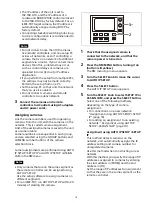
7
Set SM (subnet mask) and GW (default
gateway address) in the same way as
described in steps 5 and 6.
8
When finished making all settings, move
the cursor to APPLY.
9
Turn the VALUE knob to change NOT EXEC
to EXEC, then press the VALUE button.
A “WAIT FOR A FEW SECONDS” message is
displayed on the screen.
10
When the message disappears, turn the
VALUE knob to change NO to YES, then
press the VALUE button.
The unit reboots automatically.
Upon rebooting, the IP address setting is
completed.
Summary of Contents for RM-IP500
Page 86: ...Sony Corporation ...