


Uploading a File (PXW-X180 only)
47
Record
ing
Connecting
If the access point or device is compatible with
the WPS function, connect the camcorder to the
Internet by performing procedures of
“Connecting to the access point with the WPS
function” (page 45)
. If the access point or device
is not compatible with the WPS function, connect
the camcorder to the Internet by performing
procedures of
“To connect to the access point in
the station mode without the WPS function”
(page 53)
Before connecting, turn the access point or device
on, and activate its tethering function.
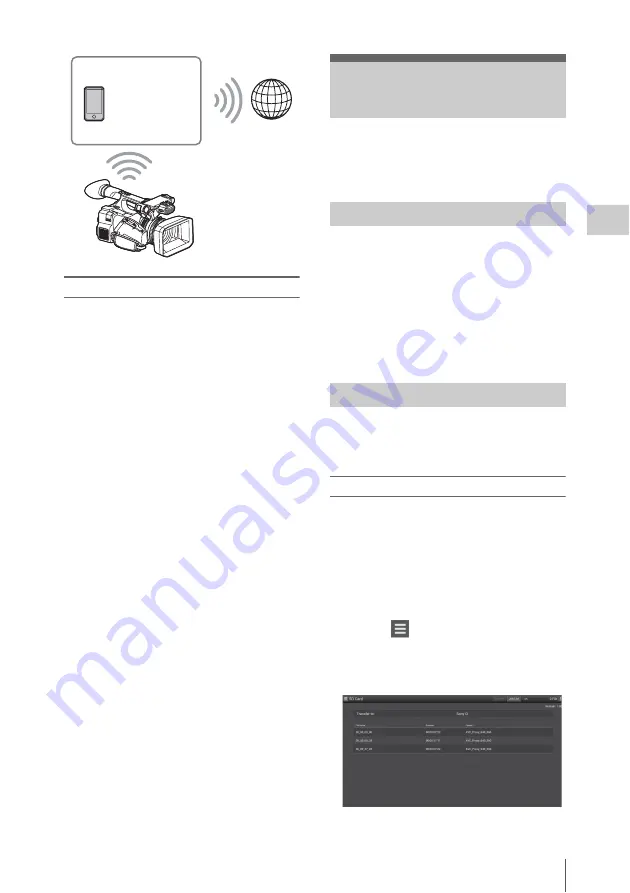
You can upload a proxy file or original file that is
recorded on the camcorder to the server on the
Internet via a 3G/4G/LTE line or access point.
To connect to the Internet
Connect the camcorder to the Internet by
following the procedure of
Internet (PXW-X180 only)” (page 46)
.
To register the server for uploading
Register the server for uploading in advance.
For details about registering the server, see
“Register the server for uploading” (page 54)
.
Upload the file that is recorded on an SD card, or
the original file that is recorded on an SxS
memory card, to the server.
Uploading a proxy file on an SD card
1
Connect a device to the camcorder via a
wireless LAN, start the browser on the
device, then access the camcorder from
the browser
.
2
Display the file list screen to select the
file.
Touch “
” > “Media Info” > “SD Card.”
The “SD Card,” “Slot A,” or “Slot B” screen
appears.
Example: “SD Card” screen
Smartphone/
tablet
Internet
Uploading a File (PXW-
X180 only)
Preparations
Selecting the file and uploading
Summary of Contents for PXW-X160
Page 118: ...Index 118 Appendices ...
Page 119: ...Index 119 Appendices ...
Page 120: ...Printed in China ...


