NWZ-S515/S516/S615F/S616F/S618F
3
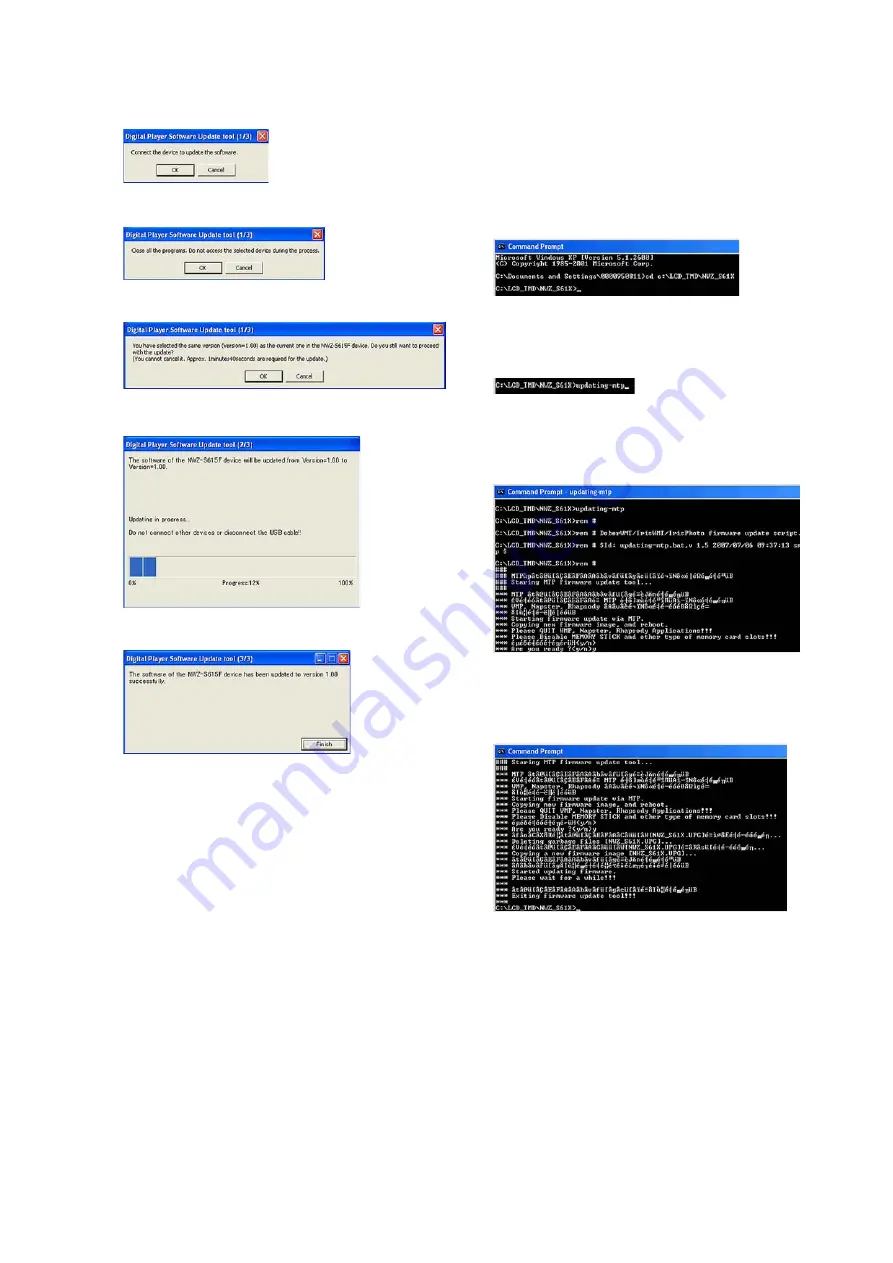
6. Click OK button.
7. Click OK button.
8. Click OK button.
9. Updating process starts.
10. Click Finish button and update is completed.
5. Use of the LCD Con
fi
g Setting Tool
Note:
When you use the LCD Con
fi
g Setting Tool, quit the SonicStage.
Procedure:
1. the LCD sub assy (LCD801) is replaced.
2. The power supply of main unit is turned on, and it connects it
with PC.
Note:
In this state, main unit of the state of energizing is not displayed to
anything in LCD.
3. Command Prompt is started, and move to the folder where the
data that wants to be written is stored.
• When model is NWZ-S515/S516, and the LCD sub assy
(LCD801) in change parts is made of EPSON:
cd
c:\LCD_EPSON\NWZ_S51X
• When model is NWZ-S515/S516, and the LCD sub assy
(LCD801) in change parts is made of TMD:
cd
c:\LCD_TMD\NWZ_S51X
• When model is NWZ-S615F/S616F/S618F, and the LCD sub
assy (LCD801) in change parts is made of EPSON:
cd
c:\LCD_EPSON\NWZ_S61X
• When model is NWZ-S615F/S616F/S618F, and the LCD sub
assy (LCD801) in change parts is made of TMD:
cd
c:\LCD_TMD\NWZ_S61X
Fig. 1 Directory change (When model is NW-S615F/
S616F/S618F, and the LCD sub assy (LCD801) in
change parts is made of TMD)
4. Input “updating-mtp” and press the Enter key.
Fig. 2 Update tool start
5. Message of Fig.3 is displayed, input “y” and press the Enter
key.
Fig. 3 Update con
fi
rmation screen
6. Message of Fig.4 is displayed. Then, LCD_Con
fi
g-data-copy-
operation starts.
Fig. 4 Writing of LCD_Con
fi
g data
7. The main unit reboots automatically after LCD_Con
fi
g data is
updated.
After rebooting, check that Connecting USB (MTP) is dis-
played on LCD of the main unit.
8. Input “EXIT” to close Command Prompt.
Note:
Change the setting of LCD_Con
fi
g again according to the same
procedure when the LCD sub assy (LCD801) connected with the
main board and the LCD_Con
fi
g data on the main board is not
corresponding.


