20
MDS-JB980
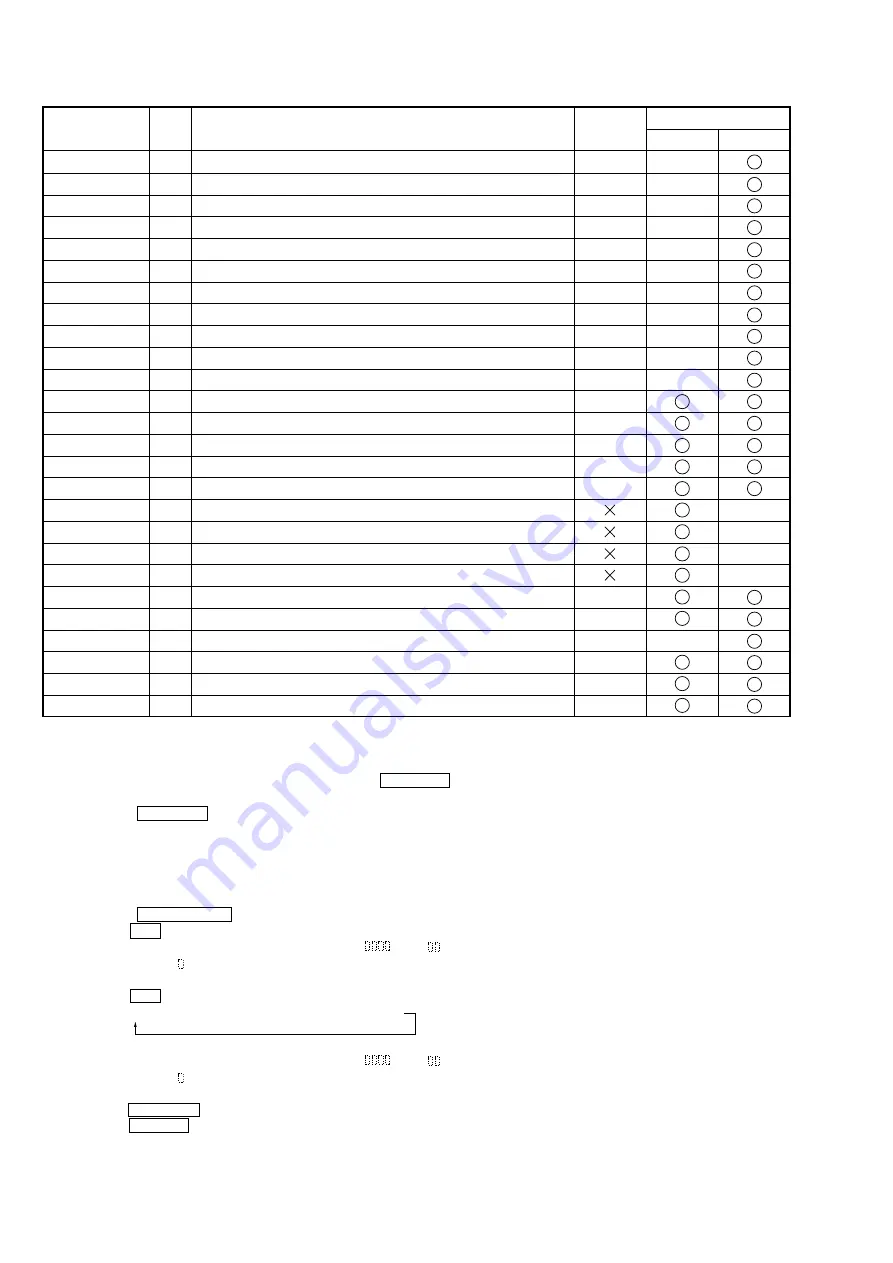
Display
AUTO CHECK
Err Display
TEMP ADJUS
LDPWR ADJUS
Iop Write
Iop NV Save
EF MO ADJUS
EF CD ADJUS
FBIAS ADJUS
AG Set (MO)
AG Set (CD)
TEMP CHECK
LDPWR CHECK
EF MO CHECK
EF CD CHECK
FBIAS CHECK
ScurveCHECK
VERIFYMODE
DETRK CHECK
0920 CHECK
Iop Read
Iop Compare
ADJ CLEAR
INFORMATION
CPLAY1MODE
CREC 1MODE
Details
Automatic self-diagnosis
Error history display, clear
Temperature compensation offset adjustment
Laser power adjustment
Iop data writing
Writes current Iop value in read nonvolatile memory using microprocessor
Traverse (MO) adjustment
Traverse (CD) adjustment
Focus bias adjustment
Focus, tracking gain adjustment (MO)
Focus, tracking gain adjustment (CD)
Temperature compensation offset check
Laser power check
Traverse (MO) check
Traverse (CD) check
Focus bias check
S-curve check
Nonvolatile memory check
Detrack check
Most circumference check
Iop data display
Comparison with initial Iop value written in nonvolatile memory
Initialization of nonvolatile memory for adjustment values
Display of microprocessor version, etc.
Continuous playback mode
Continuous recording mode
• For details of each adjustment mode, refer to “5. Electrical Adjustments”.
For details of “Err Display”, refer to “Self-Diagnosis Function” on page 3.
• If a different mode has been selected by mistake, press the MENU/NO button to exit that mode.
• Modes with (
X
) in the Mark column are not used for servicing and therefore are not described in detail. If these modes are set acciden-
tally, press the MENU/NO button to exit the mode immediately.
No.
C01
C02
C03
C04
C05
C06
C07
C08
C09
C10
C11
C12
C13
C14
C15
C16
C17
C18
C19
C25
C26
C27
C28
C31
C34
C35
Mark
Group
Check
Service
“CPLAY1 MID”
t
“CPLAY1 OUT”
t
“CPLAY1 IN”
4-5-1. Operating the Continuous Playback Mode
1. Entering the continuous playback mode
1
Set the disc in the unit. (Whichever recordable discs or discs for playback only are available.)
2
Rotate the
l
AMS
L
knob and display “CPLAY1 MODE”(C34).
3
Press the YES button to change the display to “CPLAY1 MID”.
4
When access completes, the display changes to “C =
AD =
”.
Note : The numbers “ ” displayed show you error rates and ADER.
2. Changing the parts to be played back
1
Press the YES button during continuous playback to change the display as below.
When pressed another time, the parts to be played back can be moved.
2
When access completes, the display changes to “C =
AD =
”.
Note : The numbers “ ” displayed show you error rates and ADER.
3. Ending the continuous playback mode
1
Press the MENU/NO button. The display will change to “CPLAY1 MODE”(C34).
2
Press the
A
EJECT button to remove the disc.
Note : The playback start addresses for IN, MID, and OUT are as follows.
IN
40h cluster
MID 300h cluster
OUT 700h cluster


