3
1- SET UP ADJUSTMENTS
1-1 SCREEN VOLTAGE
ADJUSTMENT
1.
Select a video input with no signal
applied (the screen must be black, and
the room must be as dark as possible.
You may use a clean, heavy blanket
over the screen to block out ambient
light. Be careful to ensure that the
blanket does not mar or scratch the
screen).
2.
Select display mode to WIDE ZOOM
and picture mode PRO, and while in the
adjustment menu press RESET on the
remote to restore the PRO mode factory
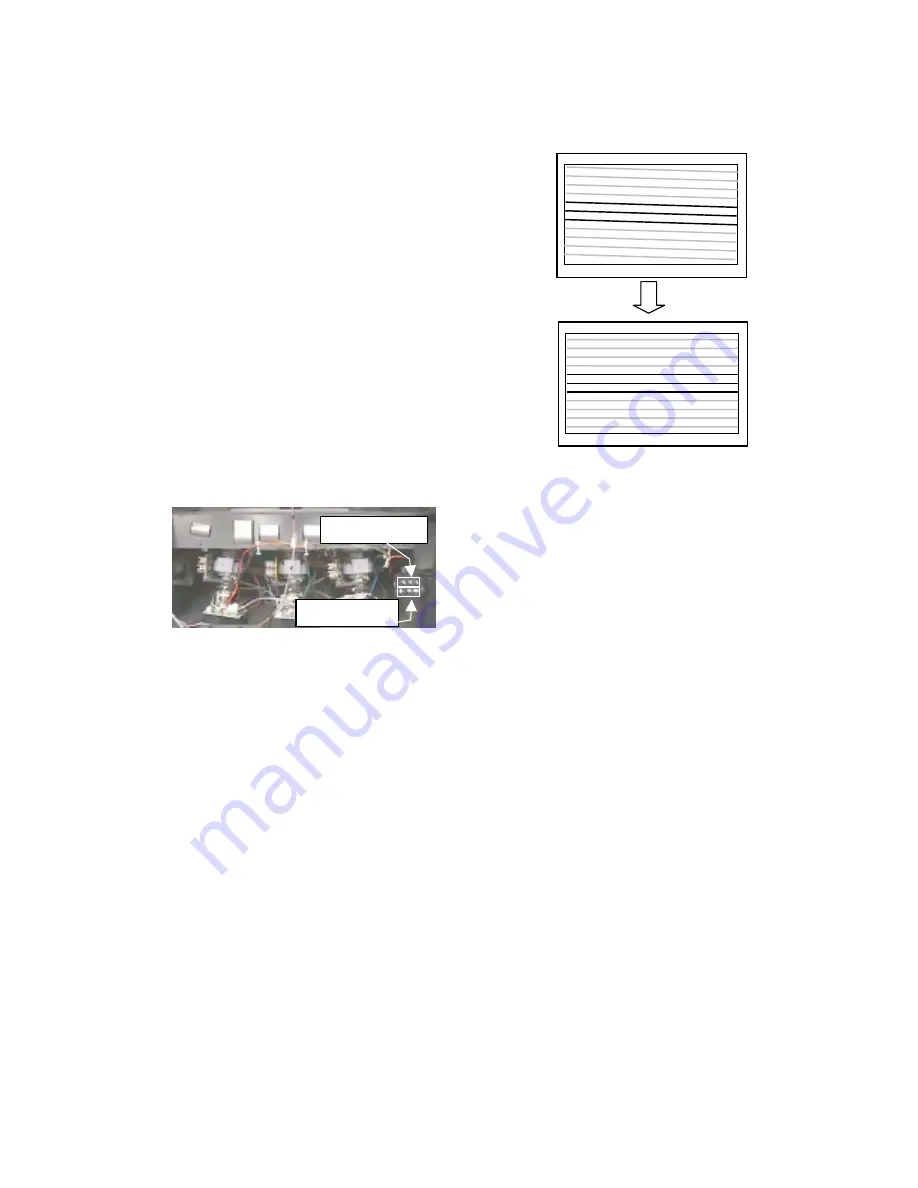
defaults. Turn the green SCREEN
control on the focus block all the way
counter-clockwise
and then gradually
turn it
clockwise
until the retrace line is
barely visible.
3.
Gradually turn the control
counter-
clockwise
until the retrace line just
disappears.
4.
Repeat steps 1 through 3 for the red and
blue CRTs.
5.
Lock the screen controls with locking
paint.
1-2 DEFLECTION YOKE TILT
ADJUSTMENT
1.
Display a cross-hatch pattern (any input,
display mode, and picture mode are
OK).
2.
Enter the service mode.
3.
Cover the red and blue CRT lenses with
lens caps to allow only green to show
(or use the method shown in the note
below for turning off the CRTs
individually without using lens caps).
4.
Loosen the green CRT's deflection yoke
set screw and align the tilt of the
deflection yoke so that the horizontal
lines at the center of the cross-hatch
pattern are parallel to the top and
bottom edges of the screen.
5.
After aligning the deflection yoke fasten
it securely, making sure it is fully forward
on the neck of the CRT.
6.
The tilt of the deflection yoke for red and
blue are aligned the same way as the
green CRT.
Cover the green and blue CRT lenses
with lens caps (or use the method
shown in the note below for turning off
the CRTs individually without using lens
caps), then repeat steps 4 and 5 for the
red CRT.
Cover the green and red CRT lenses
with lens caps (or use the method
shown in the note below for turning off
the CRTs individually without using lens
caps), then repeat steps 4 and 5 for the
blue CRT.
Note:
If lens caps are unavailable, you can cut
off the unnecessary colors in the service mode
by individually changing the data in adjustment
category "2150P-2" , item # 1"RGBS". To
display blue only, change the data to "1", to
display green only, change the data to "2", to
display red only, change the data to "4". All
colors are displayed when the data is set to
"7".
1-3 FOCUS LENS ADJUSTMENT
In this adjustment, use the remote commander
while in service mode. For details on the
usage of the service mode and the remote
commander, please refer to the service
Screen controls
Focus controls
Summary of Contents for KDP-57XBR2 - Digital High Definition Projection Tv
Page 179: ......
Page 180: ......
Page 181: ......
Page 182: ......
Page 183: ......
Page 184: ......
Page 185: ......
Page 186: ......
Page 187: ......
Page 188: ......
Page 189: ......
Page 190: ......
Page 191: ......
Page 192: ......
Page 193: ......
Page 194: ......
Page 195: ......
Page 196: ......
Page 197: ......
Page 198: ......
Page 199: ......
Page 200: ......
Page 201: ......
Page 202: ......


