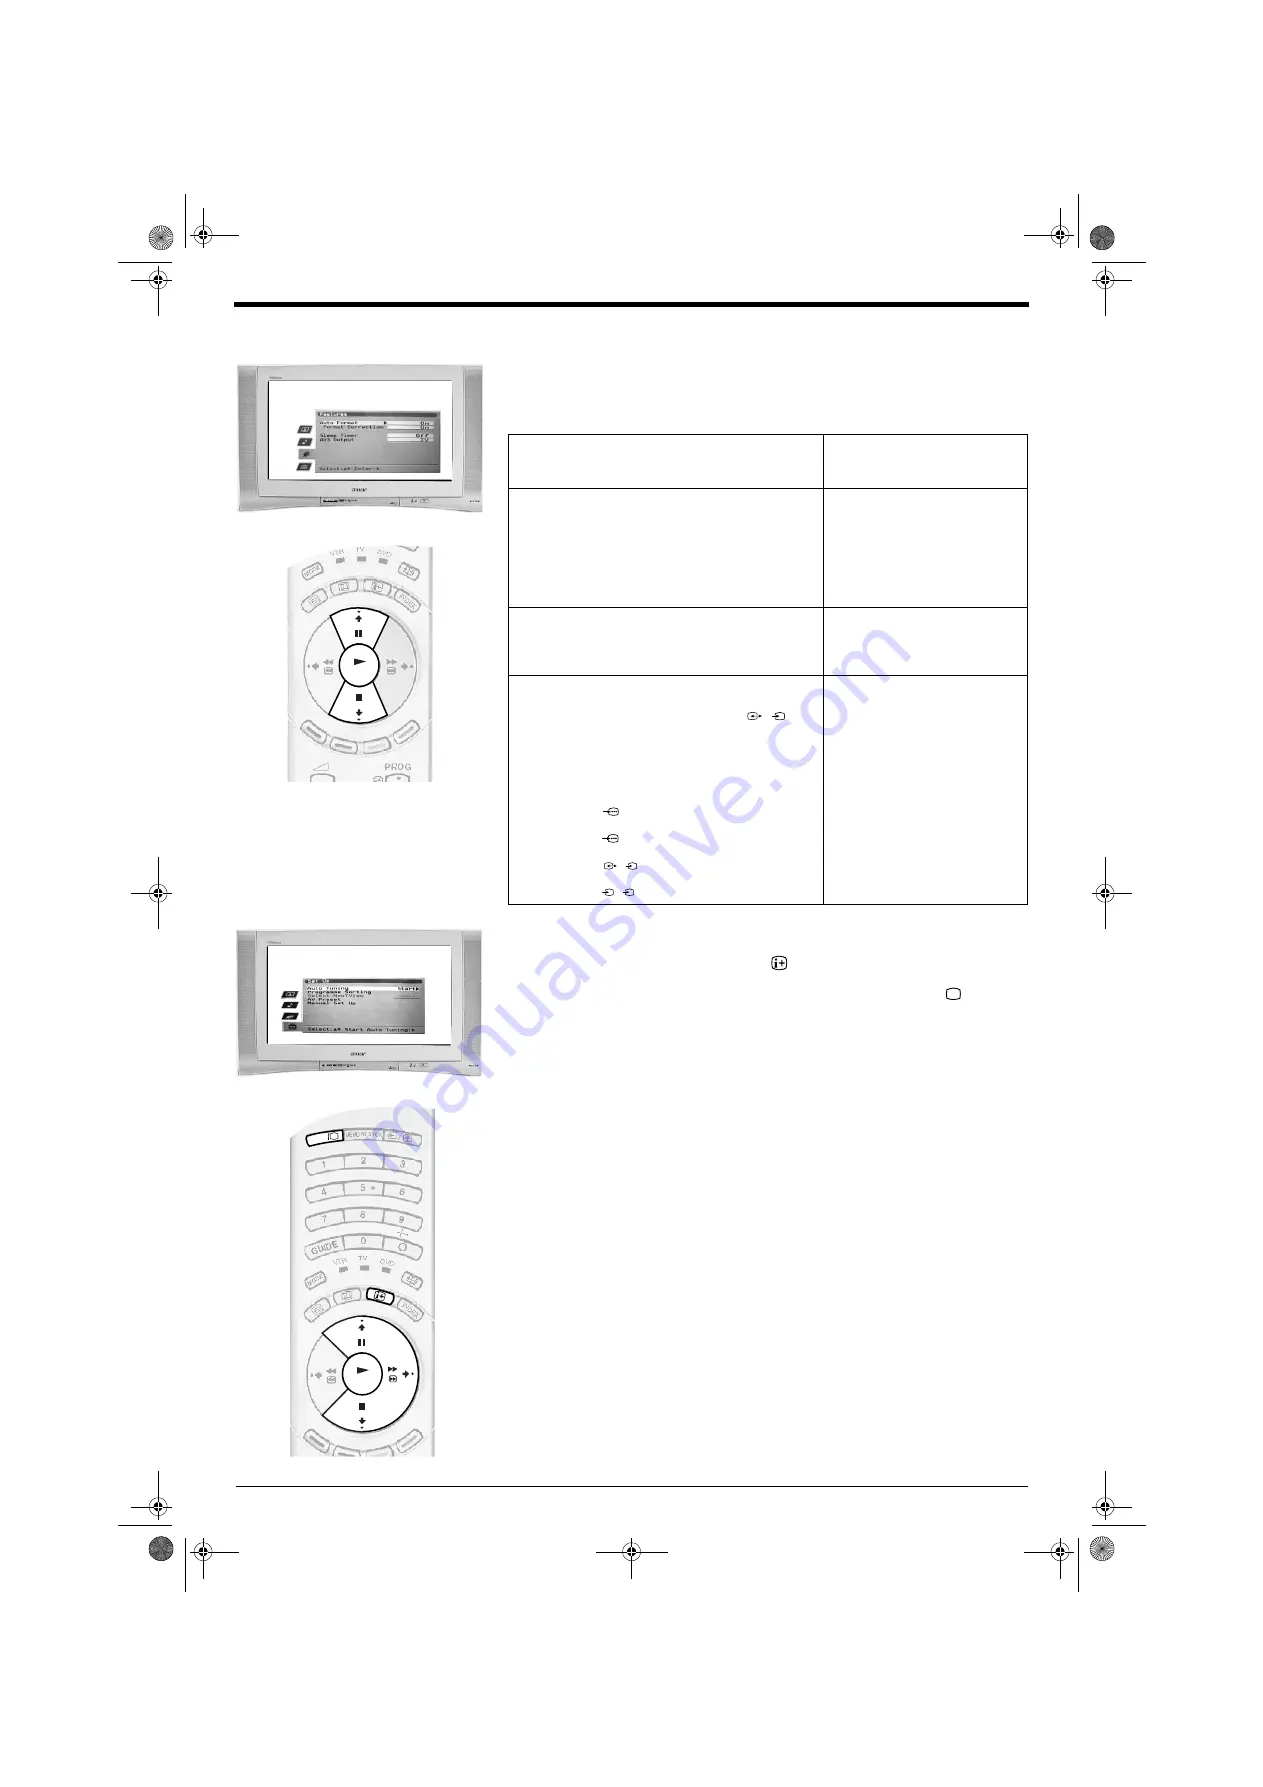
TV menu system
25
OK
OK
DIGIT
AL
DIGIT
AL
Features menu
This menu allows you to set the sleep timer and to set a signal to be output from the
AV3 socket. The table below explains each option and how to use it:
Set Up menu
This menu contains the following advanced features that allow you to customise the TV.
To check which mode you are in, press the
button on the remote control. If you are
watching a digital programme, an Info display appears on screen providing brief details
for the current and next programme. If this happens, press the
DIGITAL/
button on
the remote control to switch to analogue channels.
Auto Tuning
(for analogue channels only)
All the available channels were tuned in when the TV was first installed. The ‘Auto
Tuning’ option in the ‘Set Up’ menu allows you to repeat that process (e.g. to re-install
the TV at an alternative location or search for new channels that have been launched
by broadcasters). With the ‘Auto Tuning’ option highlighted, press
b
to select. The
autotune prompt appears on screen. Press
OK
to start the auto tuning process. When
all available channels have been tuned the TV returns to normal operation.
Programme Sorting
(for analogue channels only)
The ‘Programme Sorting’ option in the ‘Set Up’ menu allows you to change the order in
which the channels are stored on the TV. With the ‘Programme Sorting’ option
highlighted, press
b
to enter the ‘Programme Sorting’ menu. Press
v
or
V
to highlight
the channel you wish to move to a new position, then press
b
to select. Press
v
or
V
to
highlight the new position for your channel, then press
OK
. Your chosen channel has
now moved to the new position. Repeat to move other channels if required.
AV Preset
The ‘AV Preset’ option in the ‘Set Up’ menu allows you to assign a name to any
equipment connected to the AV sockets of the TV. The name is displayed briefly on
screen when the equipment is selected. With the ‘AV Preset’ option highlighted, press
b
to enter the ‘AV Preset’ menu. Press
v
or
V
to highlight the socket you wish to name.
Press
b
to select the LABEL column. Press
v
or
V
to select the first character. Press
b
to confirm this character. Select the other characters in the same way (up to a
maximum of five characters). After selecting all required characters, press
OK
to store.
Manual Set Up
With the ‘Manual Set Up’ option highlighted, press
b
to enter the ‘Manual Set Up’ menu.
The ‘Manual Set Up’ menu is explained on the following page.
Auto Format
With this option switched on, the TV can automatically
adjust the picture size to suit the broadcast.
Press
V
or
v
to select ‘On’ or ‘Off’.
Press
OK
to confirm.
Format Correction*
(*only if ‘Auto Format’ is switched on)
When viewing 4:3 or 14:9 broadcasts there will be dark
areas visible at the edge of the screen. The settings
available are:
Off:
Dark areas remain on the TV screen.
On:
The TV automatically switches to Smart mode,
eliminating any dark areas on the TV screen.
Press
V
or
v
to select ‘On’ or ‘Off’.
Press
OK
to confirm.
Sleep Timer
This option allows you to set a period of time after which
the TV switches itself into standby mode. This can be in
10 minute intervals up to a maximum of 90 minutes.
Press
V
or
v
to select the period of
time required. Press
OK
to
confirm.
AV3 Output
This option allows you to set which signal source is
output from the AV3 scart socket (labelled
) on
the rear of the TV. If you connect a VCR to this socket
you can record from equipment connected to the other
sockets of the TV. The settings available are:
Ana. TV:
Always outputs the tuned analogue TV signal.
Digi. TV:
Always outputs the tuned digital TV signal.
AV1
:
Outputs the signal from equipment connected
to the
socket on the rear of the TV.
AV2
:
Outputs the signal from equipment connected
to the
socket on the rear of the TV.
AV3
:
Outputs the signal from equipment connected
to the
socket on the rear of the TV.
AV4
:
Outputs the signal from equipment connected
to the
socket on the front of the TV.
Press
V
or
v
to select TV, AV1,
AV2, AV3 or AV4. Press
OK
to
confirm.
3/
s
3
1
2
3/
s
3
4/
s
4
GBpages23-32.fm Page 25 Friday, March 7, 2003 10:29 AM
Summary of Contents for KD-32NX200E
Page 2: ...cover fm Page 2 Friday March 7 2003 8 34 AM ...
Page 3: ...1 GB GBpages1 8 fm Page 1 Tuesday October 15 2002 10 23 AM ...
Page 41: ...1 FI FIpages1 8 fm Page 1 Friday March 7 2003 10 45 AM ...
Page 79: ...1 SE SEpages1 13 fm Page 1 Tuesday October 15 2002 11 45 AM ...
Page 116: ...38 SEpages 33 40 fm Page 38 Tuesday October 15 2002 1 15 PM ...
Page 117: ...39 SEpages 33 40 fm Page 39 Tuesday October 15 2002 1 15 PM ...
Page 118: ...40 SEpages 33 40 fm Page 40 Tuesday October 15 2002 1 15 PM ...
Page 119: ...cover fm Page 3 Friday March 7 2003 8 34 AM ...


