


128
GB
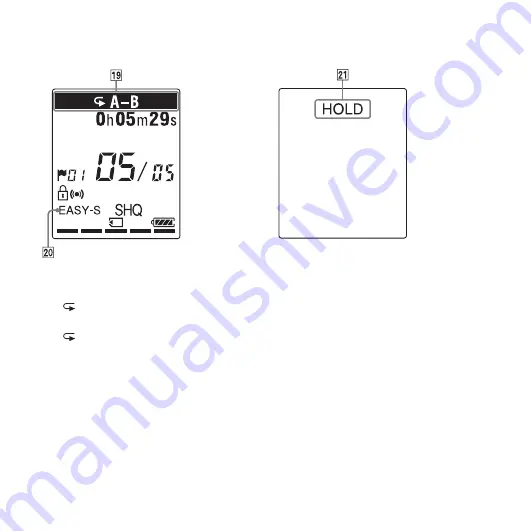
Display during playback
S
Playback mode indicator
1: Appears when one file is played
back repeatedly.
A-B: Appears when a specified A-B
period is played back repeatedly.
×0.50 to ×2.00: DPC playback
ALARM: Alarm playback
T
EASY-S (Easy Search) indicator
Appears when “
简易搜索
” is set to
“
开
” in the menu.
Display in the HOLD status
U
HOLD indicator
Appears when the IC recorder is in the
HOLD status to prevent unintentional
operations.
To release the HOLD status, slide the
HOLD•POWER ON/OFF switch
towards the center (page 10).
Summary of Contents for IC Recorder ICD-PX312M
Page 132: ... 2011 Sony Corporation ...


