28
Storing the images
— Snapshot
You can store maximum 100 images from the
auxiliary equipment connected.
1
Press
(SCREEN)
repeatedly to select
the Video mode.
2
Press
(IMAGE)
repeatedly to select the
Video & Capture mode (page 12).
For details on changing the aspect ratio, see
“Selecting the aspect ratio” on page 26.
3
Start playing images on the auxiliary
equipment.
4
Press
(CAPTURE)
when the desired
image appears.
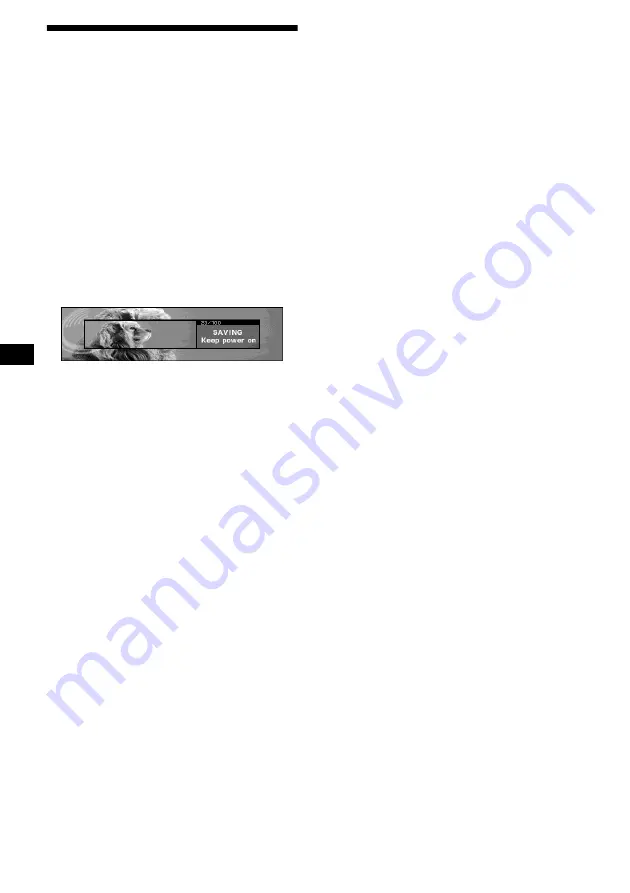
“Complete” appears, then the image is stored
on the unit.
Notes
• This unit is compatible with the PAL and NTSC color
system connected auxiliary devices.
• To change the color system of the unit, set “Video” in
“Setup” to “PAL” or “NTSC.”
• Do not turn off the unit while storing the image,
otherwise the image may not be stored.
• The stored image is limited to private use only. Use
for public and profit purposes require permission of
the copyright holders.
• Stored images may differ from the original aspect
ratio, or some characters may not be displayed
correctly due to compression or elongation.
Deleting the stored image
— Picture Delete
You can delete unnecessary stored images.
1
Press
(MENU)
.
2
Press
<
or
,
repeatedly to select
“Edit,” then press
(ENTER)
.
3
Press
<
or
,
repeatedly to select
“Picture Delete,” then press
(ENTER)
.
4
Press
<
or
,
repeatedly to select
“Select,” then press
(ENTER)
.
5
Press
<
or
,
repeatedly to select the
desired image to delete, then press
(ENTER)
.
The confirmation display appears.
6
Press
<
or
,
repeatedly to select
“YES,” then press
(ENTER)
.
“Complete” appears, then the display returns
to the previous display.
To cancel deleting the image, press any button
during process.
To delete all the stored images, select “ALL” in
step 4.
Notes
• You cannot delete the pre-stored images in this unit.
• Confirm the image you want to delete. Once you
have deleted an image, it cannot be restored.
• Do not turn off the unit during process, or the image
will not be deleted completely.
• It takes a while to delete all the stored images.


