78
GB
Enjoying Karaoke
You can enjoy karaoke (singing along with a
disc) by setting the system to karaoke mode.
Tip
• You can also enjoy the karaoke function with an
audio file in the USB device. In this case, some
functions may not work.
1
Press FUNCTION repeatedly until
“DVD” appears in the front panel
display.
2
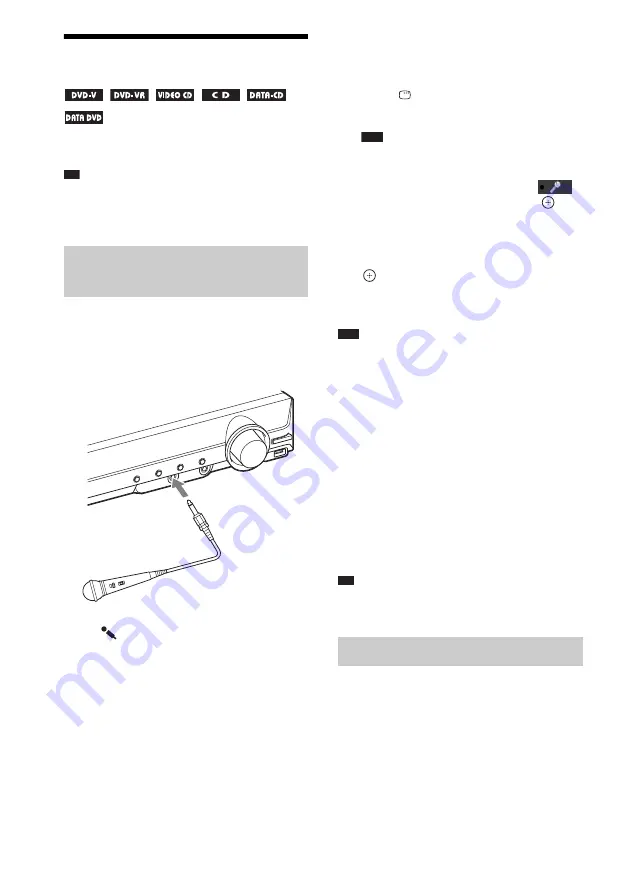
Plug a microphone into the MIC jack.
The system enters karaoke mode.
“
” lights up in the front panel display.
3
Start music playback.
Sing along to the music.
The microphone sound is output from the
system’s speakers.
To cancel karaoke mode
Disconnect the microphones.
To set the system to karaoke
mode on the Control Menu
display
1
Press
DISPLAY.
The Control Menu display appears.
Note
• The Control Menu display will not appear if no
disc is in the unit.
2
Press
X
/
x
repeatedly to select
[KARAOKE MODE], then press
.
The options for [KARAOKE MODE]
appear.
3
Press
X
/
x
to select [ON], then press
.
The system enters karaoke mode.
To cancel karaoke mode, select [OFF].
Note
• Before connecting, press MIC VOL – to set the
microphone volume to minimum.
• If you play the Super Audio CD layer of a Super
Audio CD (page 32), karaoke mode will be set to off
automatically. In this case, the beginning of the sound
may be cut off. To avoid the sound cutting, play the
Super Audio CD after you set [KARAOKE MODE]
to [OFF].
• In karaoke mode, the overall volume may drop.
• Microphone sound is not output when:
– the microphone is not connected to the unit
properly.
– the microphone volume is set to minimum.
– you use a microphone other than the monaural
dynamic type.
Tip
• The karaoke play is performed with the audio channel
you selected using AUDIO (page 31).
You can adjust the microphone volume and
level of the echo effect.
To adjust the microphone volume
Press MIC VOL +/– to adjust the
microphone volume.
To add the echo effect
Press ECHO.
Setting the system to karaoke
mode
AUDIO IN / MIC /A
.CAL MIC
PHO
NES
Adjusting the microphone


