


31
Digital Day&Night Color Camera
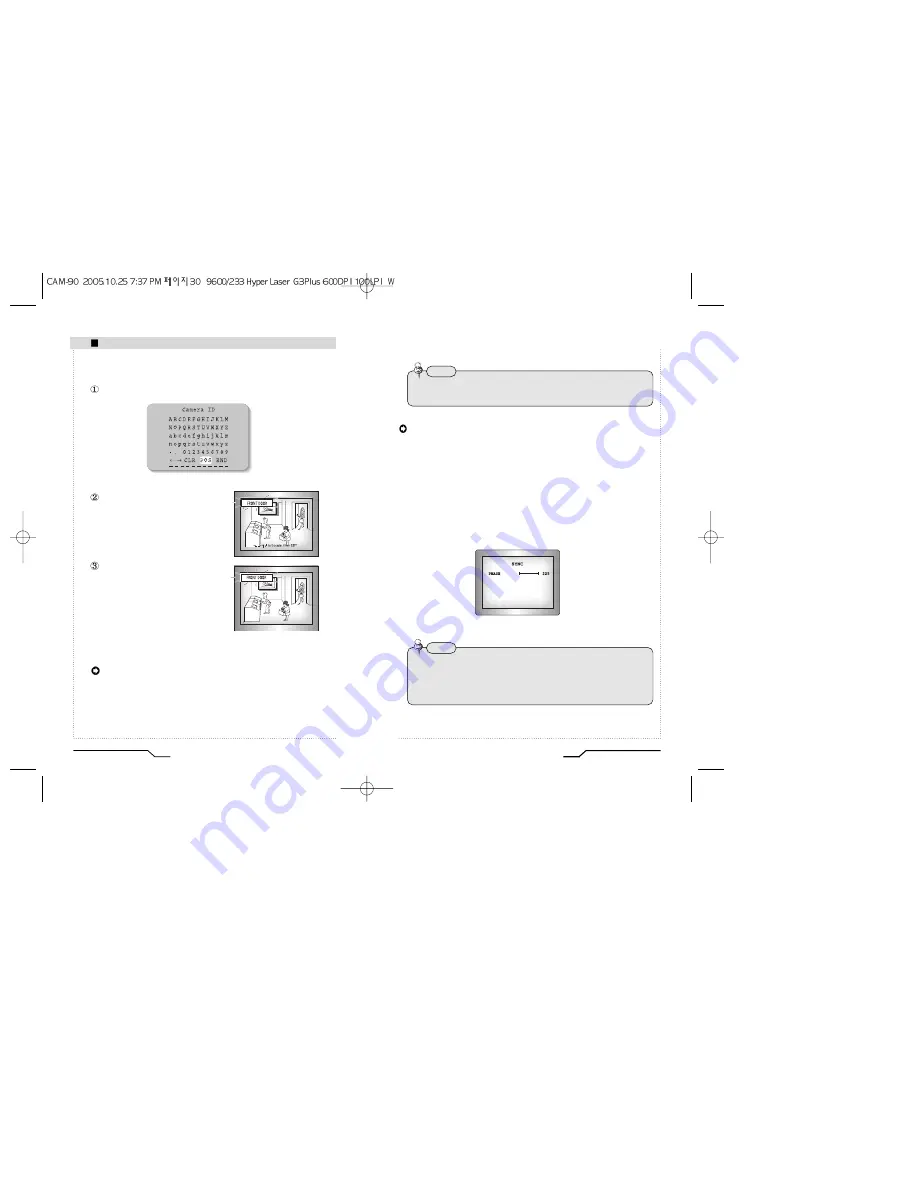
SYNC :
Two SYNCHRONIZATION modes are available INTERNAL and
EXTERNAL LINE-LOCK. In LINE-LOCK mode, it synchronizes
the video signal between cameras without a synchronous
generator.
The line-lock synchronization is only used in the areas of 60Hz
(NTSC Models) / 50Hz (PAL Models).
- INT : Internal synchronization
- LL : External line-lock synchronization
• If you choose ‘LL’, you can adjust the desired phase. Press the
SET button.
• You can adjust the desired phase from 0 to 359.
30
Digital Day&Night Color Camera
Camera Operation
5) When a name has been chosen, please select a position for the name display.
Please move the cursor onto 'POS' and then press the SETUP button.
The name will appear at the top left
corner.
Please find the position you wish to
display the name by using the 4
directional buttons, and then press the
SETUP button.
6) Please select 'END' and then press the SETUP button to complete ID input.
COLOR
- AUTO : This camera has a function which automatically changes to the
appropriate mode for daytime or night-time. The COLOR mode is
operated for daytime, and it converts to BW mode for night-time.
- ON : The color mode is selected by default, and the modes do not
change automatically.
• When the AGC is turned off, COLOR does not operate.
• When an infrared light is used, there may be a problem with focusing.
Note
• When the power frequency is 50Hz, you can not use the line-lock mode (NTSC
Models).
• When the power frequency is 60Hz, you can not use the line-lock mode(PAL
Models).
Note
Summary of Contents for CAM-90
Page 19: ...MENO ...


