16
GB
Viewing pictures from
connected equipment
Switch on the connected equipment, then
perform one of the following operation.
For equipment connected to the scart sockets using a
fully-wired 21-pin scart lead
Start playback on the connected equipment.
The picture from the connected equipment appears on
the screen.
For an auto-tuned VCR (page 11)
Press PROG +/-, or the number buttons, to select the
video channel. You can also press
/
repeatedly
until the correct input symbol (see below) appears on
the screen.
For other connected equipment
Press
/
repeatedly until the correct input
symbol (see below) appears on the screen or press OK
to
access the Input signal index table. To select an input
source, press
m
/
M
, then press OK.
Additional operations
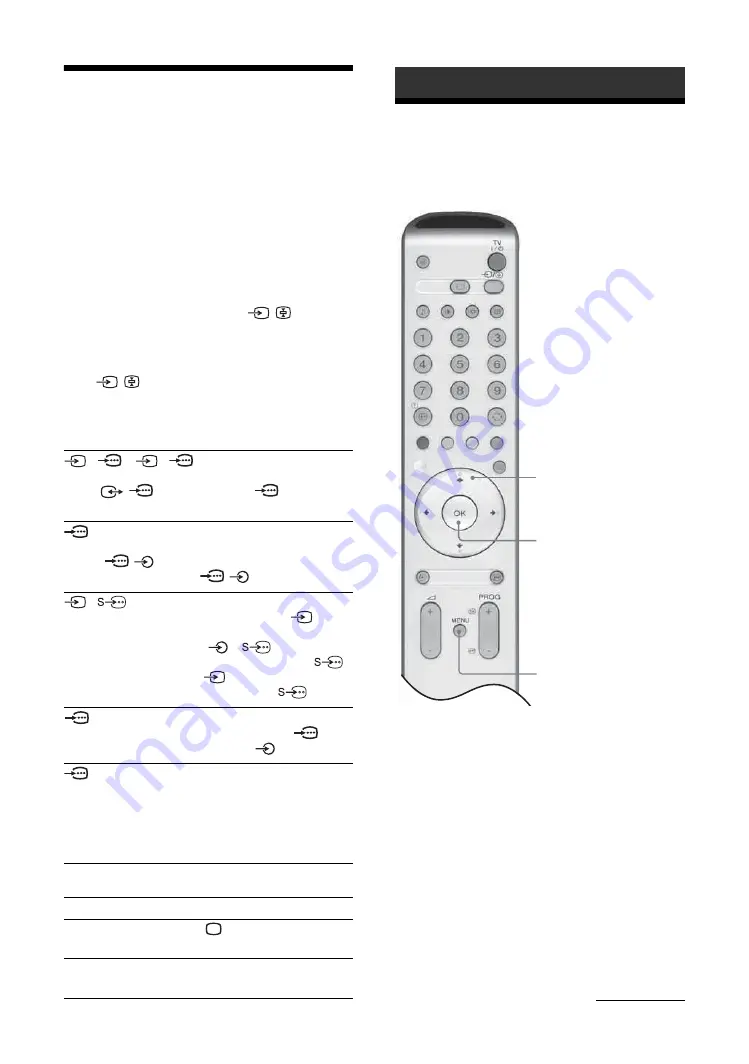
Navigating through
menus
1
Press MENU to display the menu.
2
Press
M
/
m
to select a menu icon, then
press
,
.
3
Press
M
/
m
to select an option.
4
Press
M
/
m
/
<
/
,
to change/set the
setting, then press OK.
To exit the menu, press MENU.
To return to the last display, press
<
.
1/
1, 2/
2:
Audio/video or RGB input signal through the scart
socket
/
1 or 2. The symbol
appears only
if an RGB source has been connected.
3:
Component input signal through the Y, P
B
/C
B
, P
R
/C
R
sockets
/
3, and audio input signal through the
L/G/S/I, R/D/D/D sockets
/
3.
4/
4:
Video input signal through the video socket
4, and
audio input signal through the audio socket L/G/S/I
(MONO), R/D/D/D sockets
4.
appears only if
the equipment is connected to the S video socket
4
instead of the video socket
4, and S video input
signal is input through the S video socket
4.
5:
RGB input signal through the PC connectors
5, and
audio input signal through the socket
.
6: (KLV-S40A10E, KLV-S32A10E,
KLV-S26A10E, only)
Digital audio/video signal is input through the HDMI IN
6 socket. Audio input signal is analogue only if the
equipment has been connected using the DVI and audio
out socket.
To
Do this
Return to the normal
TV operation
Press .
Access the Input
Signal table
Press OK. To select an input
source, press
m
/
M
, then press OK.
Using the Menu
1
4
2,3,4
Continued
Summary of Contents for Bravia KLV-S19A10E
Page 39: ...39 GB ...


